K&J Plastering, Painting & Carpentry logo

K & J Interiors

Plasterers Rosemount

Plastering for Rosemount layout changes, bringing wall removal lines, connected ceilings and retained room finishes into one defined scope.

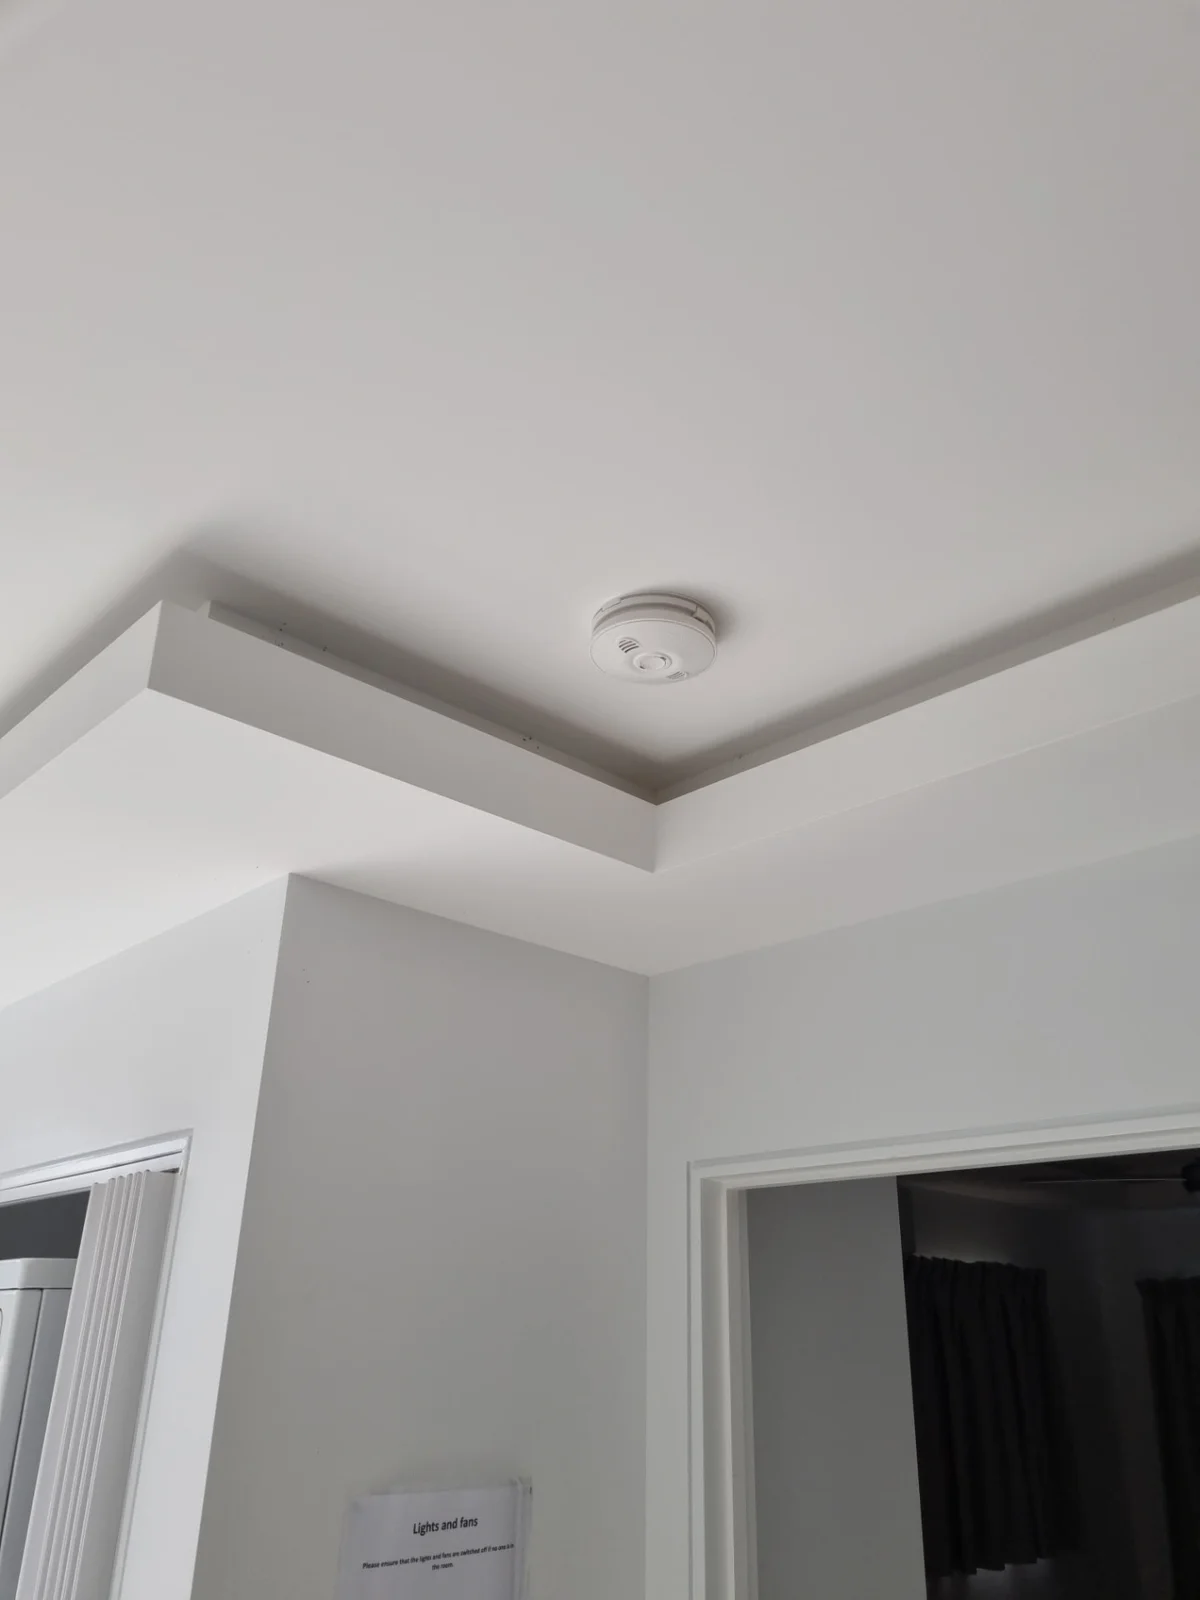
K & J finished painted ceiling corner with a clean square-set junction and bulkhead detail
K & J project photograph · Finished painted square-set detail. Project location not represented as Rosemount.

Treat connected rooms as one finishing problem

Removing an internal partition can leave a narrow ceiling gap but a much wider finishing question. Cornice lines, wall returns, earlier paint and changes in ceiling level may all become part of the newly connected space. K & J Interiors welcomes Rosemount enquiries that show both sides of the alteration before focusing on the gap itself. Once the relevant building work is resolved, the plastering scope can distinguish replacement board, local repairs and the preparation needed across adjoining surfaces for painting.

01

Ceiling strips left by removed partitions

Photograph the former wall line from both rooms and show any change in ceiling height or lining direction. Support and retained board condition influence the reinstatement method. Relevant structural and framing work must be resolved first, then the repair can address the full junction rather than only the narrow visible gap.

Reinstate connected ceilings
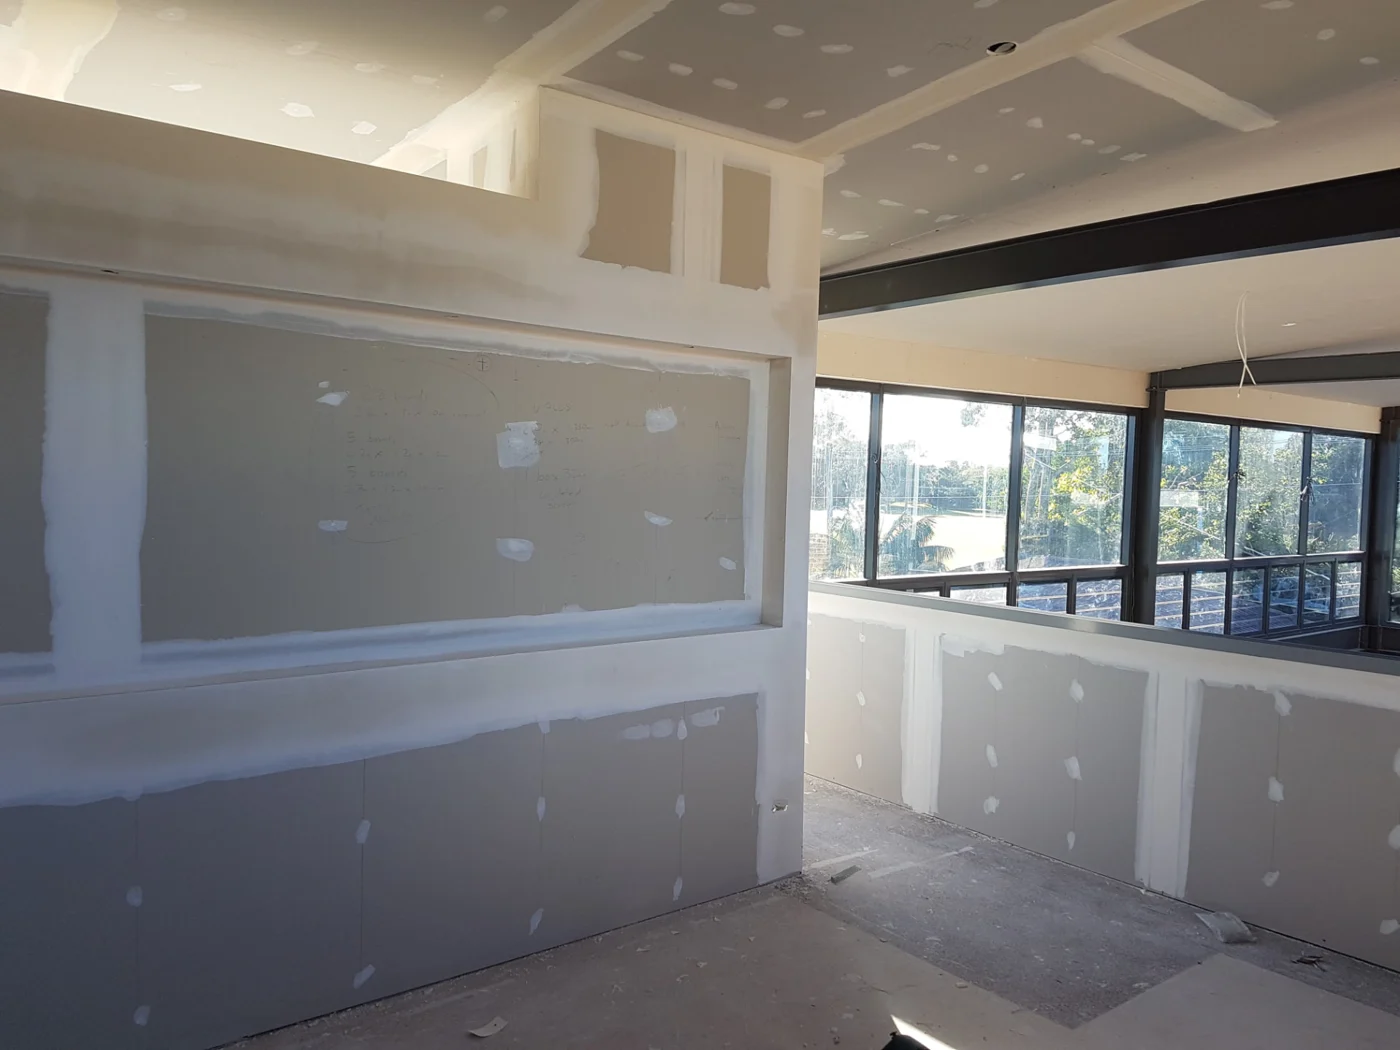
K & J bulkhead and square-set ceiling junction during joint setting
K & J project · Bulkhead & square-set construction · Setting in progress

02

Wall returns and altered openings

A widened opening can leave short returns, exposed edges and lining changes on both faces. Include the finished opening dimensions and the surfaces intended to remain. Suitable framing comes before board fixing and setting, with corners and junctions detailed to suit the new shape rather than the outline of the removed wall.

Line altered walls and openings
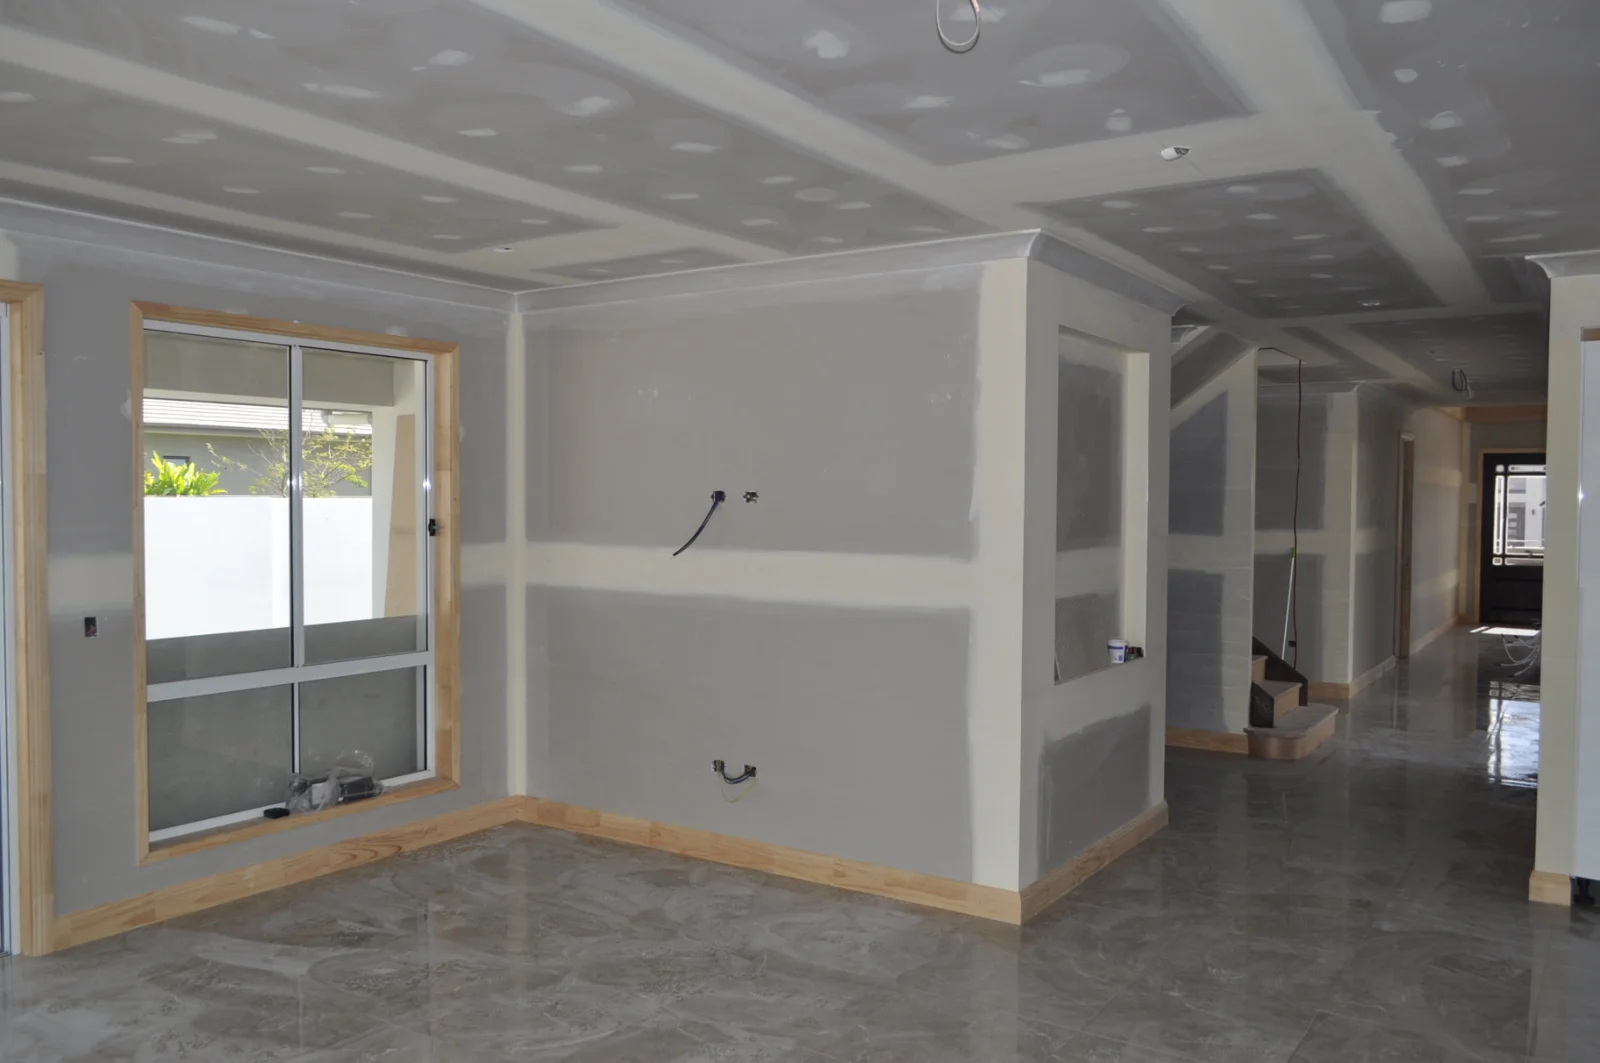
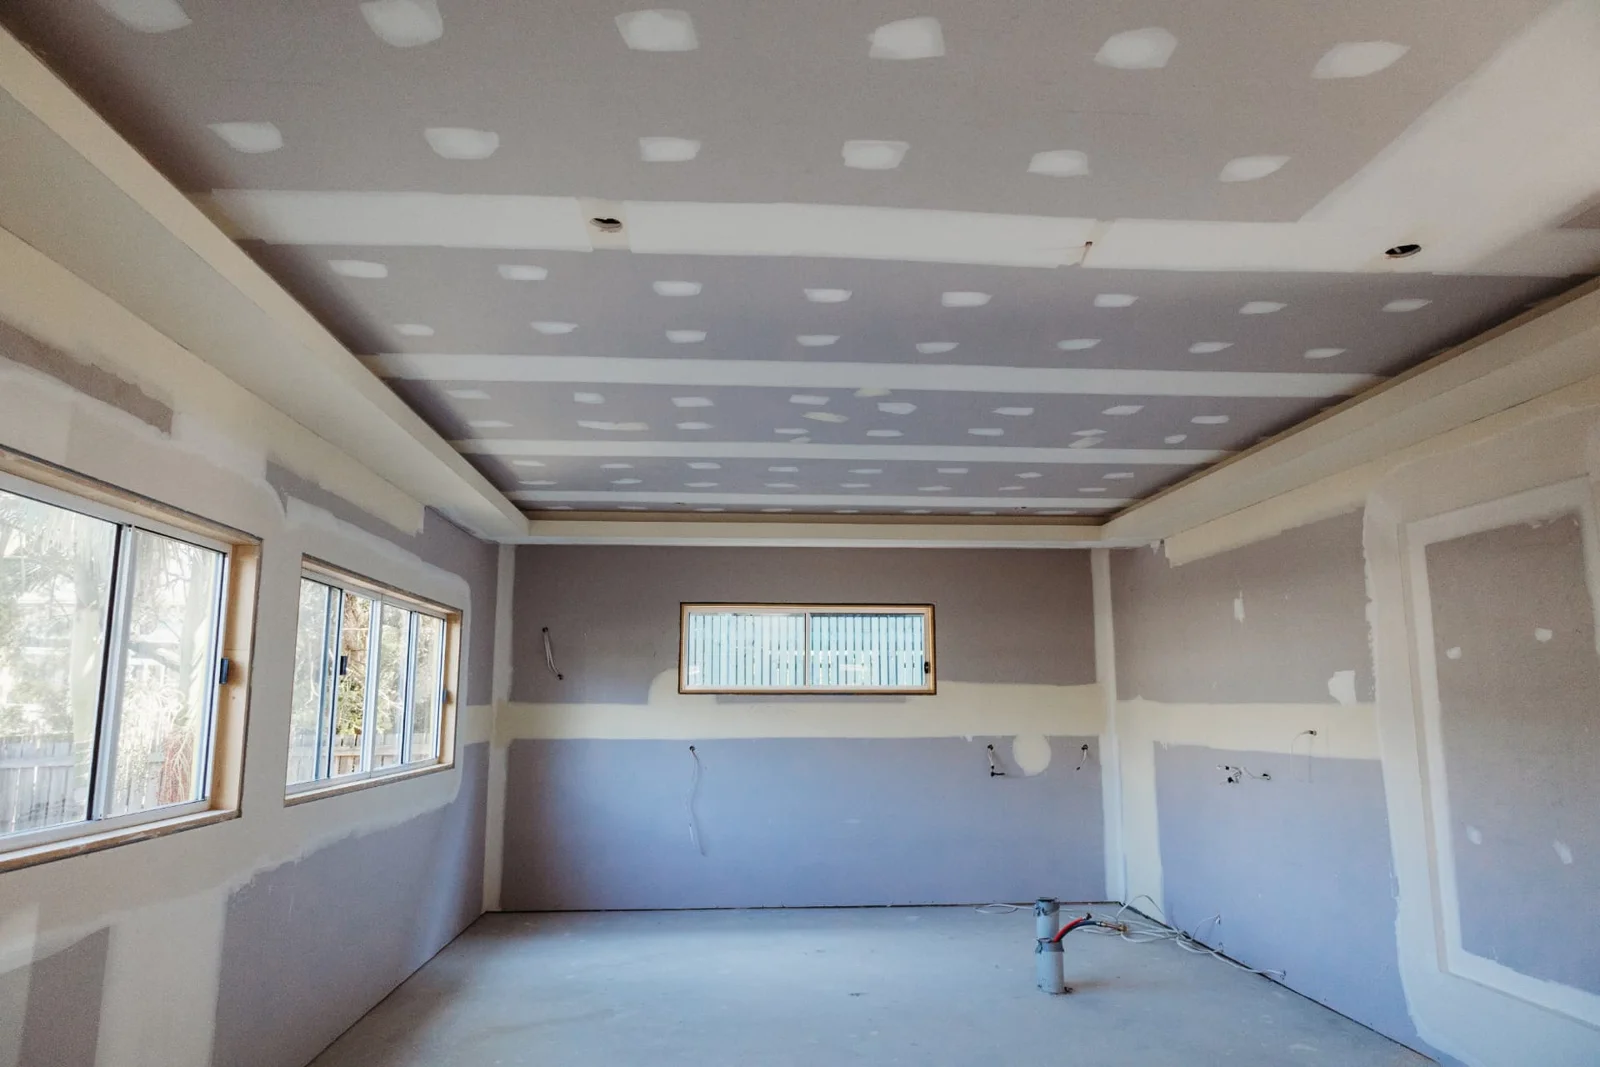
K & J plasterboard ceiling and walls with visible joint compound before sanding and painting
K & J project · Wall & ceiling installation · Joint setting in progress

03

Cornice transitions between former rooms

Two rooms may have different cornice profiles or runs that no longer meet neatly after a partition is removed. Photograph both sides and identify the preferred treatment. Retention, replacement or a new junction detail can then be discussed with matching availability and surrounding preparation considered before any remaining sections are taken down.

Resolve connected cornice runs
K & J cornice and room linings with plasterboard joints being set
K & J project · Cornice & room linings · Setting in progress

04

Repairs exposed by trims and fittings

Old skirtings, cupboards or wall-mounted items can conceal lining damage beyond the main alteration. Add these areas to the room plan once they are safely visible. Separate holes needing backing from surface repairs, and identify any carpentry still affecting the edges so the plasterwork is not finished against a changing boundary.

Repair exposed interior edges

05

Painting the newly connected space

Once rooms are joined, their old paint boundaries may no longer make visual sense. Specify the walls and ceilings to be repainted across the connected area. New compound, retained coatings and previous repairs need suitable preparation, with colour and sheen choices discussed for the resulting room rather than the former separate spaces.

Plan a connected-room repaint

Detailed setting for shaped and recessed surfaces

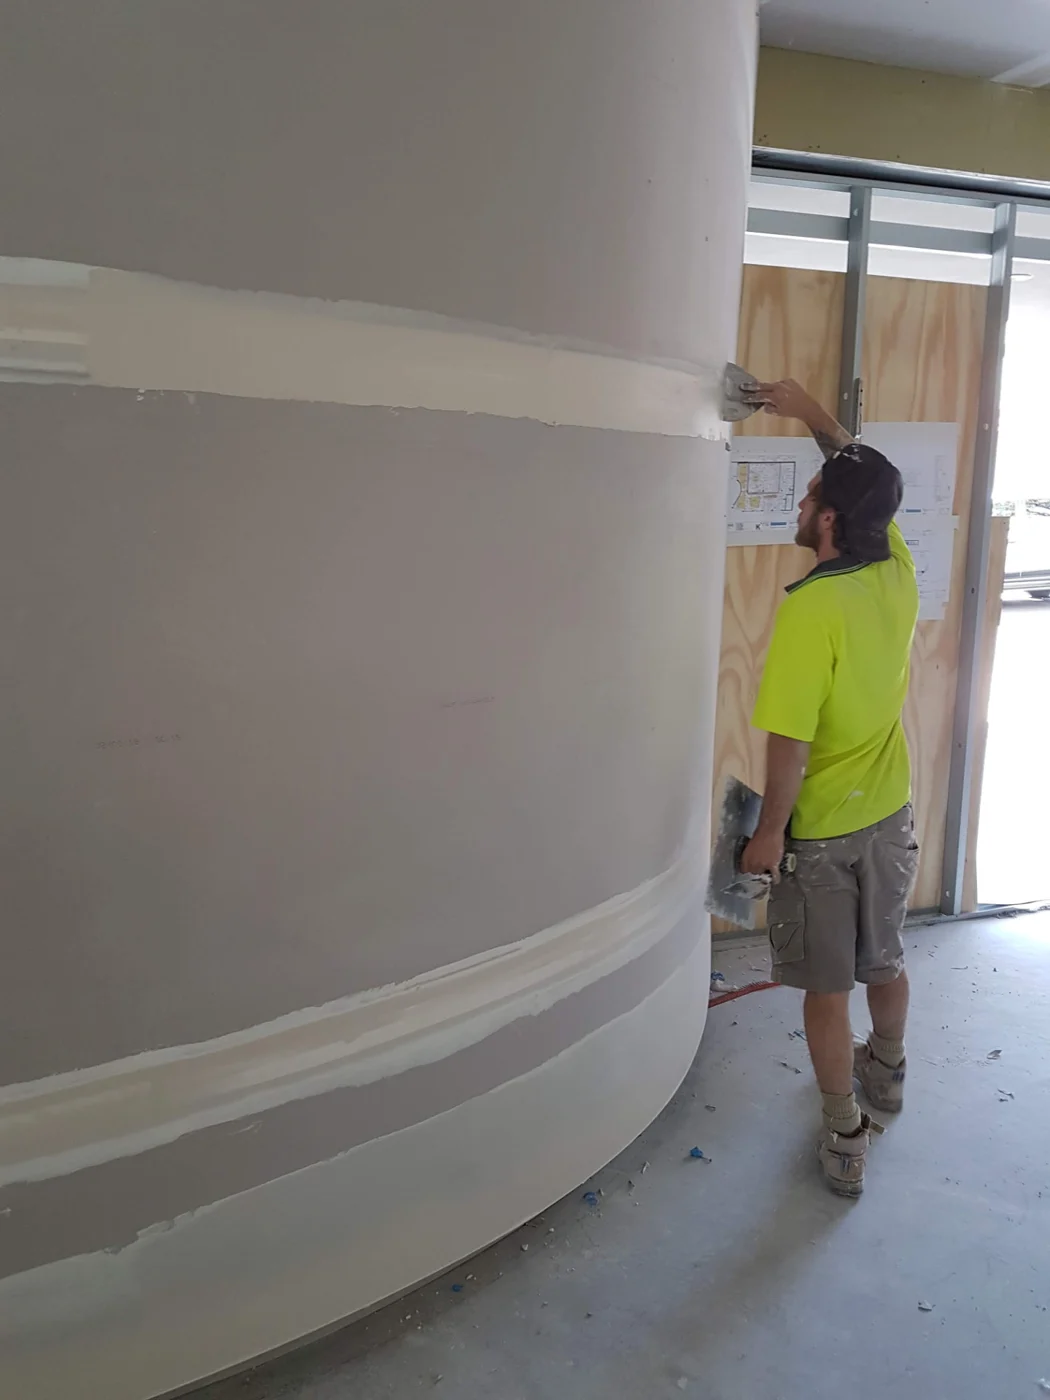
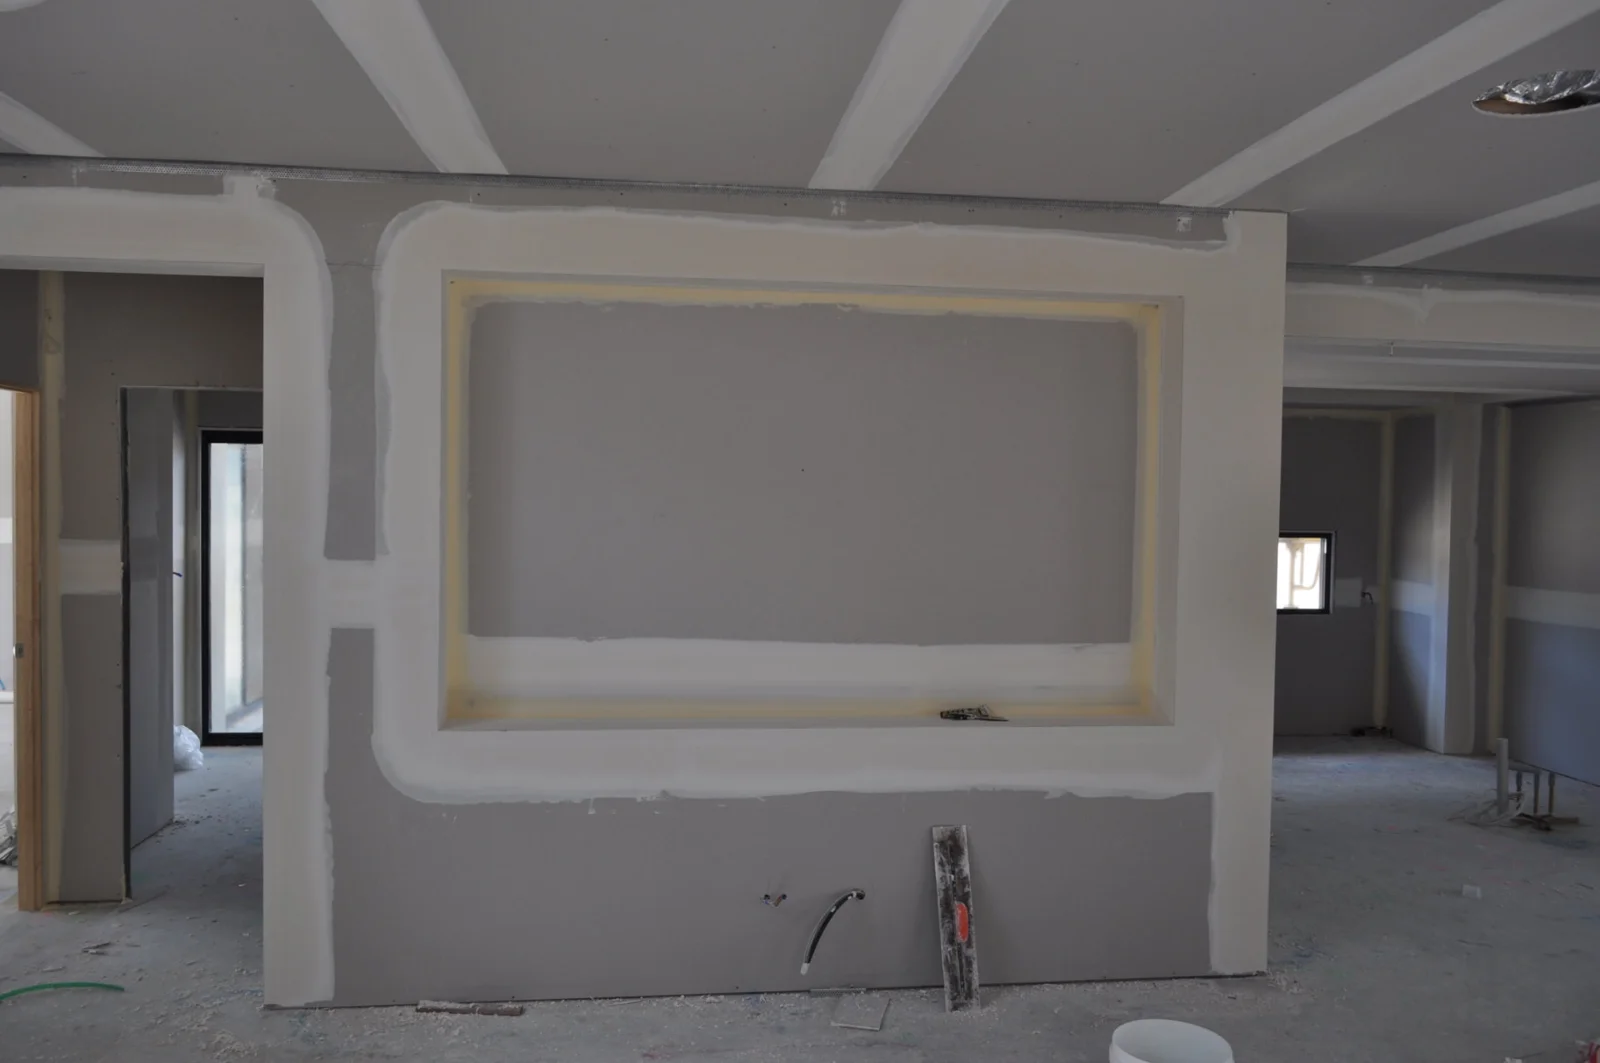
These K & J project photographs show curved-wall setting and a recessed plasterboard detail before painting. They are examples of finishing work, not Rosemount project claims.

K & J plasterer applying joint compound to a curved plasterboard wall
K & J project · Curved-wall plastering · Compound being applied
K & J recessed plasterboard niche with corners and joints being finished
K & J project · Recessed plasterboard detail · Setting in progress

Review what removal reveals before fixing the boundary

Taking out a partition or fitting may expose unsupported edges, old repairs or damaged material that was not visible beforehand. Record those conditions after the area is made safe. The reinstatement boundary should follow sound construction and the agreed room finish, not simply the original demolition line.

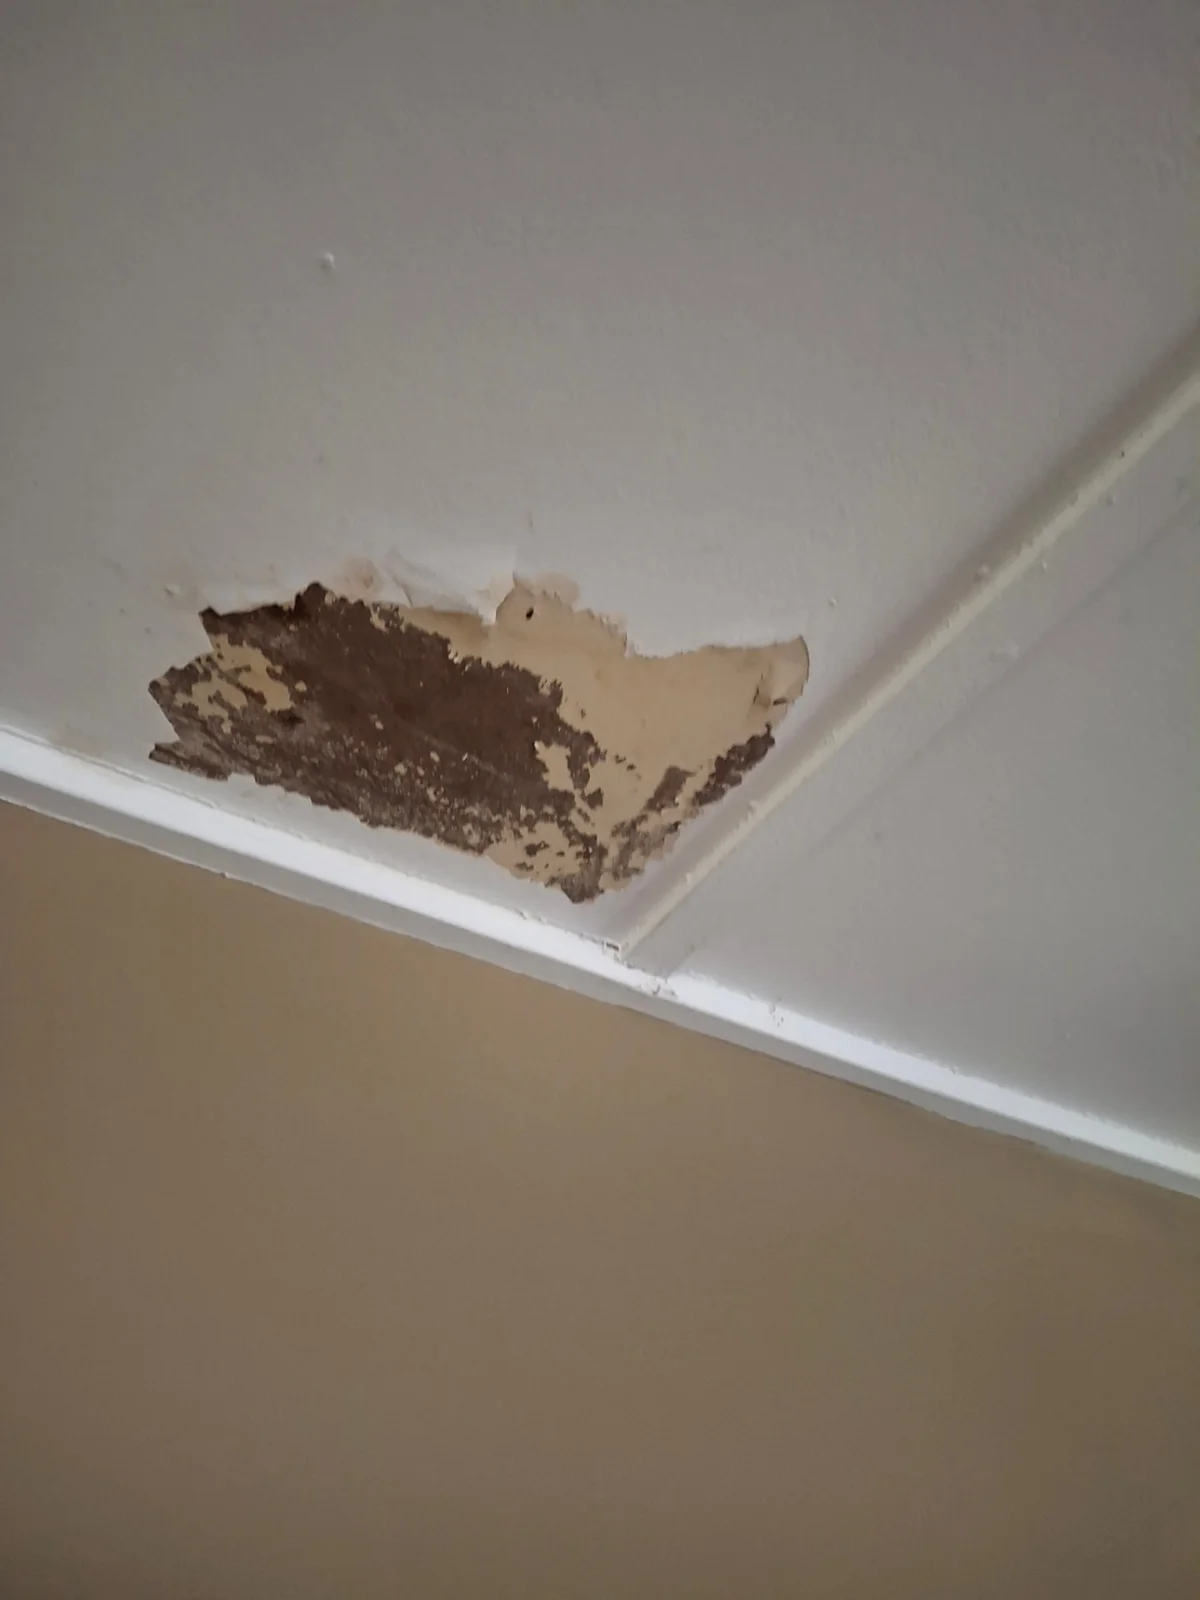
Where dampness or staining is uncovered, arrange investigation and required drying or specialist treatment before new lining is installed. Any suspected hazardous material needs appropriate assessment before disturbance. The photographs below show damage and strip-out stages, not a matched Rosemount renovation or evidence of a particular cause.

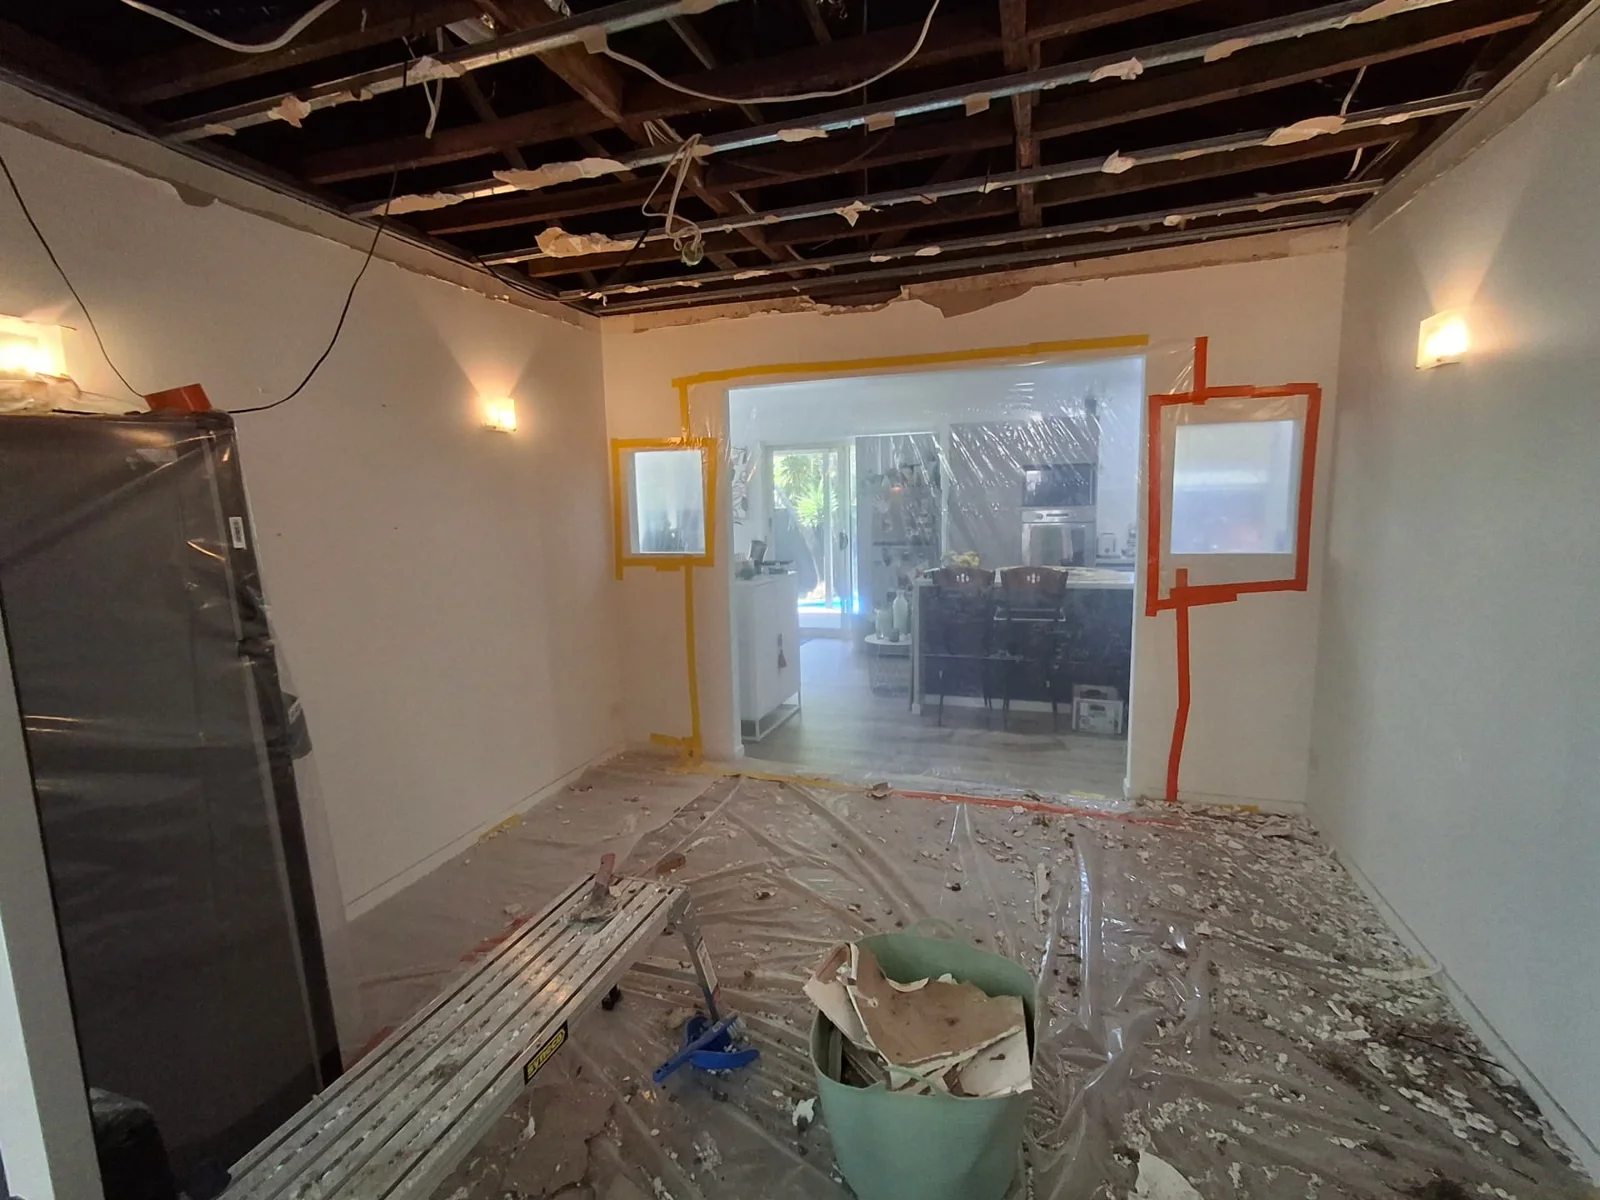
K & J project showing damaged ceiling lining with peeling surfaces before repair
Before repair · Damaged ceiling lining
K & J project showing exposed ceiling framing after lining removal
Strip-out stage · Ceiling lining removed

Follow the alteration from both sides

  1. 01

    Show the former room boundary

    Send photographs from each side, a proposed layout and the ceiling levels and cornice details being retained.

  2. 02

    Confirm the building work is ready

    Identify completed structural, framing and service work before agreeing replacement lining and repair extents.

  3. 03

    Finish the resulting space

    Set the junction treatment and paint coverage for the connected room, including exposed returns and previously hidden repairs.

Rosemount and the Nambour surrounds

Council includes part of Rosemount in its proposed Nambour and Surrounds local plan area, providing a geographic connection with the Nambour district. That regional reference does not describe every Rosemount property or determine the requirements of a particular interior alteration.

Use the property address and a clear plan of the rooms being connected when asking about plastering. If a builder is coordinating the alteration, include the current stage and contact details so lining readiness can be discussed. Existing nearby service information is available for Nambour, Bli Bli and Buderim.

Rosemount connected-room plastering questions

Is a removed wall line just a narrow ceiling patch?

Not always. The surrounding board, support, ceiling levels and old junctions can affect the repair extent. Show both former rooms so the connection can be considered as part of the resulting ceiling.

Who resolves structural work before plastering?

The relevant builder, designer or structural professional should resolve those requirements. Provide the agreed arrangement and confirm framing readiness before the replacement lining scope is finalised.

What if the two rooms have different cornices?

Photograph both profiles and explain the appearance you want for the connected space. Matching, selective replacement and transition details can be discussed before retained cornice is removed.

Should both former rooms be included in the repaint?

Specify the finish you want across the newly connected area. A complete-surface repaint may be worth discussing where old colour or sheen boundaries remain, but coverage should be agreed rather than assumed.

K&J Plastering, Painting & Carpentry

Request a plastering quote in Rosemount

Send photographs from both sides of the alteration, the proposed layout and confirmation of building-work readiness. Include cornice choices and the full repaint area.

Plastering • Painting • Carpentry

  • Experienced local tradespeople

    Over 10 years of experience delivering quality finishes.

  • Licensed & insured

    QBCC licence 15438315.

  • Photos & plans welcome

    Upload your job photos or drawings with your enquiry.

  • Rosemount & surrounds

    Residential plastering, painting and carpentry enquiries.

Prefer to talk? Call 0404 070 587

Request a Free Quote

Fill in the details below. You can also attach photos or plans.