K&J Plastering, Painting & Carpentry logo

K & J Interiors

Plasterers Cooroibah

Ceiling-focused plastering in Cooroibah, from assessing the affected lining to defining the wall edges and repainting that complete the room.

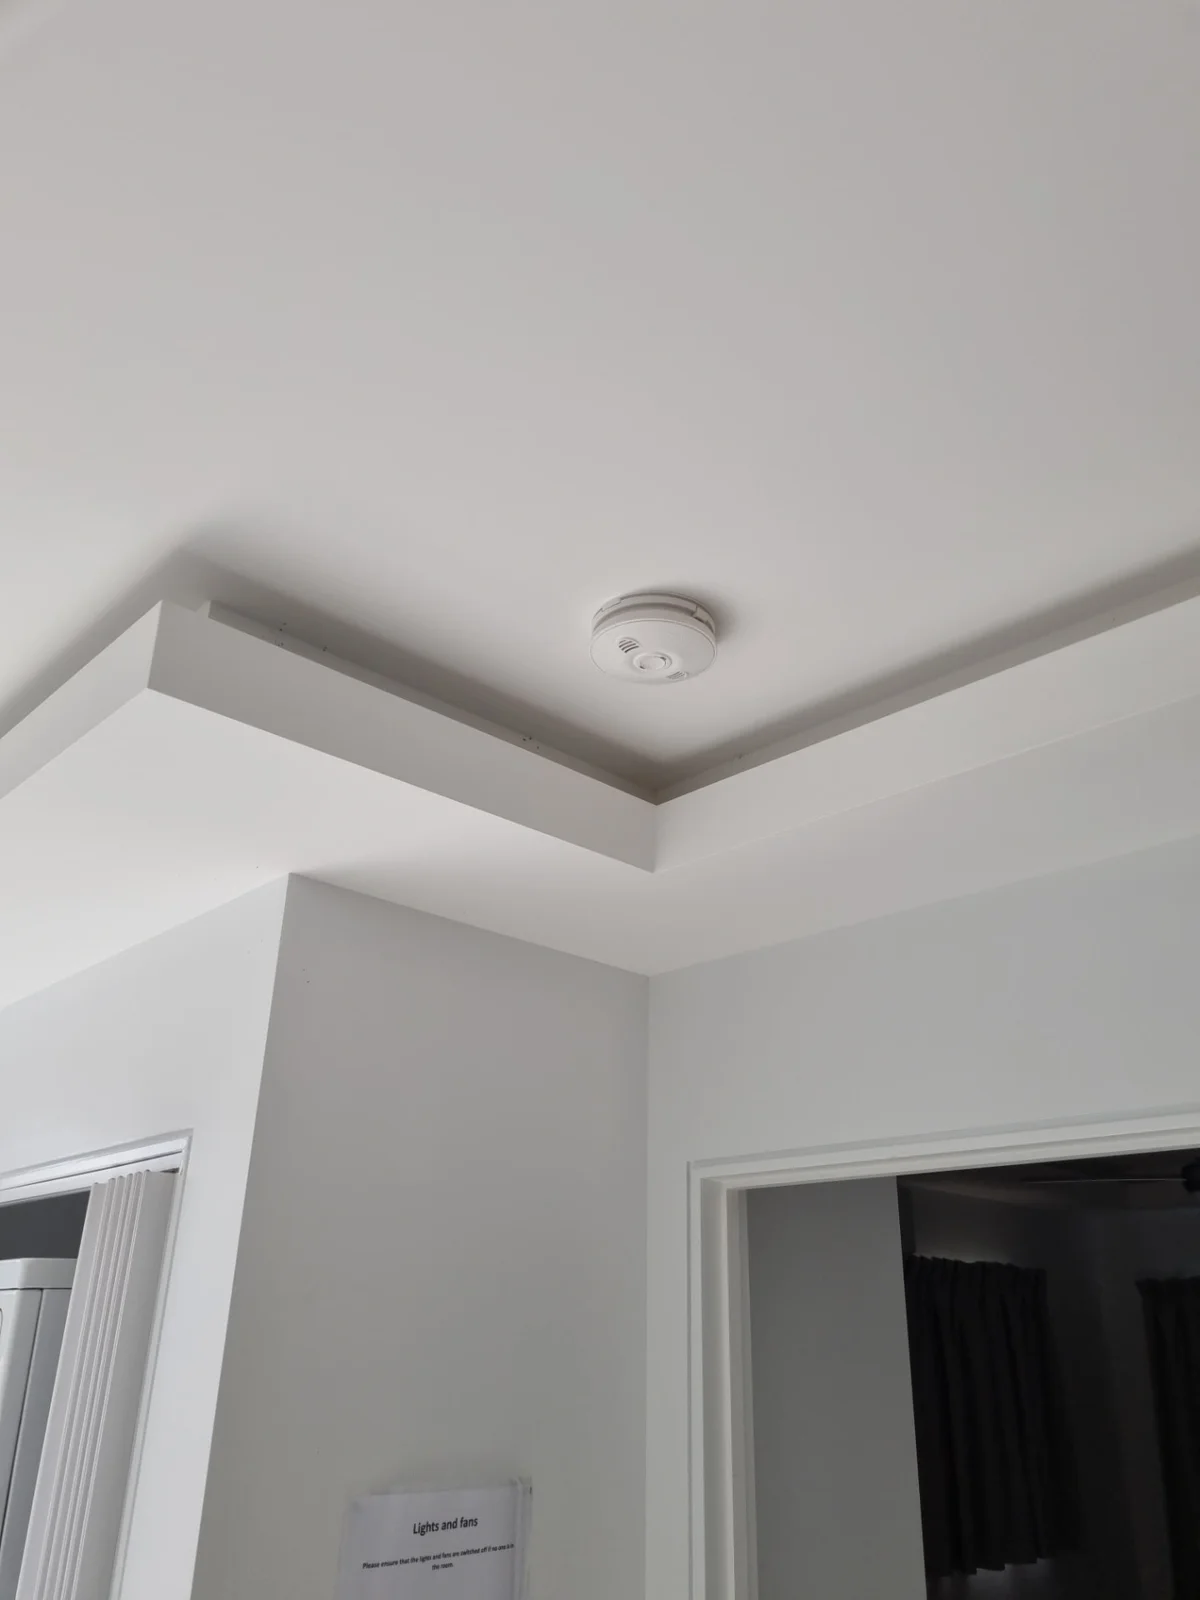
K & J finished painted ceiling corner with a clean square-set junction and bulkhead detail
K & J project photograph · Finished painted square-set detail. Project location not represented as Cooroibah.

Look beyond the ceiling's central area

A ceiling repair can affect fittings, wall edges and cornice well beyond the first mark that draws attention. A useful enquiry shows those relationships before choosing between patching and replacement. K & J Interiors welcomes Cooroibah ceiling and wall enquiries with wide photographs, approximate dimensions and a description of any changes over time. Include the adjoining surfaces you want retained. This helps frame a practical reinstatement discussion that covers lining support, preparation and the intended finish rather than the visible defect alone.

01

Ceiling patches and replacement areas

Photograph the whole ceiling, then add close-ups of cracks, openings or deteriorated sections. Include previous repairs and the locations of fittings. The remaining lining condition and support influence whether a local patch or broader replacement is appropriate. A marked damage outline is useful information, but it does not establish the final repair perimeter.

Assess the ceiling as a whole
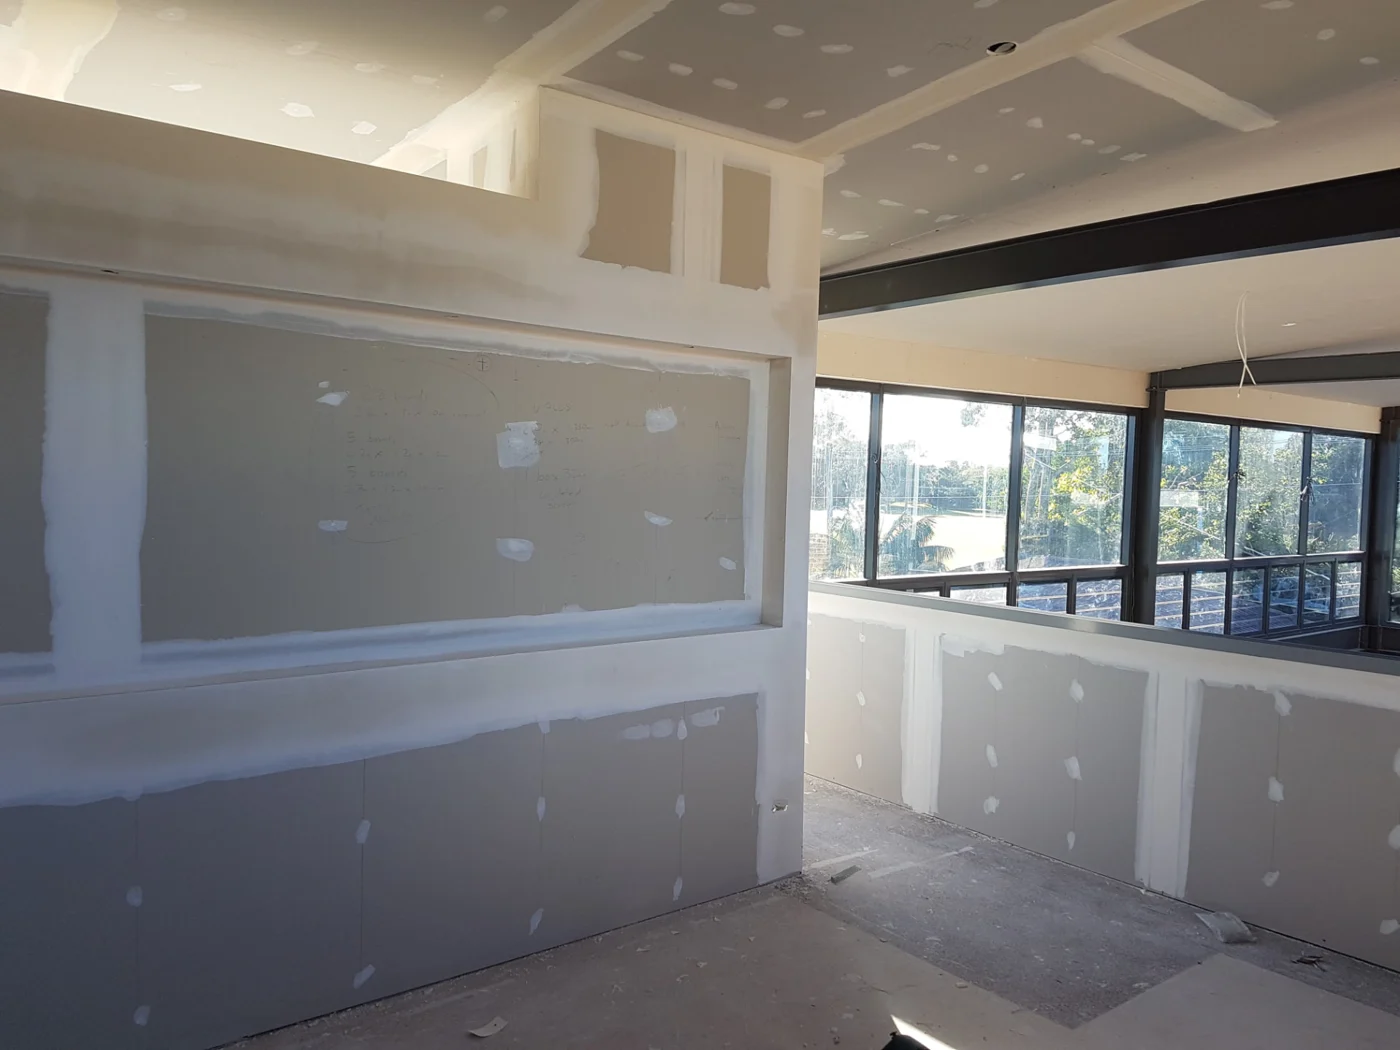
K & J bulkhead and square-set ceiling junction during joint setting
K & J project · Bulkhead & square-set construction · Setting in progress

02

Replacement board after agreed removal

For relining, identify the approved removal area and the condition of the framing once safely accessible. Other trades may need to complete work before new sheets are fixed. Board installation is followed by joint setting, drying and sanding. Include adjoining retained lining edges in the scope so the new work has a defined connection.

Plan ceiling relining stages
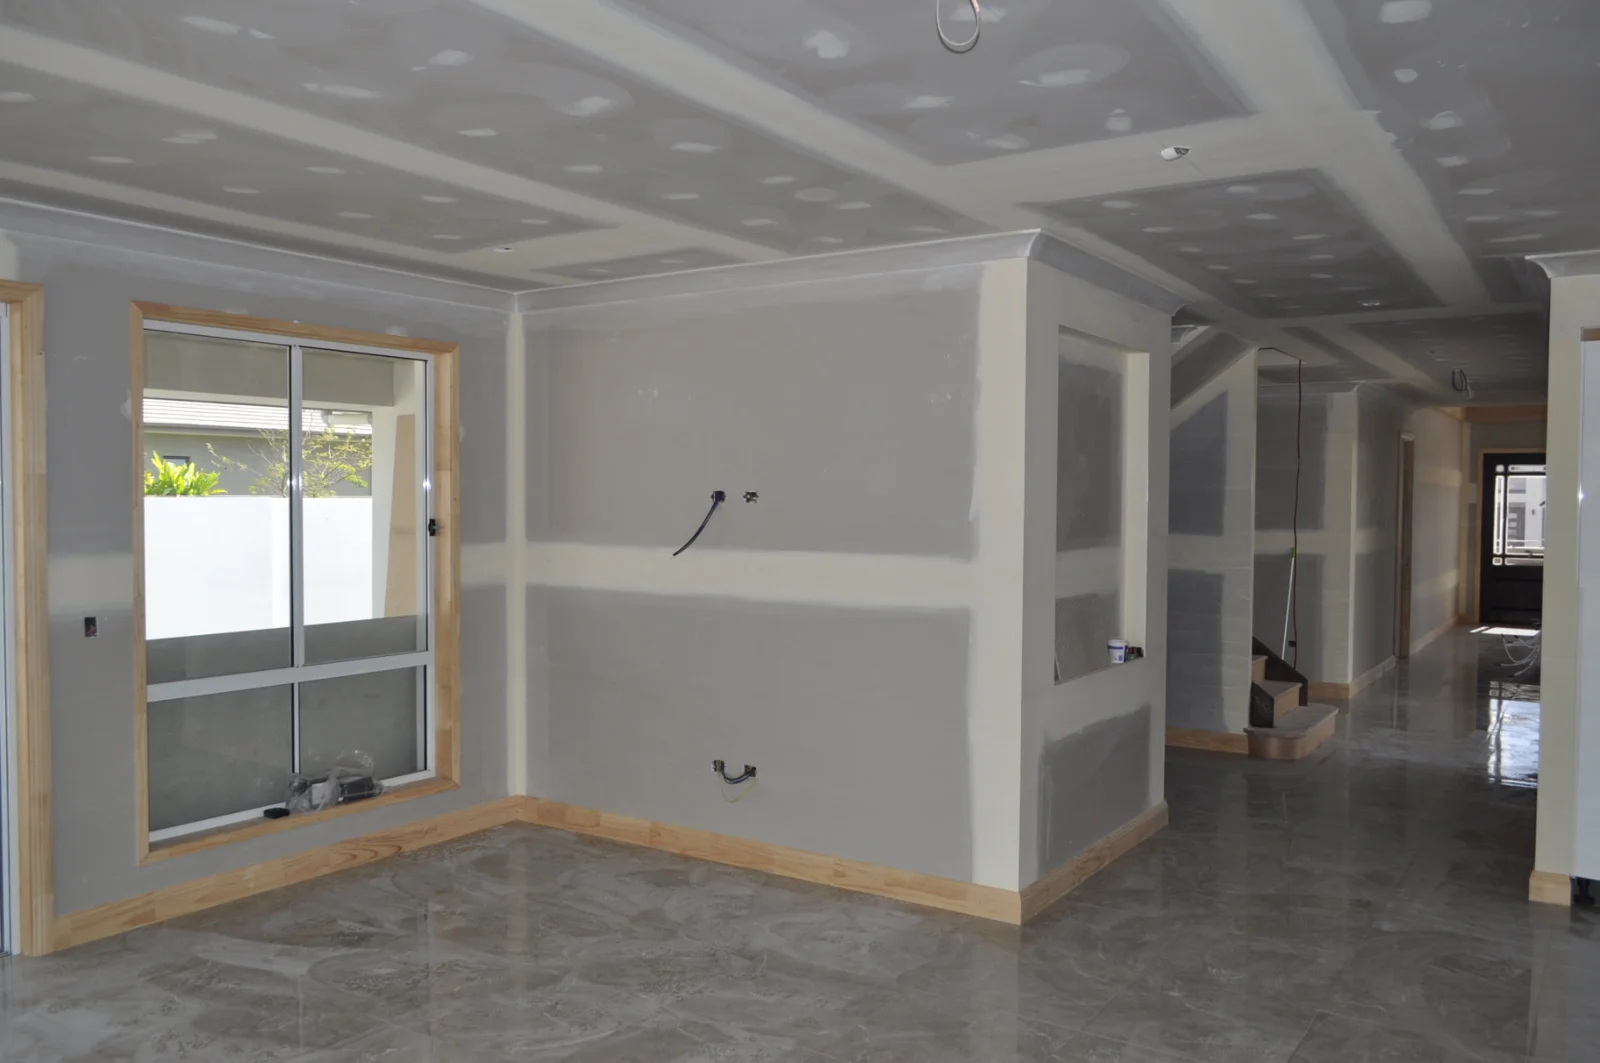
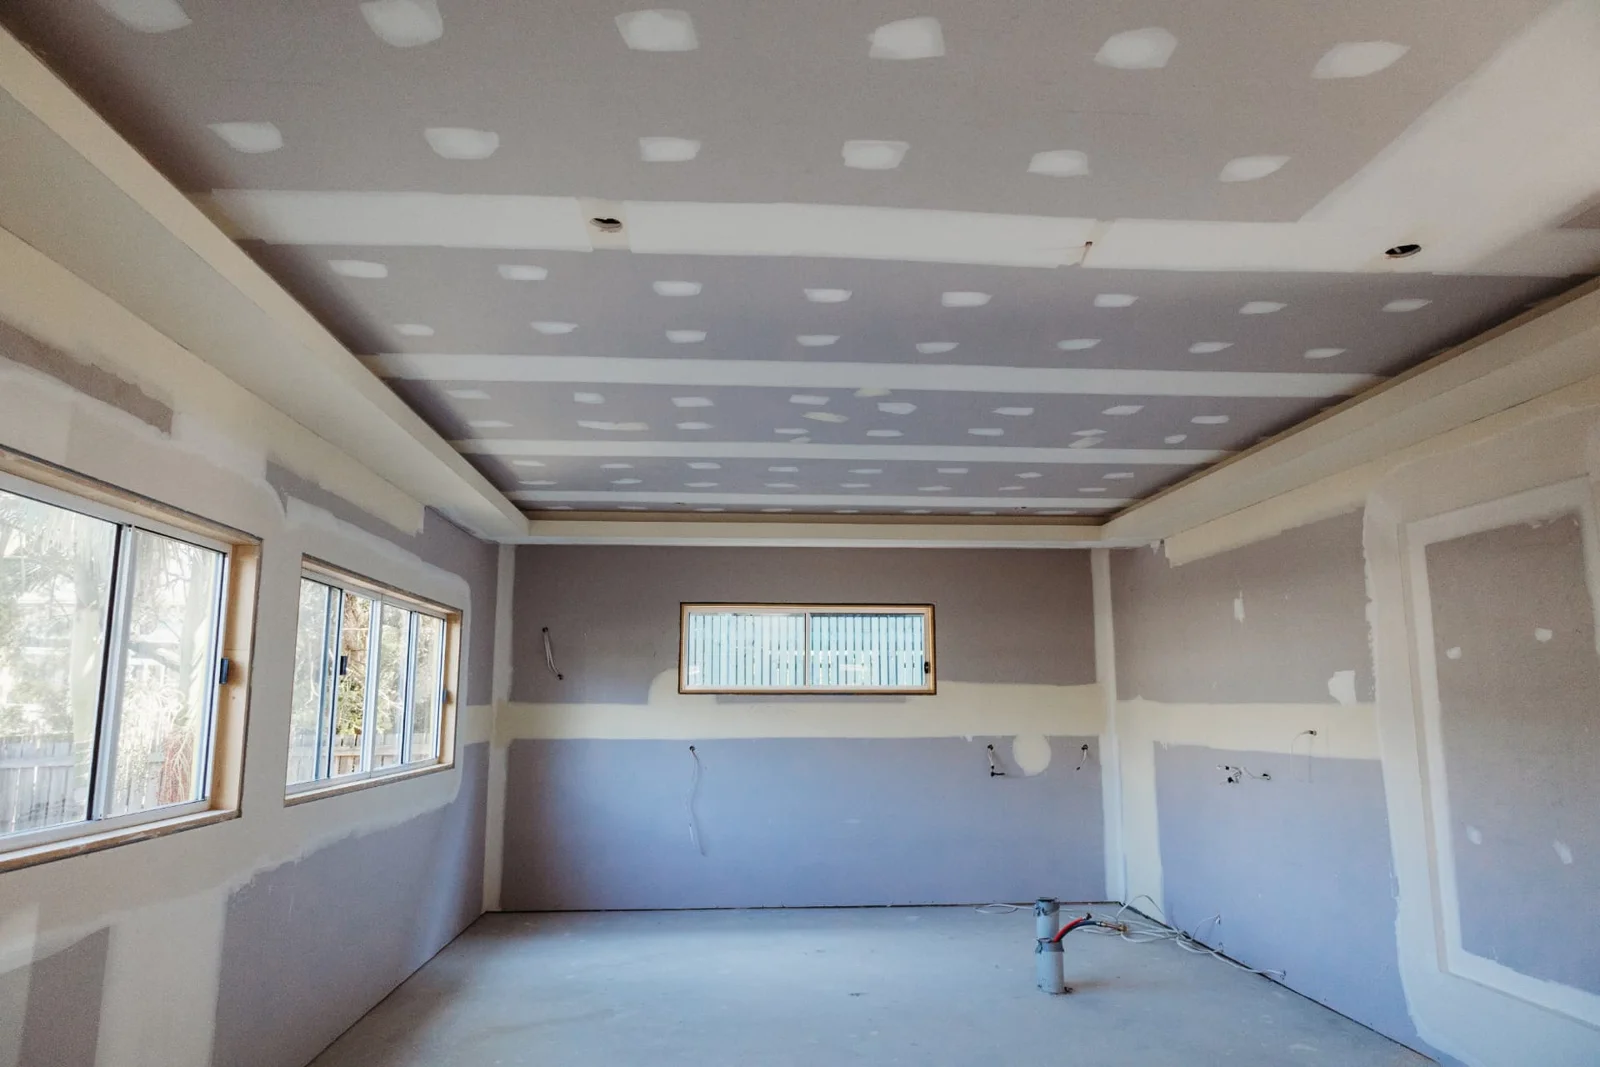
K & J plasterboard ceiling and walls with visible joint compound before sanding and painting
K & J project · Wall & ceiling installation · Joint setting in progress

03

Cornices around the repaired ceiling

Ceiling removal may disturb some or all of the room's cornice. Show each affected wall junction and provide a profile close-up. Identify the lengths proposed for retention, repair or replacement. Matching depends on the detail and available material, while a change to square set requires its own preparation and support discussion before work begins.

Include ceiling-edge plastering
K & J cornice and room linings with plasterboard joints being set
K & J project · Cornice & room linings · Setting in progress

04

Upper-wall repairs after ceiling work

The top of a wall can need attention where cornice or ceiling lining has been removed. Include peeled surfaces, damaged corners and old junction repairs in the photographs. These areas may sit outside the central ceiling replacement quantity. Defining them separately helps ensure backing, patching and preparation are considered before the room is ready for paint.

Review adjoining wall damage

05

Painting the reinstated room surfaces

Nominate the complete ceiling and any affected walls that should be painted after plastering. Fresh board and compound need suitable preparation, while old coatings may have separate defects. Include cornice and trims where relevant. Painting only the replacement section is a different scope from returning all nominated room surfaces to a consistent finish.

Set the reinstatement paint scope

Setting examples beyond a flat ceiling

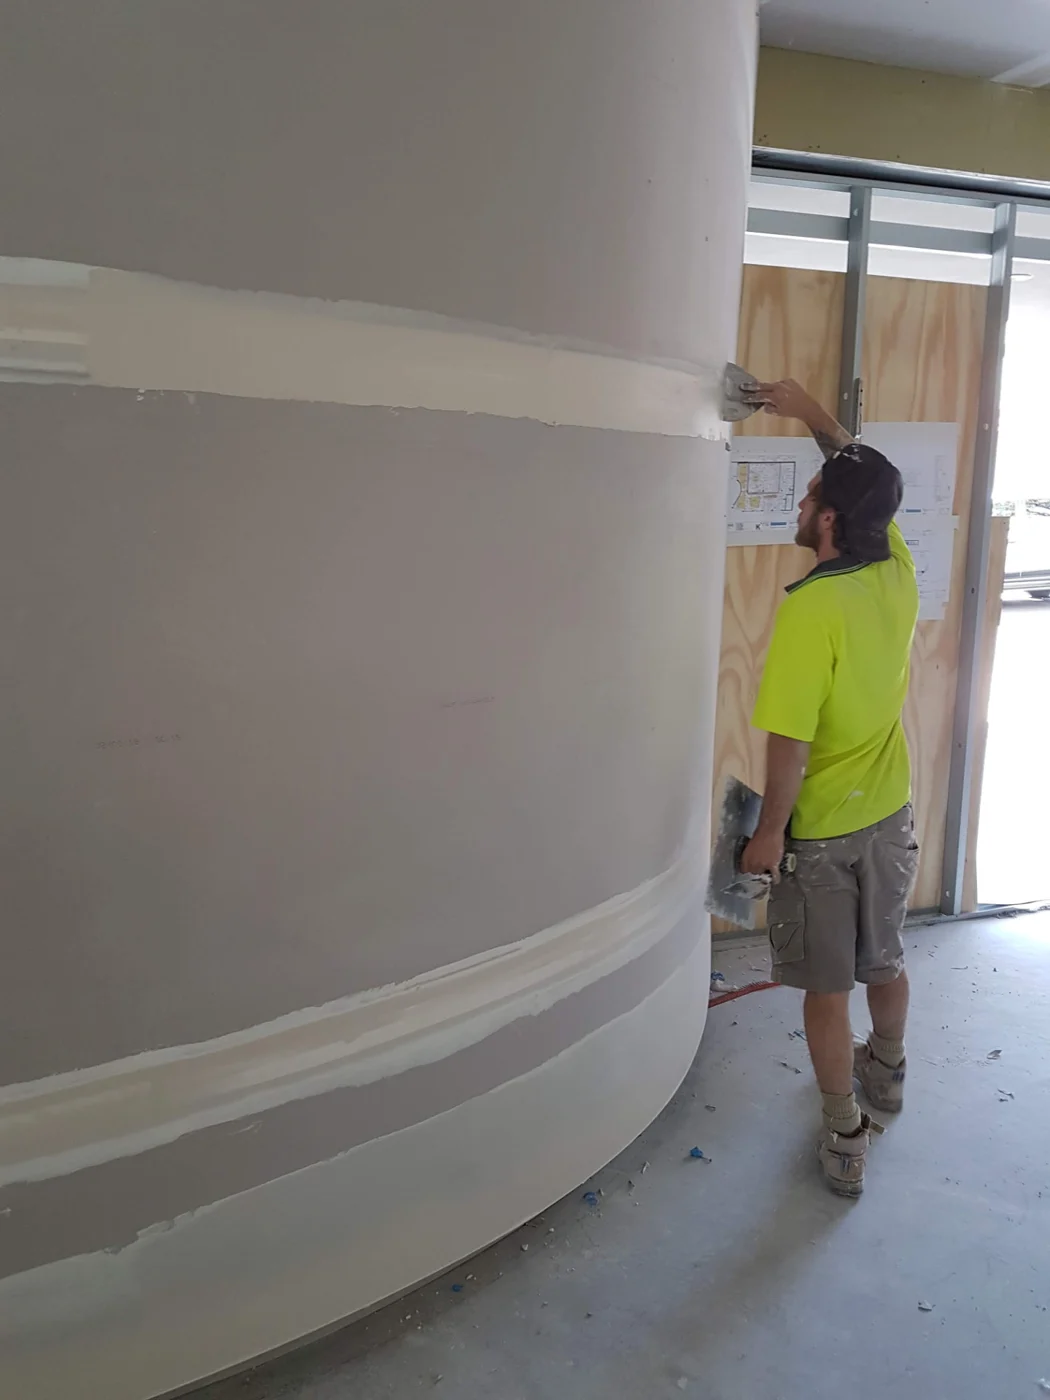
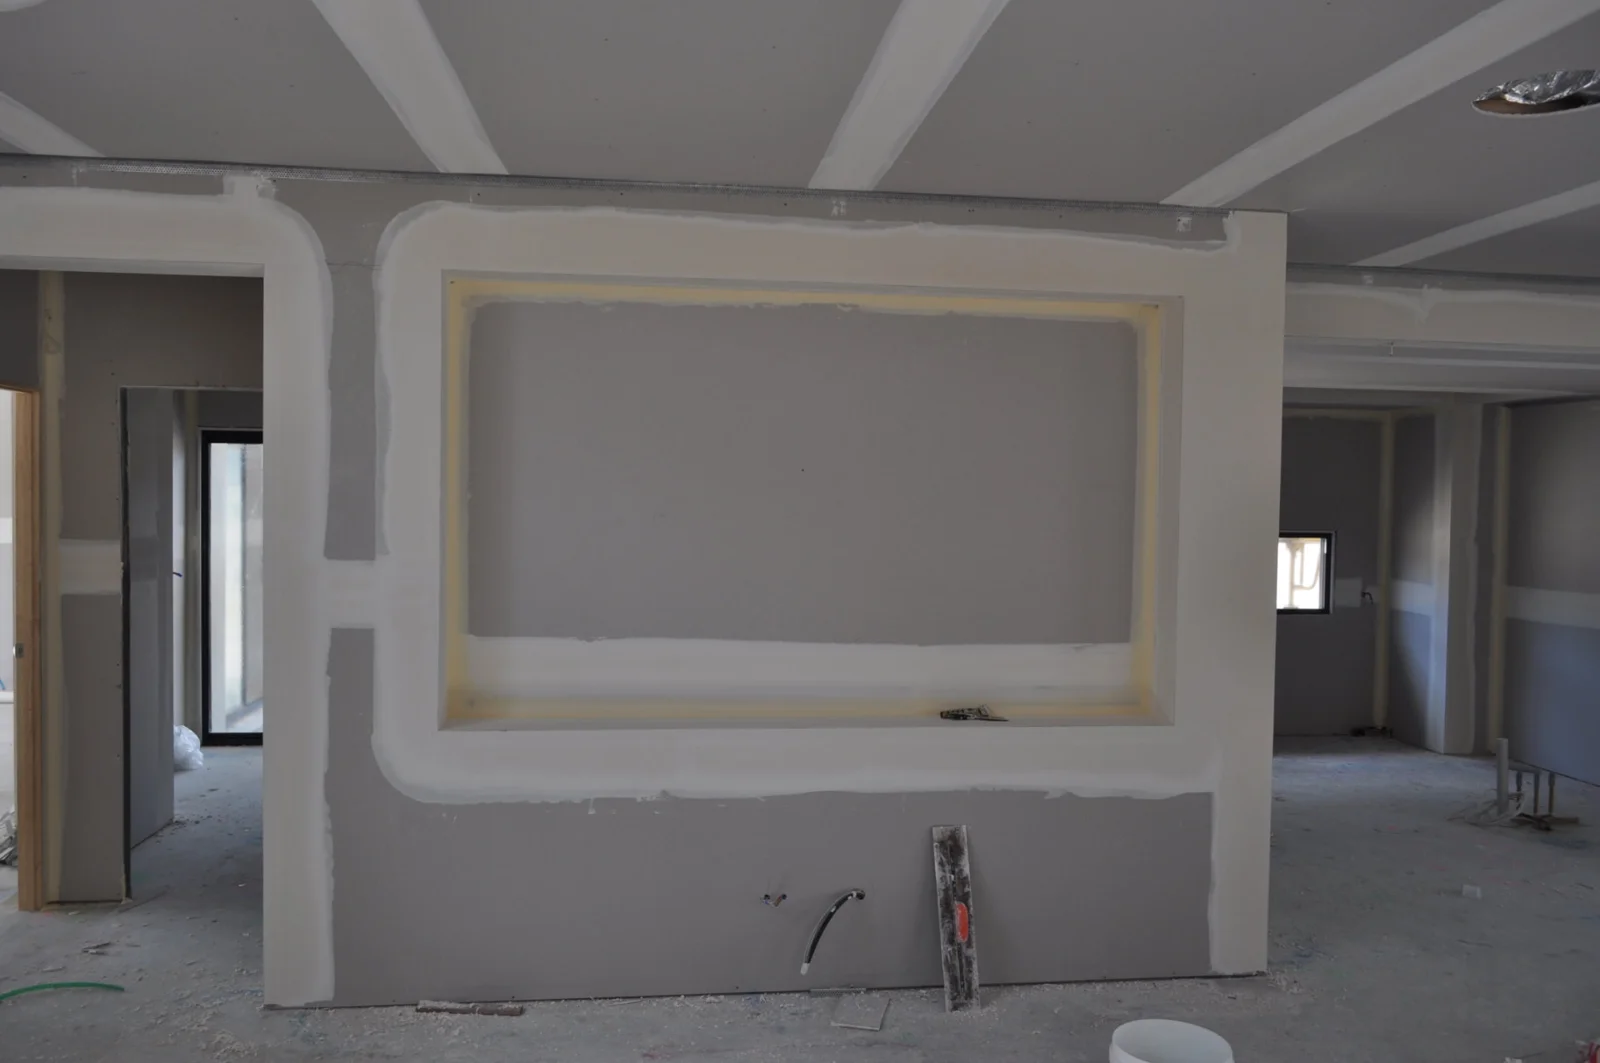
Curved-wall and recessed-detail photographs show K & J joint and corner work in progress. They are included as trade examples, not Cooroibah project records.

K & J plasterer applying joint compound to a curved plasterboard wall
K & J project · Curved-wall plastering · Compound being applied
K & J recessed plasterboard niche with corners and joints being finished
K & J project · Recessed plasterboard detail · Setting in progress

Address the cause before reinstating the lining

If a ceiling is stained or water-affected, explain when the issue began and whether the source has been repaired. Any necessary investigation, drying and specialist mould treatment must precede reinstatement. A dry-looking surface photograph alone does not establish the condition of concealed material.

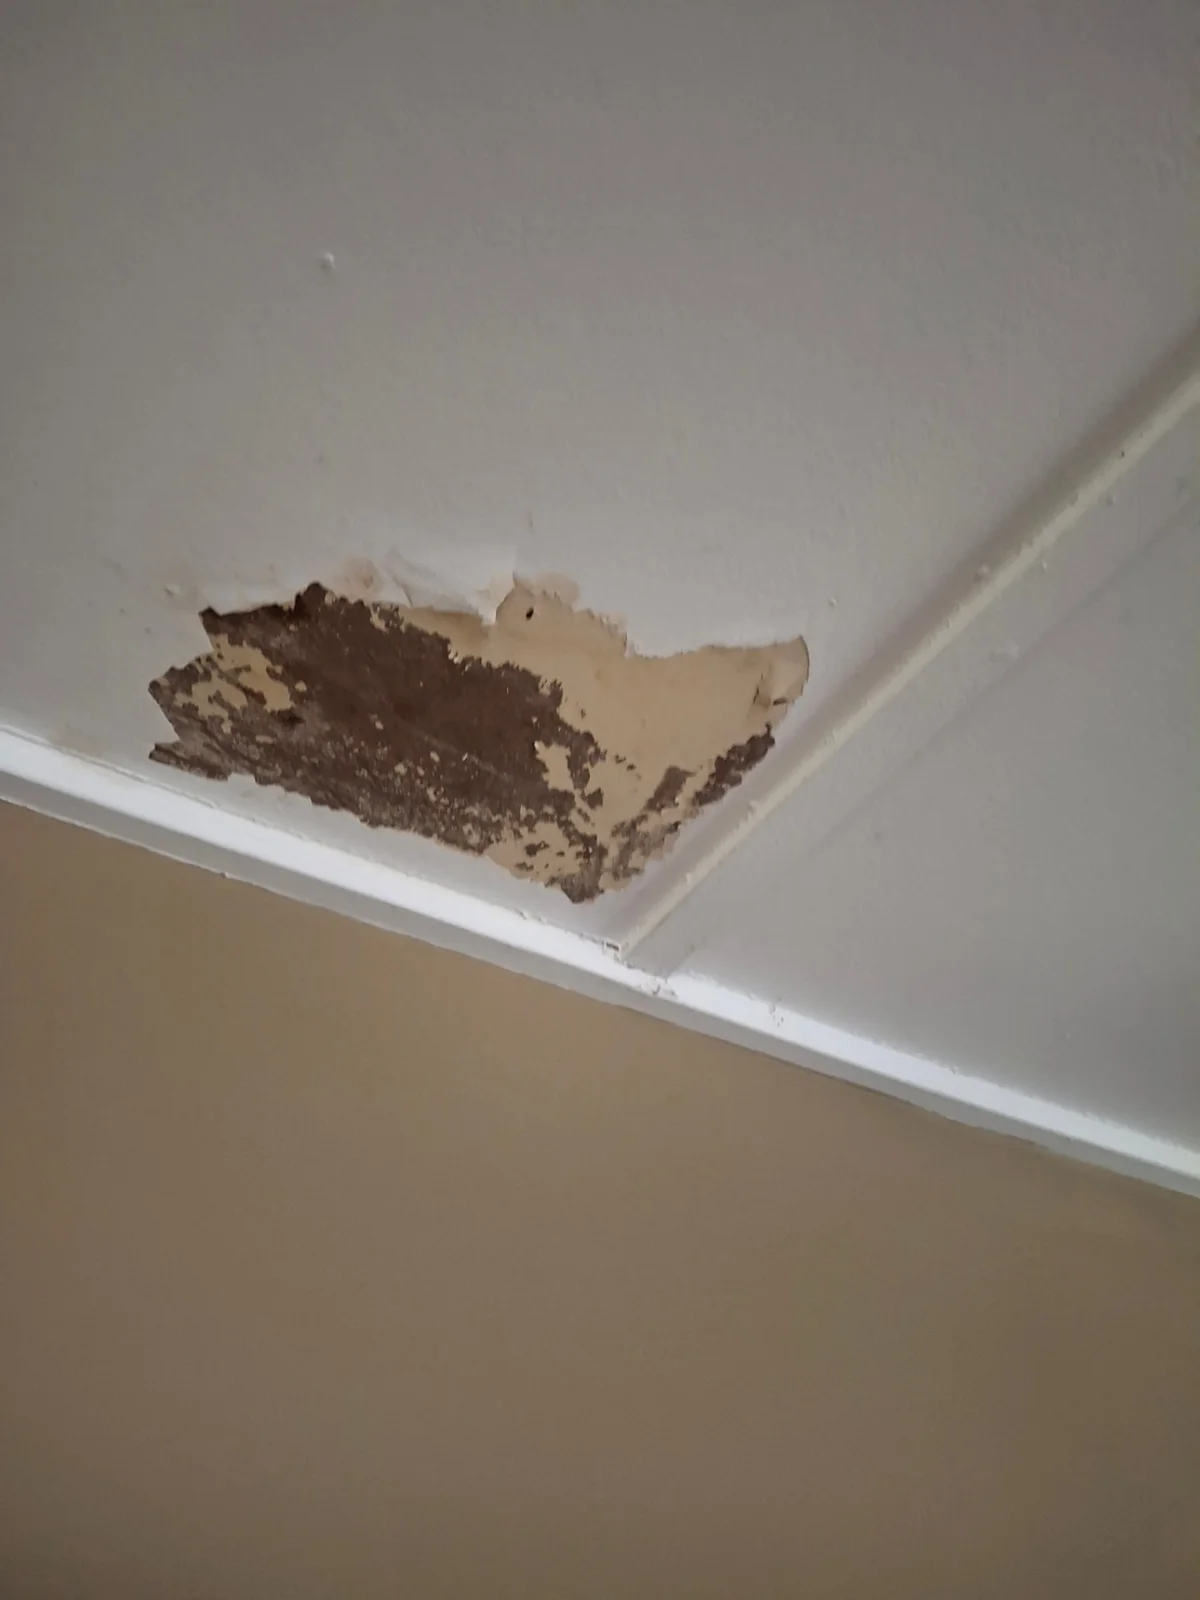
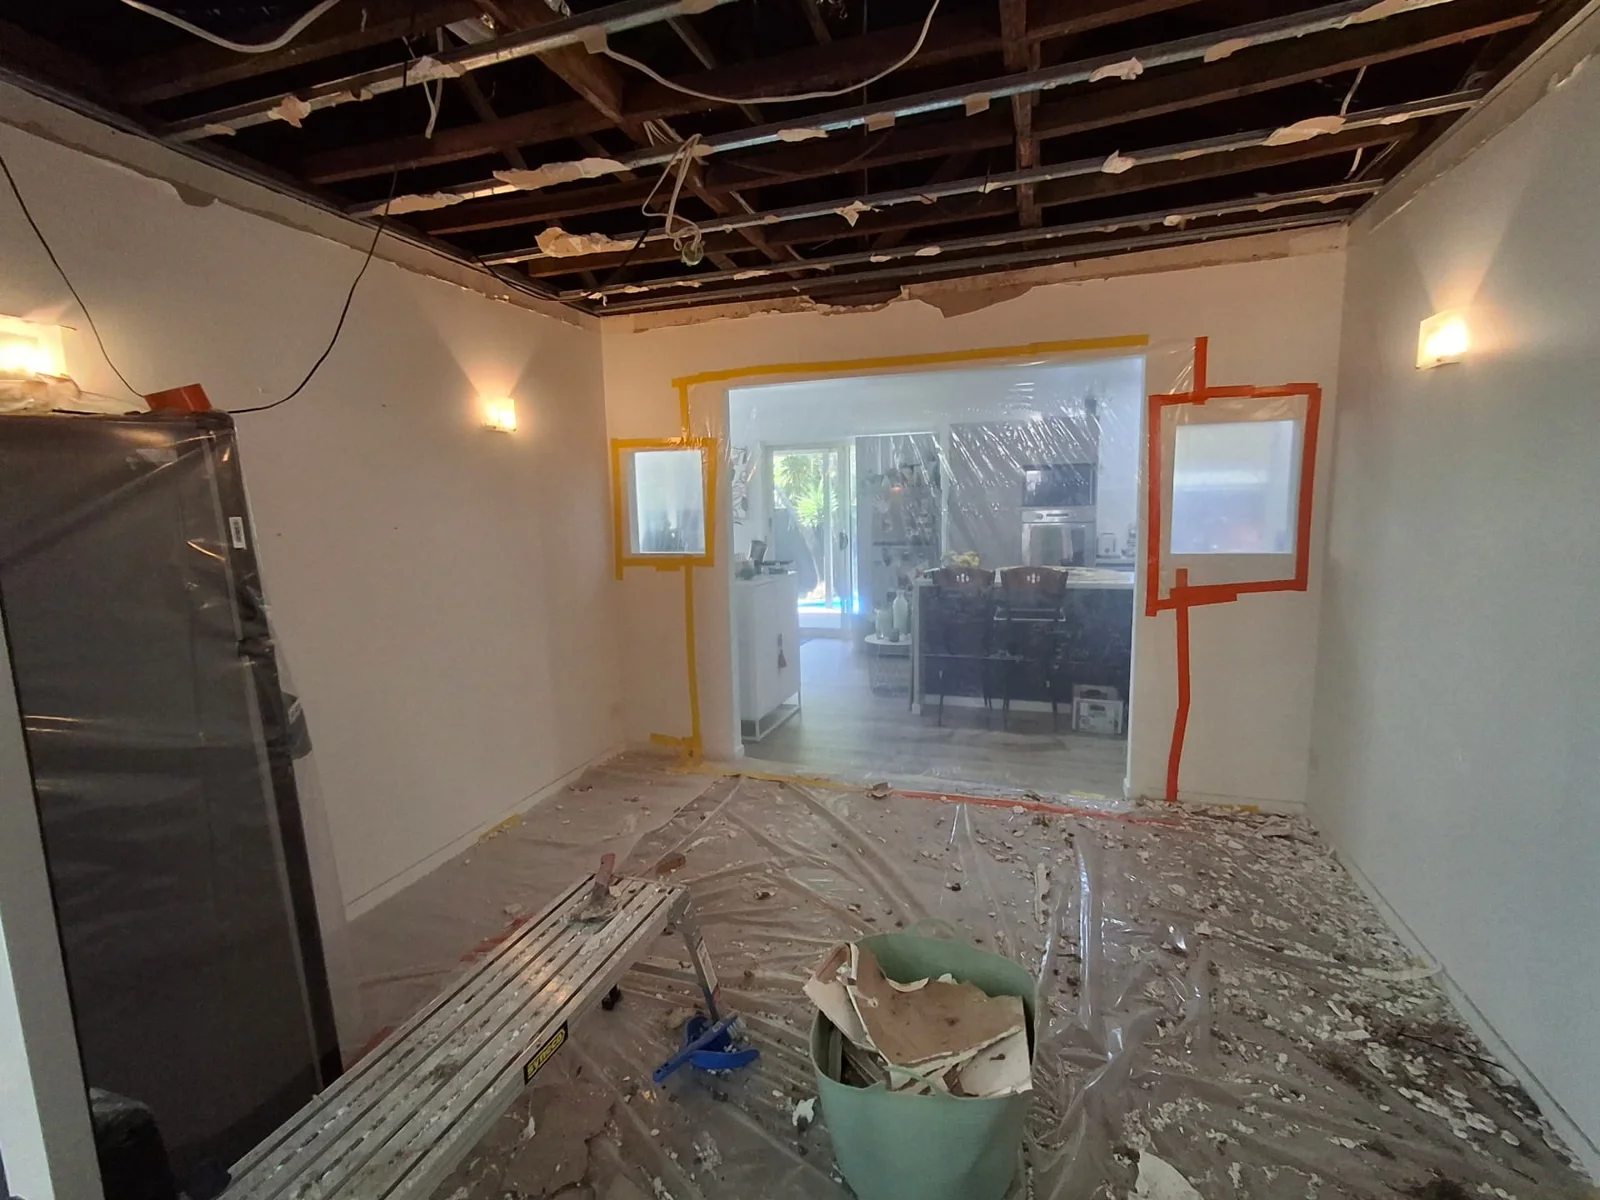
Where lining is loose or sagging, keep people clear of the affected area and arrange assessment rather than attempting to remove it yourself. Identify fittings requiring licensed trades and any suspected hazardous materials. The photographs illustrate damaged lining and strip-out, not a completed Cooroibah repair.

K & J project showing damaged ceiling lining with peeling surfaces before repair
Before repair · Damaged ceiling lining
K & J project showing exposed ceiling framing after lining removal
Strip-out stage · Ceiling lining removed

Prepare a ceiling reinstatement brief

  1. 01

    Describe the change

    Record when the defect appeared, what has changed and any action already taken, supported by whole-ceiling photographs.

  2. 02

    Confirm readiness to reline

    Clarify moisture-related work, framing, service access and the boundaries of retained ceiling and cornice.

  3. 03

    Include the room edges

    Agree upper-wall repairs, setting, sanding and paint coverage alongside the central ceiling work.

Cooroibah beside Lake Cooroibah

Cooroibah is beside Lake Cooroibah, with Tewantin and Tinbeerwah shown in the surrounding area on Noosa Council mapping. The lake and nearby locality names help locate a property; the ceiling brief should describe the actual building and observed condition.

Include the address, ceiling height and entry route for the affected room. If access is managed by someone other than the owner, nominate the authorised contact and arrangements for assessment. Existing nearby information is available for Tewantin, Noosaville and Noosa.

Cooroibah ceiling-repair questions

Does a ceiling stain show the replacement area?

Not reliably. The visible stain and the condition of the lining or concealed material may differ. Provide wider photographs and the history of the issue for assessment.

Should cornice be included with ceiling replacement?

Identify it explicitly. Some runs may be affected by removal or new junction work, and matching or replacement requirements should be discussed before the ceiling is stripped.

What if the ceiling appears to be dropping?

Keep clear of the affected area and arrange assessment. Do not press, probe or attempt removal to test its condition.

Can upper-wall repairs be part of the same enquiry?

Yes. Show damage around the ceiling edge and state whether wall preparation and painting are included. Those surfaces should not be assumed to fall within a central ceiling replacement allowance.

K&J Plastering, Painting & Carpentry

Request a plastering quote in Cooroibah

Send whole-ceiling views, the history of the defect and details of cornice, upper-wall and painting work needed around it.

Plastering • Painting • Carpentry

  • Experienced local tradespeople

    Over 10 years of experience delivering quality finishes.

  • Licensed & insured

    QBCC licence 15438315.

  • Photos & plans welcome

    Upload your job photos or drawings with your enquiry.

  • Cooroibah & surrounds

    Residential plastering, painting and carpentry enquiries.

Prefer to talk? Call 0404 070 587

Request a Free Quote

Fill in the details below. You can also attach photos or plans.