K&J Plastering, Painting & Carpentry logo

K & J Interiors

Plasterers North Arm

Plastering for North Arm room conversions and interior alterations, from ready framing to clearly specified wall and ceiling finishes.

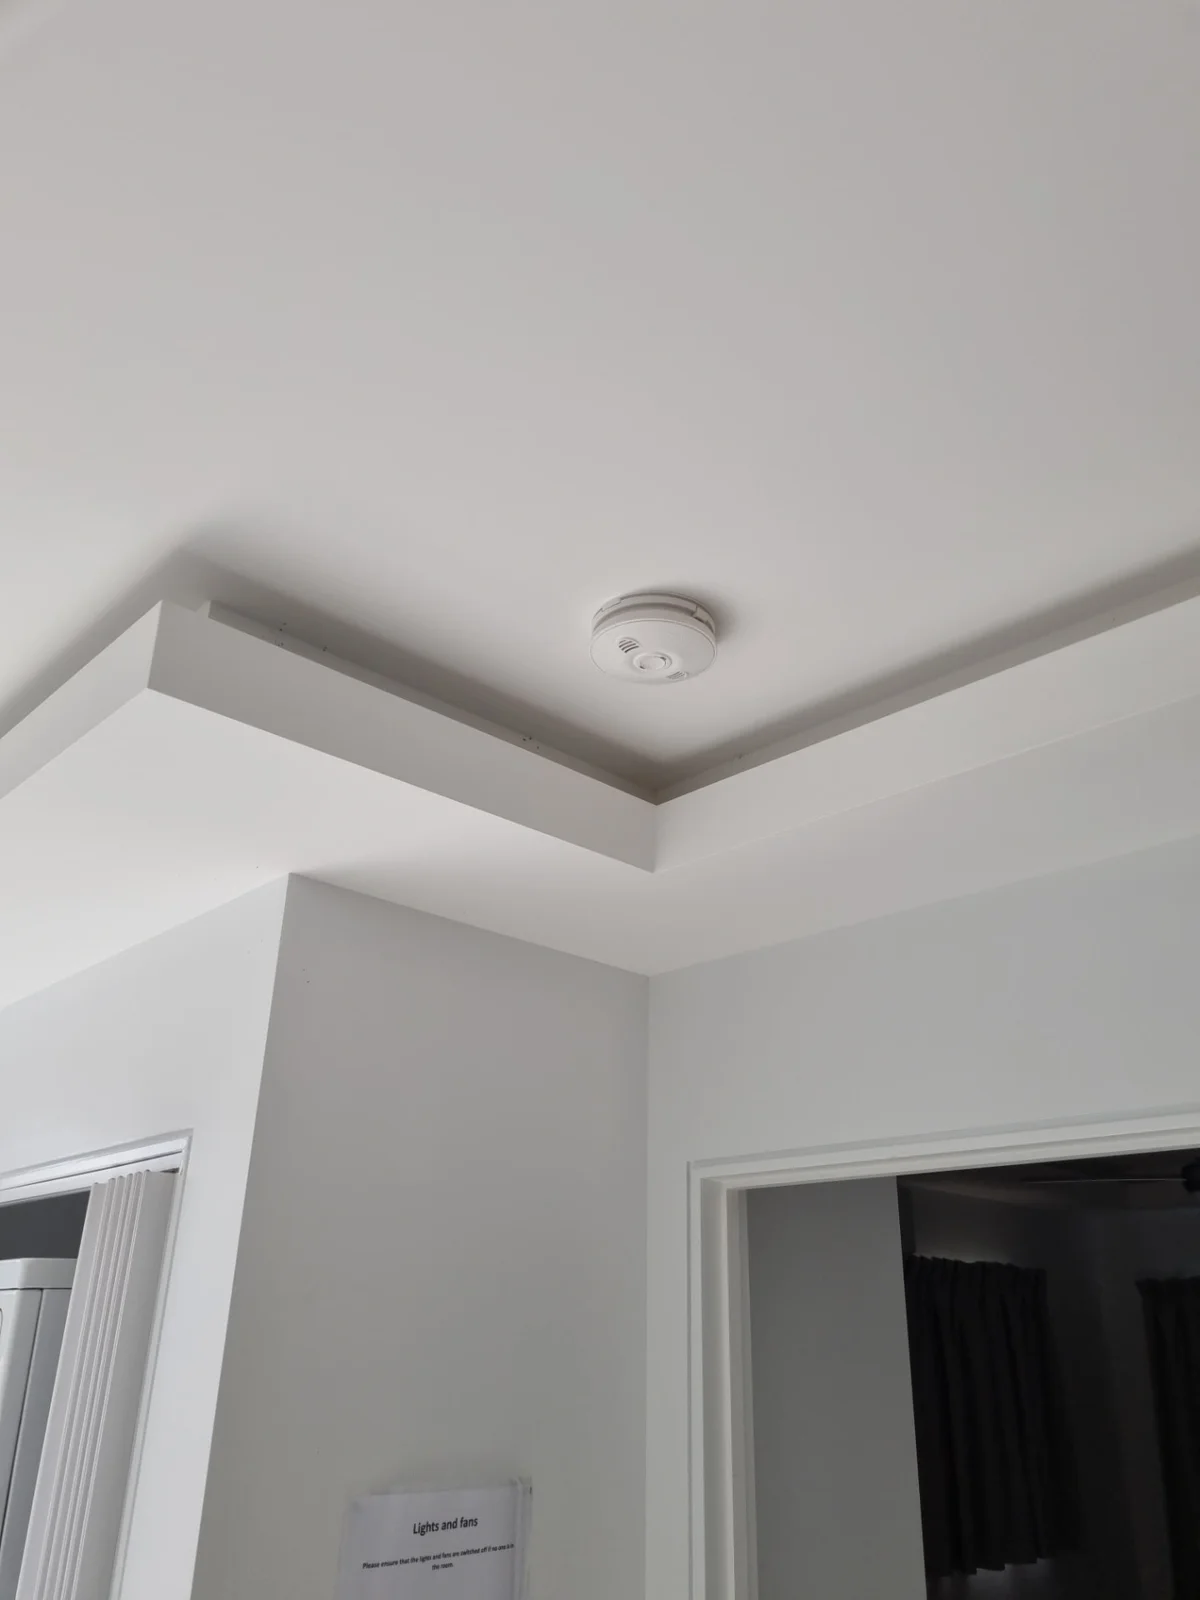
K & J finished painted ceiling corner with a clean square-set junction and bulkhead detail
K & J project photograph · Finished painted square-set detail. Project location not represented as North Arm.

Turn a changed room use into a complete lining scope

Changing how a room is used can reveal a longer plastering list than expected: new partitions, redundant openings, ceiling patches and different wall finishes. K & J Interiors welcomes North Arm enquiries that explain the intended room as well as its current condition. Start with the layout, then identify framing, services and surfaces that remain. This gives the lining discussion a useful direction, whether the project involves a study, an extra room or a broader internal alteration within an existing building.

01

New partitions with both faces accounted for

Show the proposed partition in relation to doors, windows and the existing ceiling. Include both wall faces, returns and any adjoining cupboard area in the measurements. Suitable framing and completed service work come before plasterboard fixing; setting and sanding then prepare the new surfaces for the finish agreed for each side.

Line new internal partitions
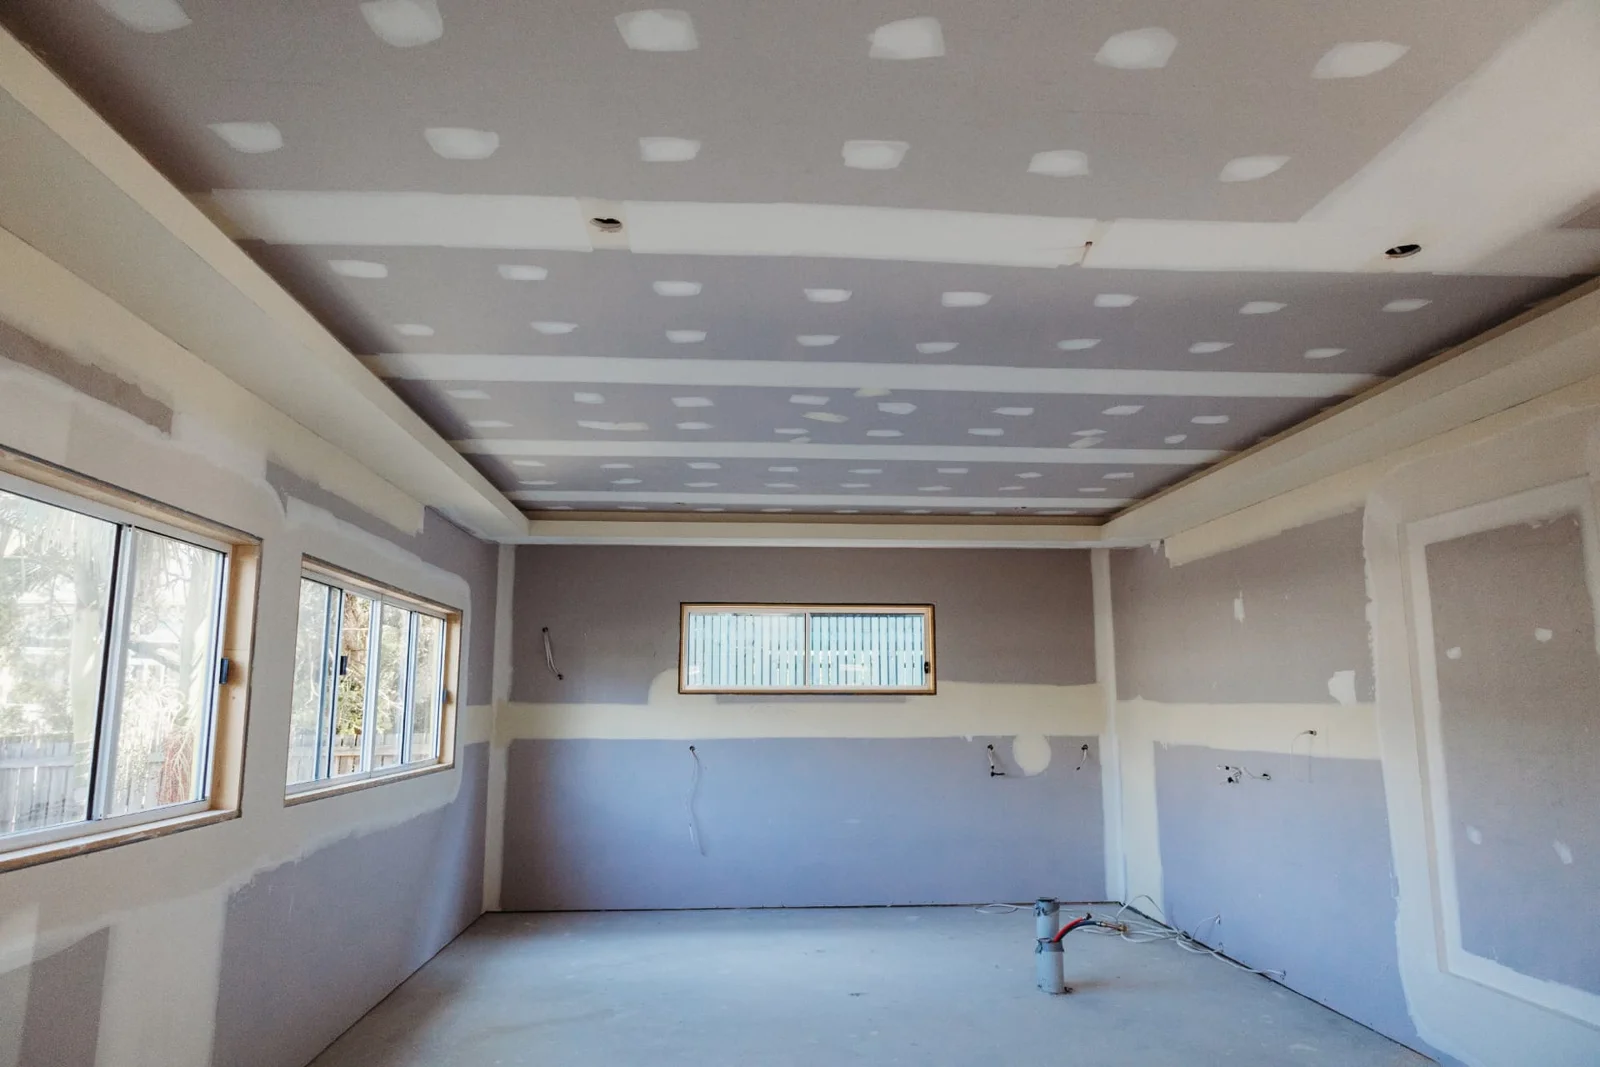
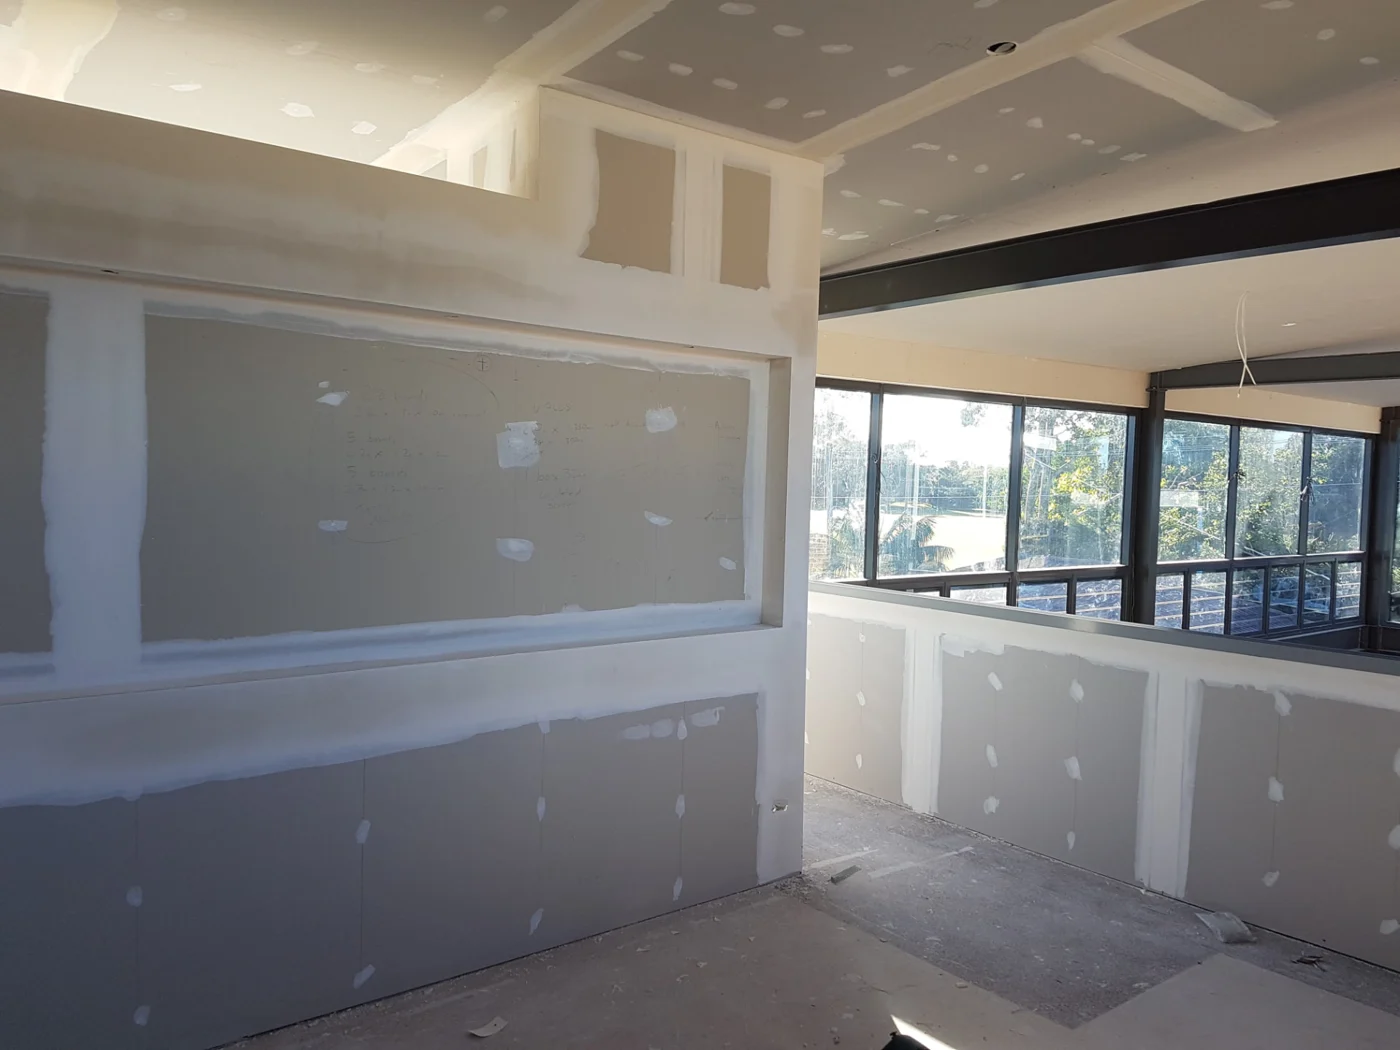
K & J plasterboard ceiling and walls with visible joint compound before sanding and painting
K & J project · Wall & ceiling installation · Joint setting in progress

02

Ceilings affected by a new layout

A new partition can meet an existing ceiling at an awkward joint, while a removed wall may leave a strip needing reinstatement. Photograph the whole ceiling and mark the proposed wall position. Assessing these connections together helps define patching, replacement lining and edge details before the new room is enclosed.

Resolve ceiling connections
K & J bulkhead and square-set ceiling junction during joint setting
K & J project · Bulkhead & square-set construction · Setting in progress

03

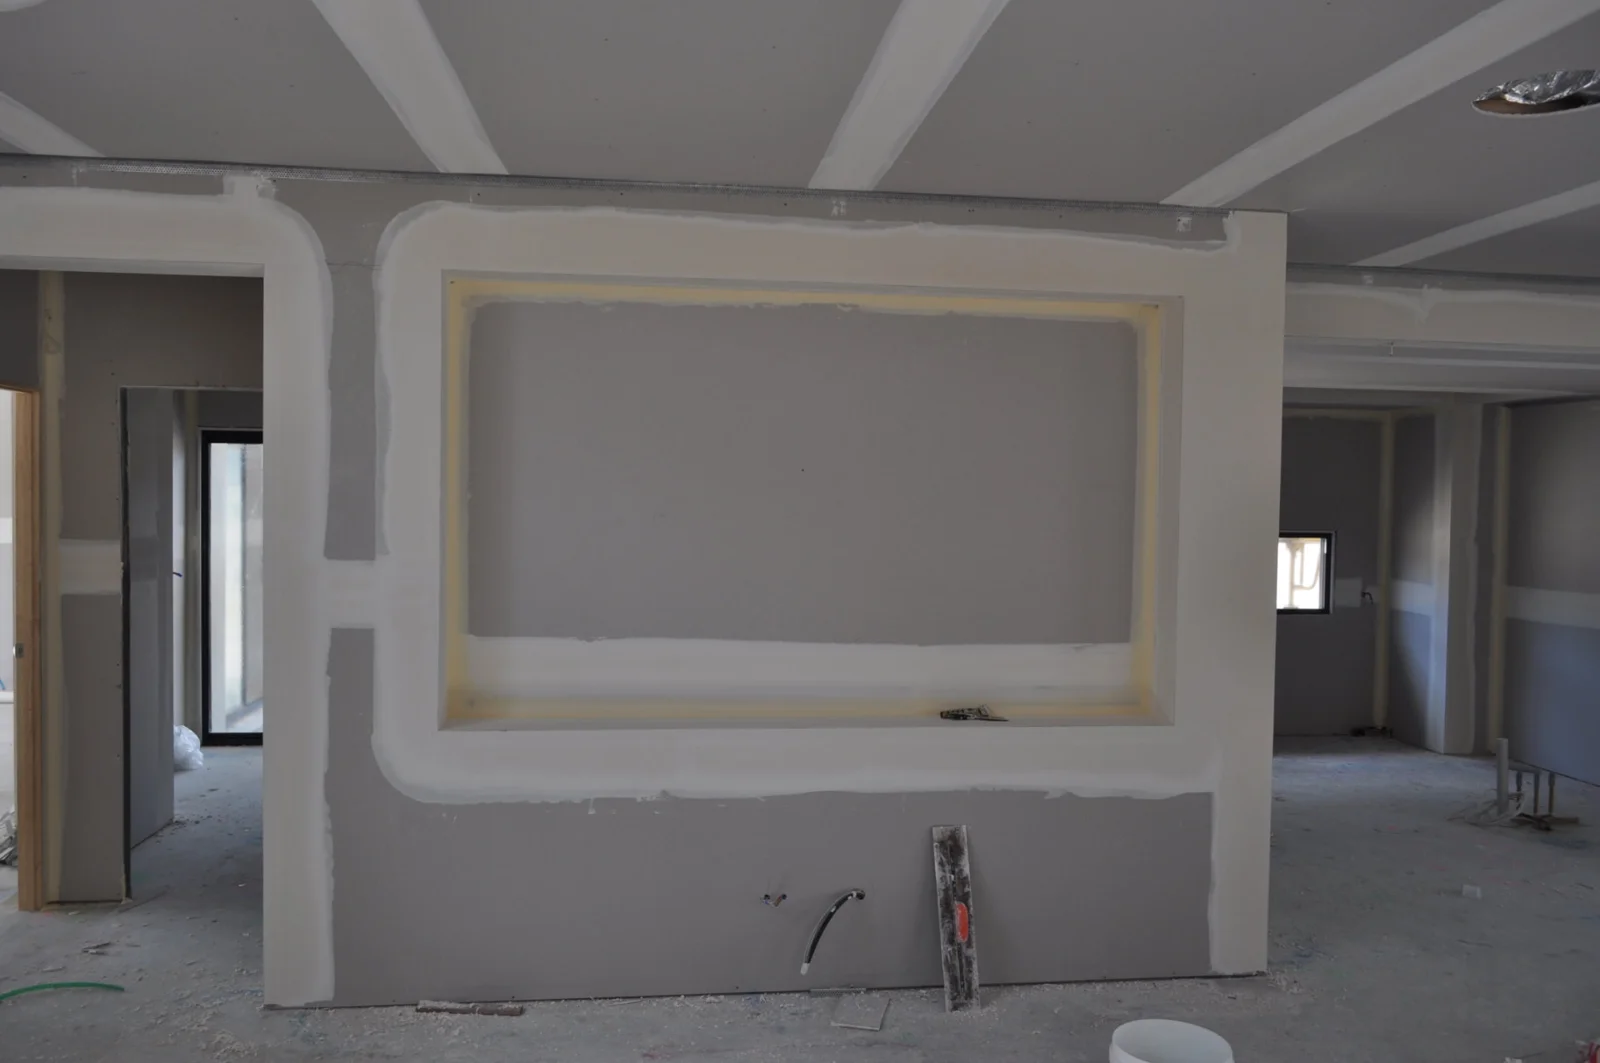
Corners, reveals and recessed details

Room conversions often introduce short returns or recesses that are easy to miss on a floor plan. Provide their width, depth and relationship to adjoining finishes. A recessed plasterboard detail needs an agreed shape and suitable support, with corner treatment considered before installation rather than left as a finishing improvisation.

Discuss detailed plasterboard finishes
K & J recessed plasterboard niche with corners and joints being finished
K & J project · Recessed plasterboard detail · Setting in progress

04

Closing redundant openings properly

When an old doorway, vent or service opening is no longer needed, show both sides and explain what has been removed. Backing, framing and any remaining services influence the repair. Include surrounding skirtings or trims where they affect the lining boundary, and distinguish plaster reinstatement from associated carpentry or electrical work.

Repair redundant wall openings

05

A paint finish suited to the changed room

State which walls and ceilings will be painted once the alteration is complete. New board, filled openings and retained painted surfaces require their respective preparation. If the room changes colour, include every affected return and reveal so the painting scope follows the finished room rather than only the new partition.

Finish the converted room

Cornice and curved-wall finishing in progress

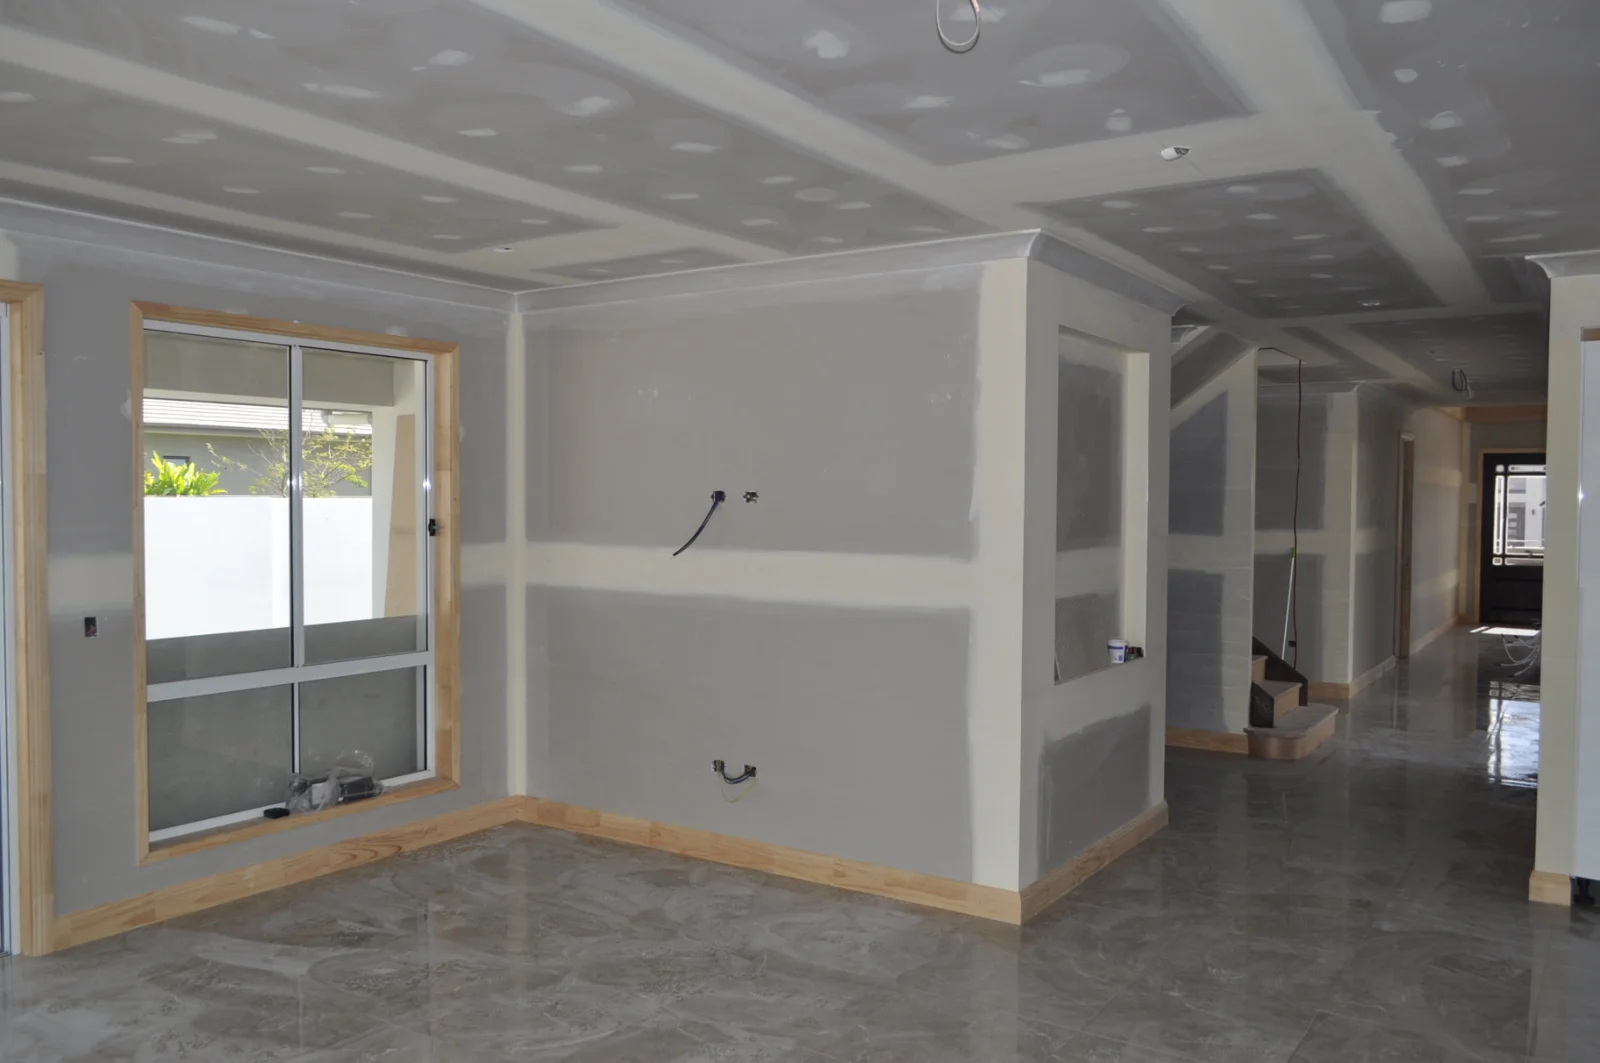
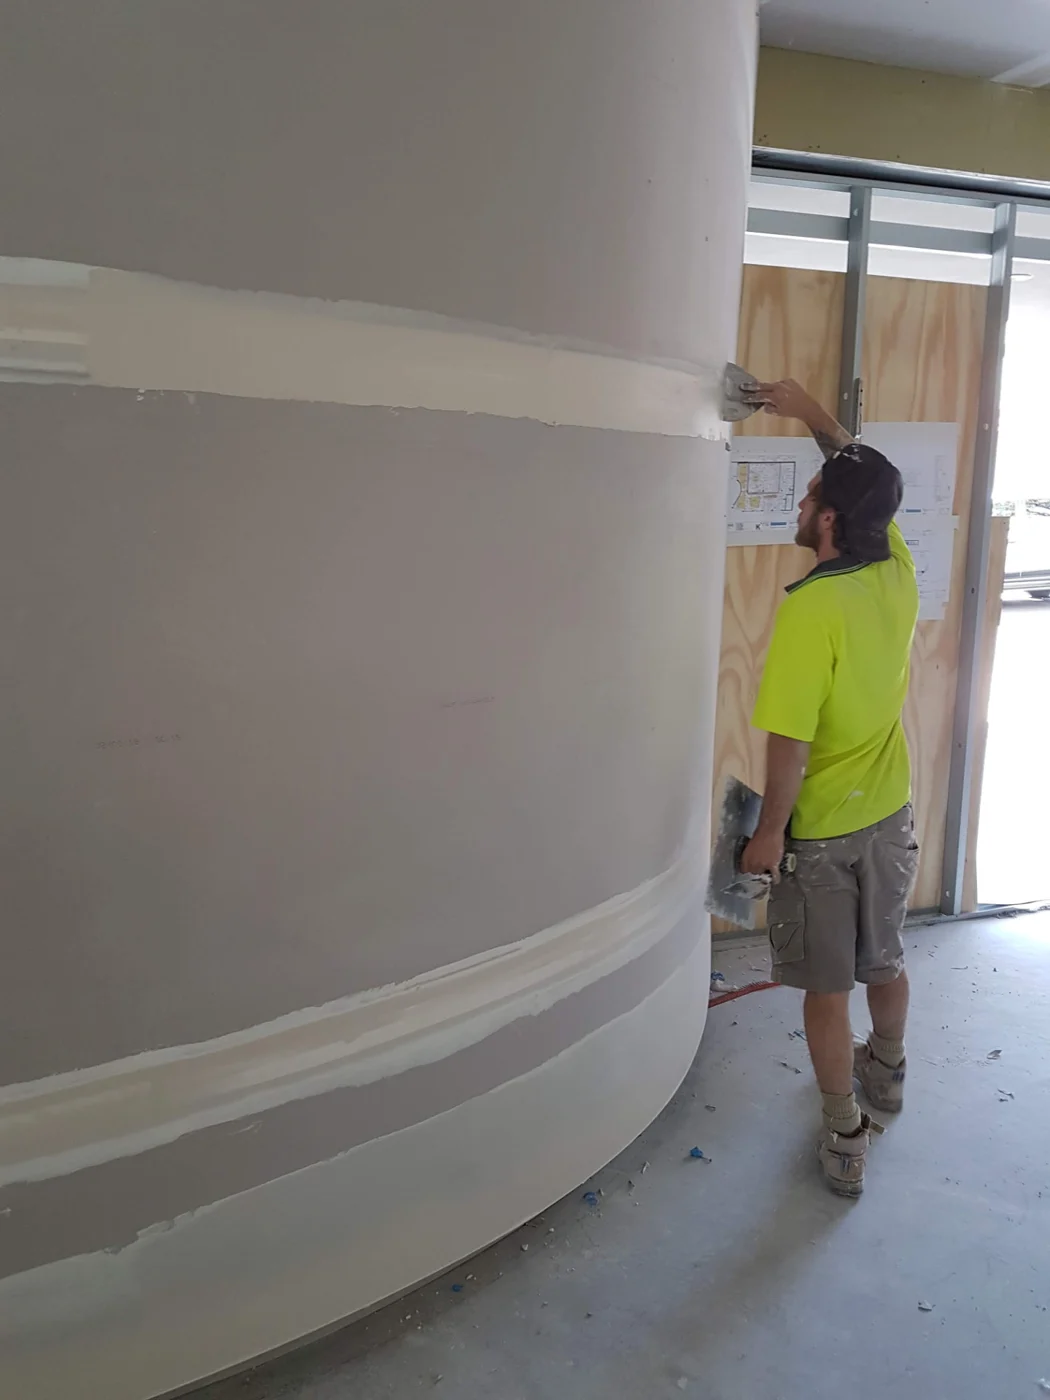
These K & J photographs show different lining and setting details. They are examples of the work stages shown, without attributing the projects to North Arm.

K & J cornice and room linings with plasterboard joints being set
K & J project · Cornice & room linings · Setting in progress
K & J plasterer applying joint compound to a curved plasterboard wall
K & J project · Curved-wall plastering · Compound being applied

Inspect retained linings before enclosing the new room

An internal alteration can expose old patches, loose edges or damaged board that was previously hidden by fittings. Mark those areas separately from the new installation. The repair should connect to sound, adequately supported lining rather than simply follow the outline of the removed item.

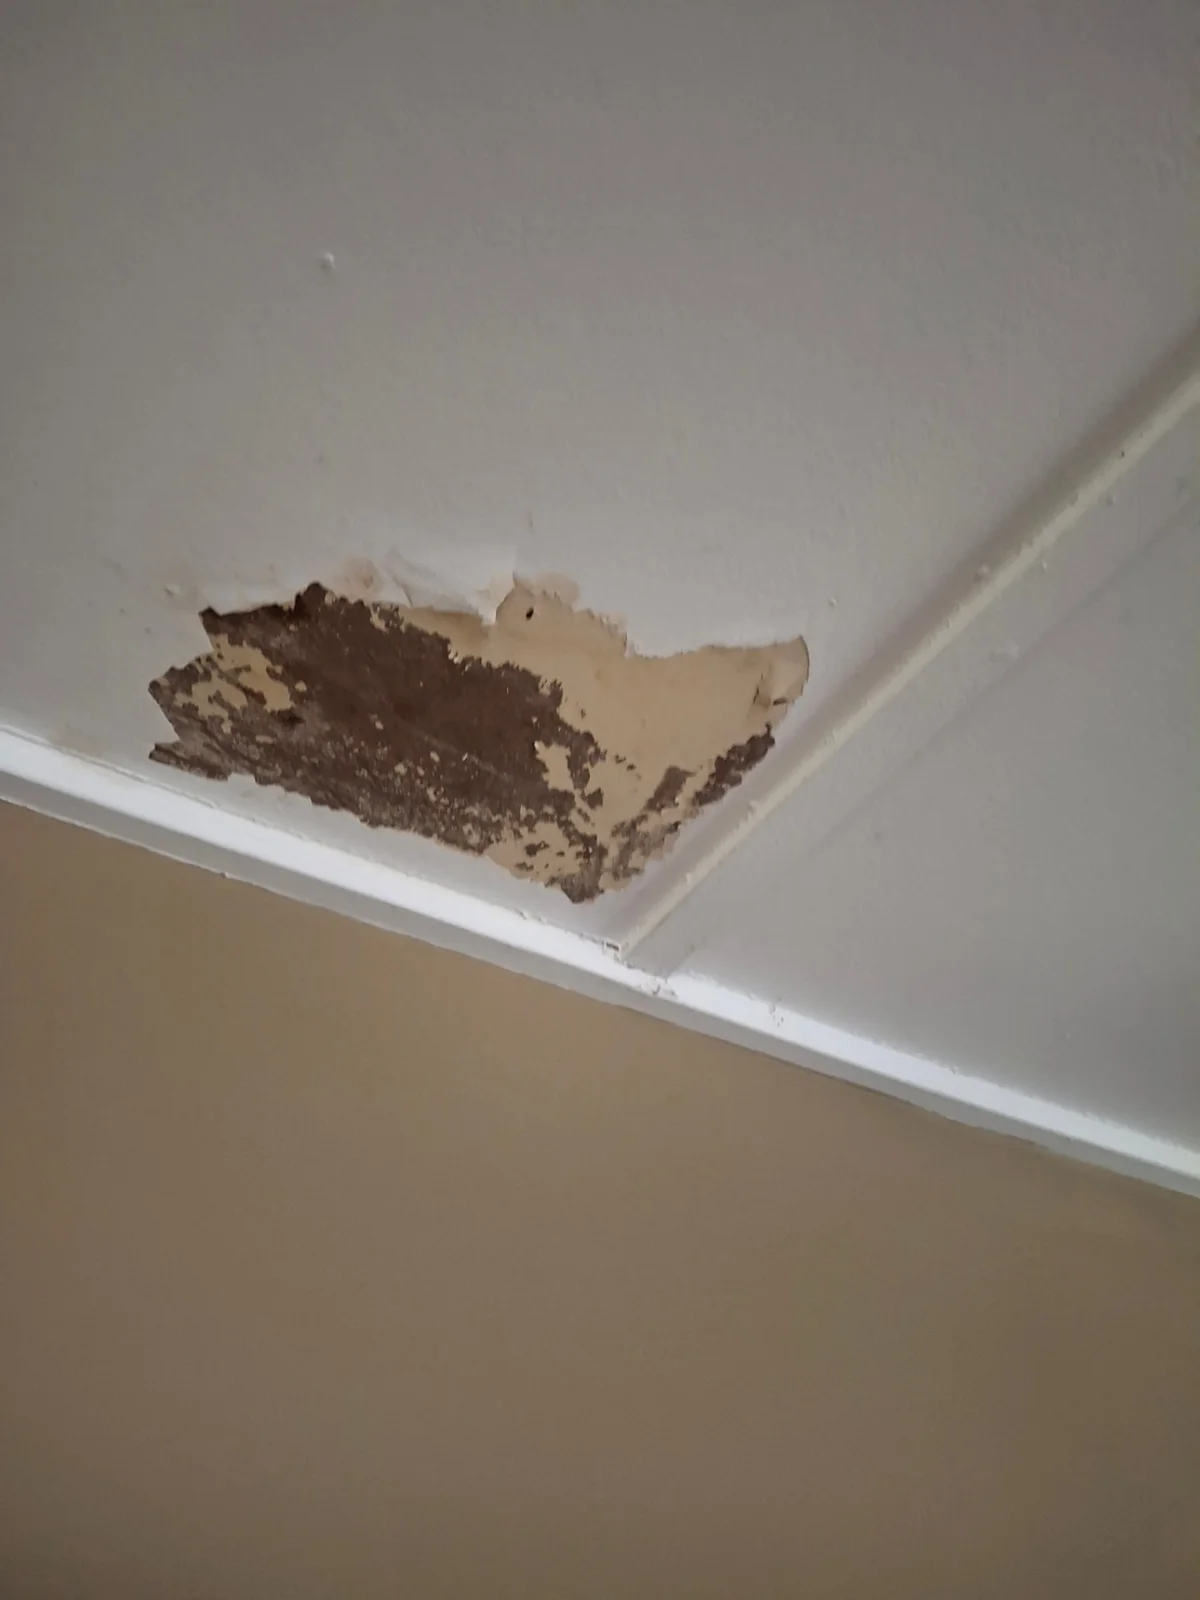
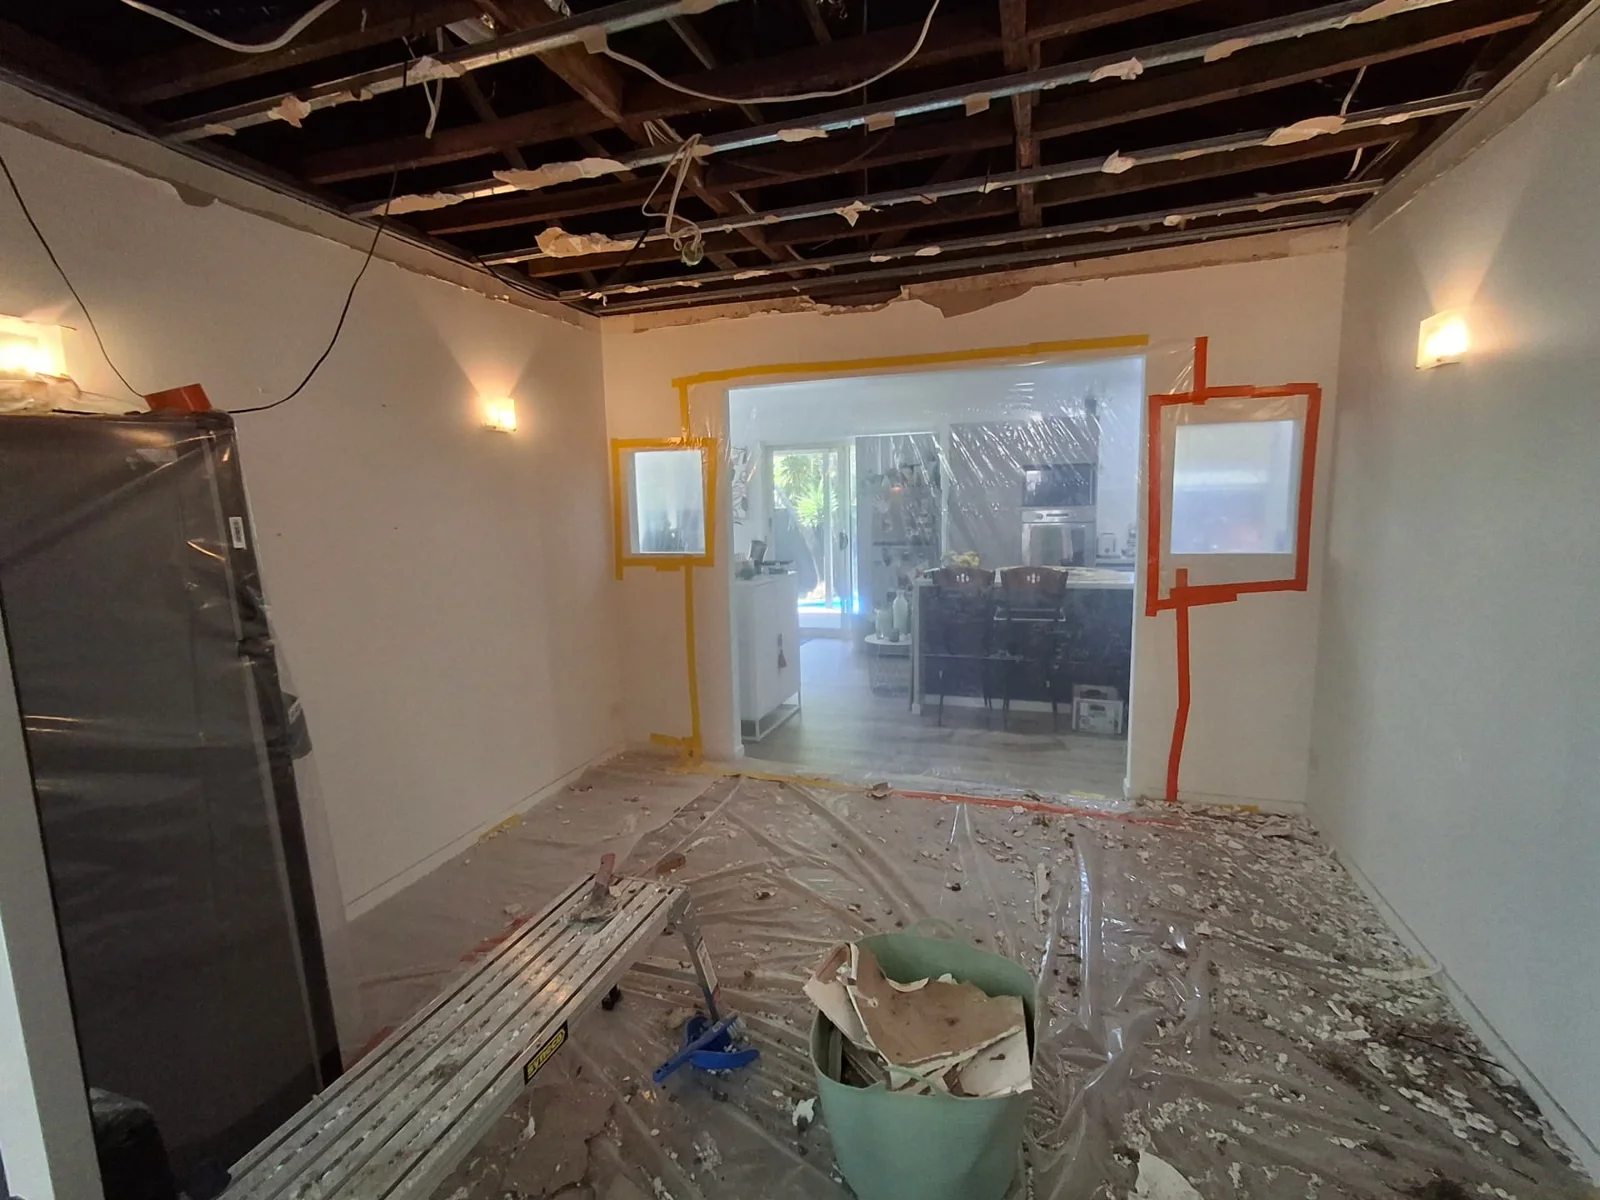
If staining or damp material is uncovered, resolve the moisture issue and any required drying or specialist treatment before closing the area. Suspected hazardous materials need appropriate assessment before disturbance. The photographs below document damaged ceiling lining and exposed framing at separate work stages.

K & J project showing damaged ceiling lining with peeling surfaces before repair
Before repair · Damaged ceiling lining
K & J project showing exposed ceiling framing after lining removal
Strip-out stage · Ceiling lining removed

Work backwards from the room you need

  1. 01

    Describe the intended space

    Send the proposed layout, room use and openings, with photographs showing the current walls and ceiling.

  2. 02

    Resolve the enclosure

    Confirm partition framing, concealed services and redundant openings before agreeing installation and repair details.

  3. 03

    Define the completed room

    Choose the wall-to-ceiling treatment and specify setting, sanding and painting across new and retained surfaces.

North Arm and the Yandina–Maroochy River Valley

North Arm is included in council's geographic description of the Yandina–Maroochy River Valley area. The same overview identifies nearby regional localities including Ninderry, Yandina Creek and Maroochy River. These references help position an enquiry without prescribing the construction or condition of the building.

For a North Arm conversion, include the actual room dimensions and the route available for bringing in plasterboard. If approval, design or building work is being managed separately, identify the responsible contact and current stage. Existing nearby area information includes Eumundi, Nambour and Bli Bli.

North Arm room alteration questions

Can plastering make an existing space suitable for a different use?

Plastering can form part of the alteration, but room suitability may also involve design, approvals, framing and other building requirements. Establish those matters with the relevant professionals and provide the agreed lining specification for quoting.

Do I need measurements for both sides of a partition?

Yes. The two faces may have different openings, finishes or adjoining rooms. Show both sides and include returns so the installation and painting discussion covers the full partition.

Can an unused doorway be lined over?

It may be possible once the required framing, backing and service arrangements are resolved. Photographs of both faces help explain the opening, but the construction details must support the proposed reinstatement.

Should I choose a recessed feature before boards are fixed?

Yes. Its dimensions, support and corner details affect the lining work. Provide a sketch showing its position and depth, particularly where electrical fittings or cabinetry also influence the design.

K&J Plastering, Painting & Carpentry

Request a plastering quote in North Arm

Show the room as it is and the layout you want. Include both partition faces, redundant openings, service readiness and your preferred final finish.

Plastering • Painting • Carpentry

  • Experienced local tradespeople

    Over 10 years of experience delivering quality finishes.

  • Licensed & insured

    QBCC licence 15438315.

  • Photos & plans welcome

    Upload your job photos or drawings with your enquiry.

  • North Arm & surrounds

    Residential plastering, painting and carpentry enquiries.

Prefer to talk? Call 0404 070 587

Request a Free Quote

Fill in the details below. You can also attach photos or plans.