K&J Plastering, Painting & Carpentry logo

K & J Interiors

Plasterers Yandina Creek

Wall and ceiling plastering in Yandina Creek, with repair boundaries and finishing stages organised around the rooms you are changing.

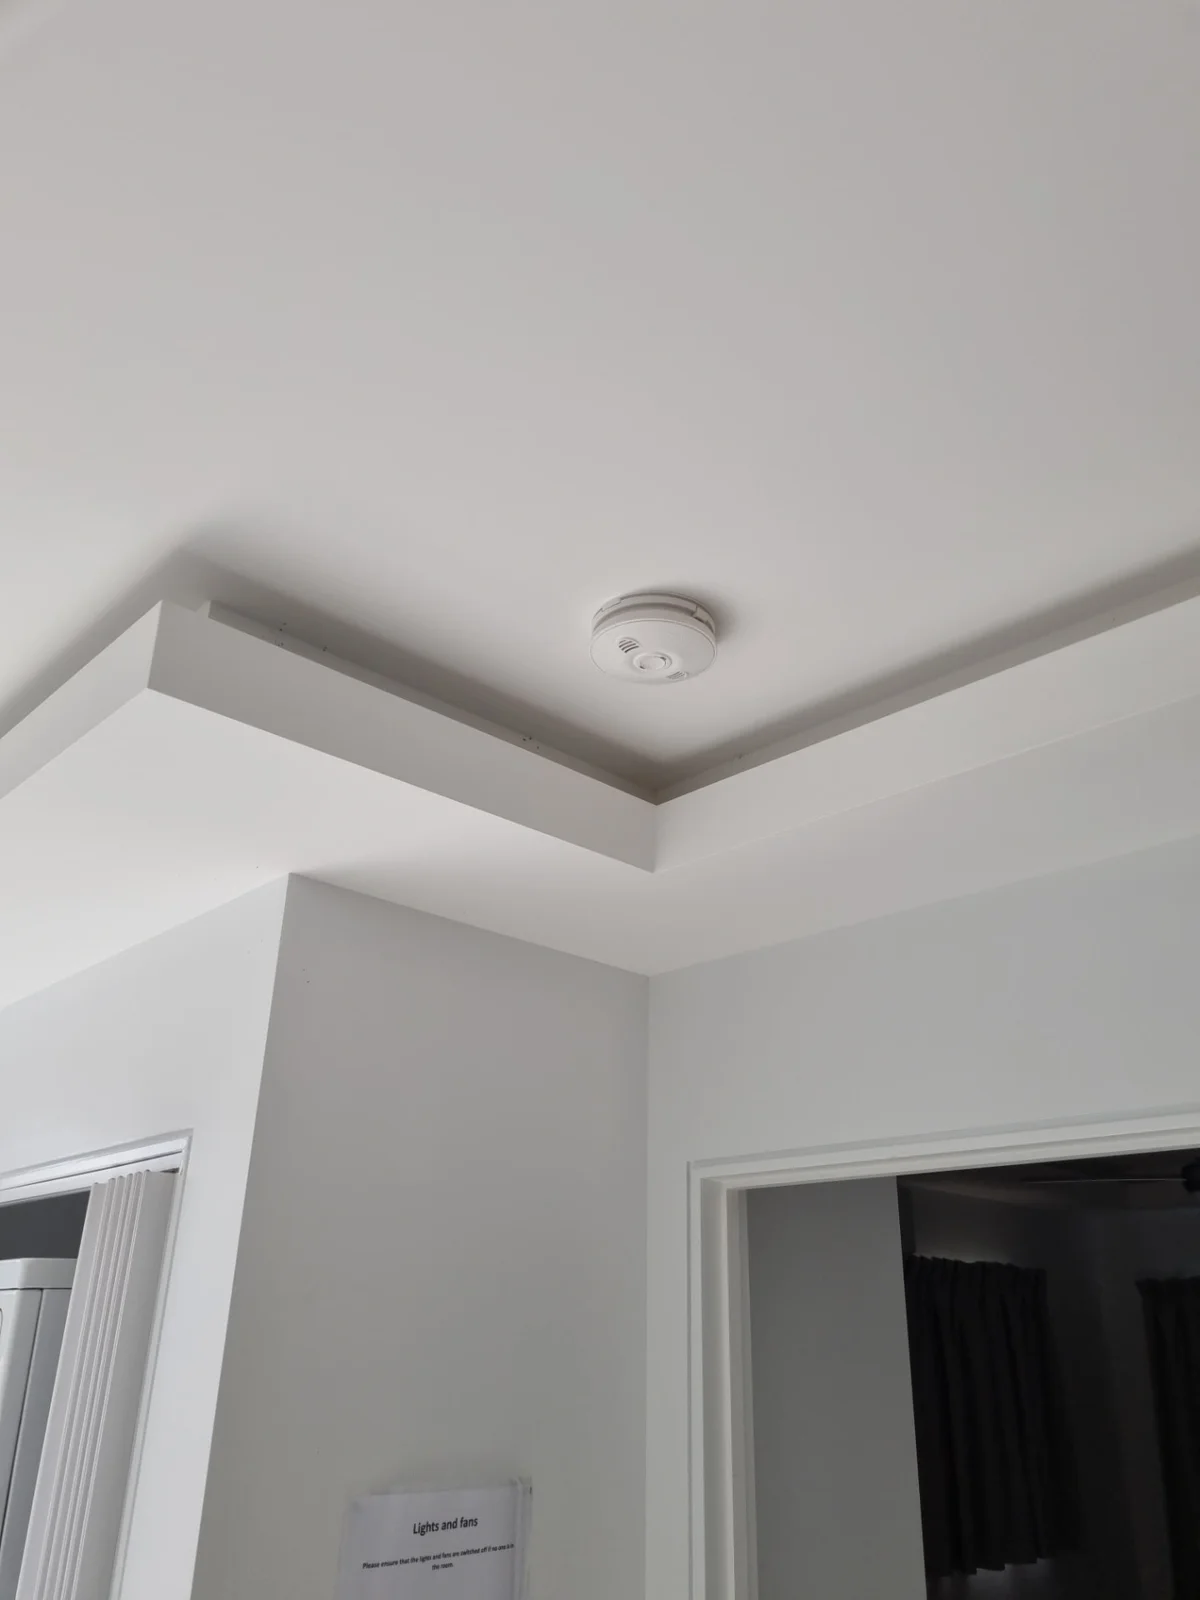
K & J finished painted ceiling corner with a clean square-set junction and bulkhead detail
K & J project photograph · Finished painted square-set detail. Project location not represented as Yandina Creek.

Divide the renovation into workable rooms

Renovating in stages works best when each room has a clear starting point and finishing boundary. For Yandina Creek plastering enquiries, K & J Interiors can discuss new linings, ceiling repairs and the junctions between completed rooms and work still ahead. Explain which spaces need to remain usable and where other trades are involved. A staged scope should account for setting, drying, sanding and painting, not simply the day plasterboard goes up. That makes the intended handover for each room clearer.

01

Plasterboard for the first renovation stage

Choose the walls and ceilings that belong in the first stage, then mark the doorway or junction where work stops. Include dimensions, openings and framing readiness. Fixing and joint setting should connect properly with retained surfaces, while future stages need a considered boundary rather than an unfinished edge through a visible wall.

Plan staged plasterboard installation
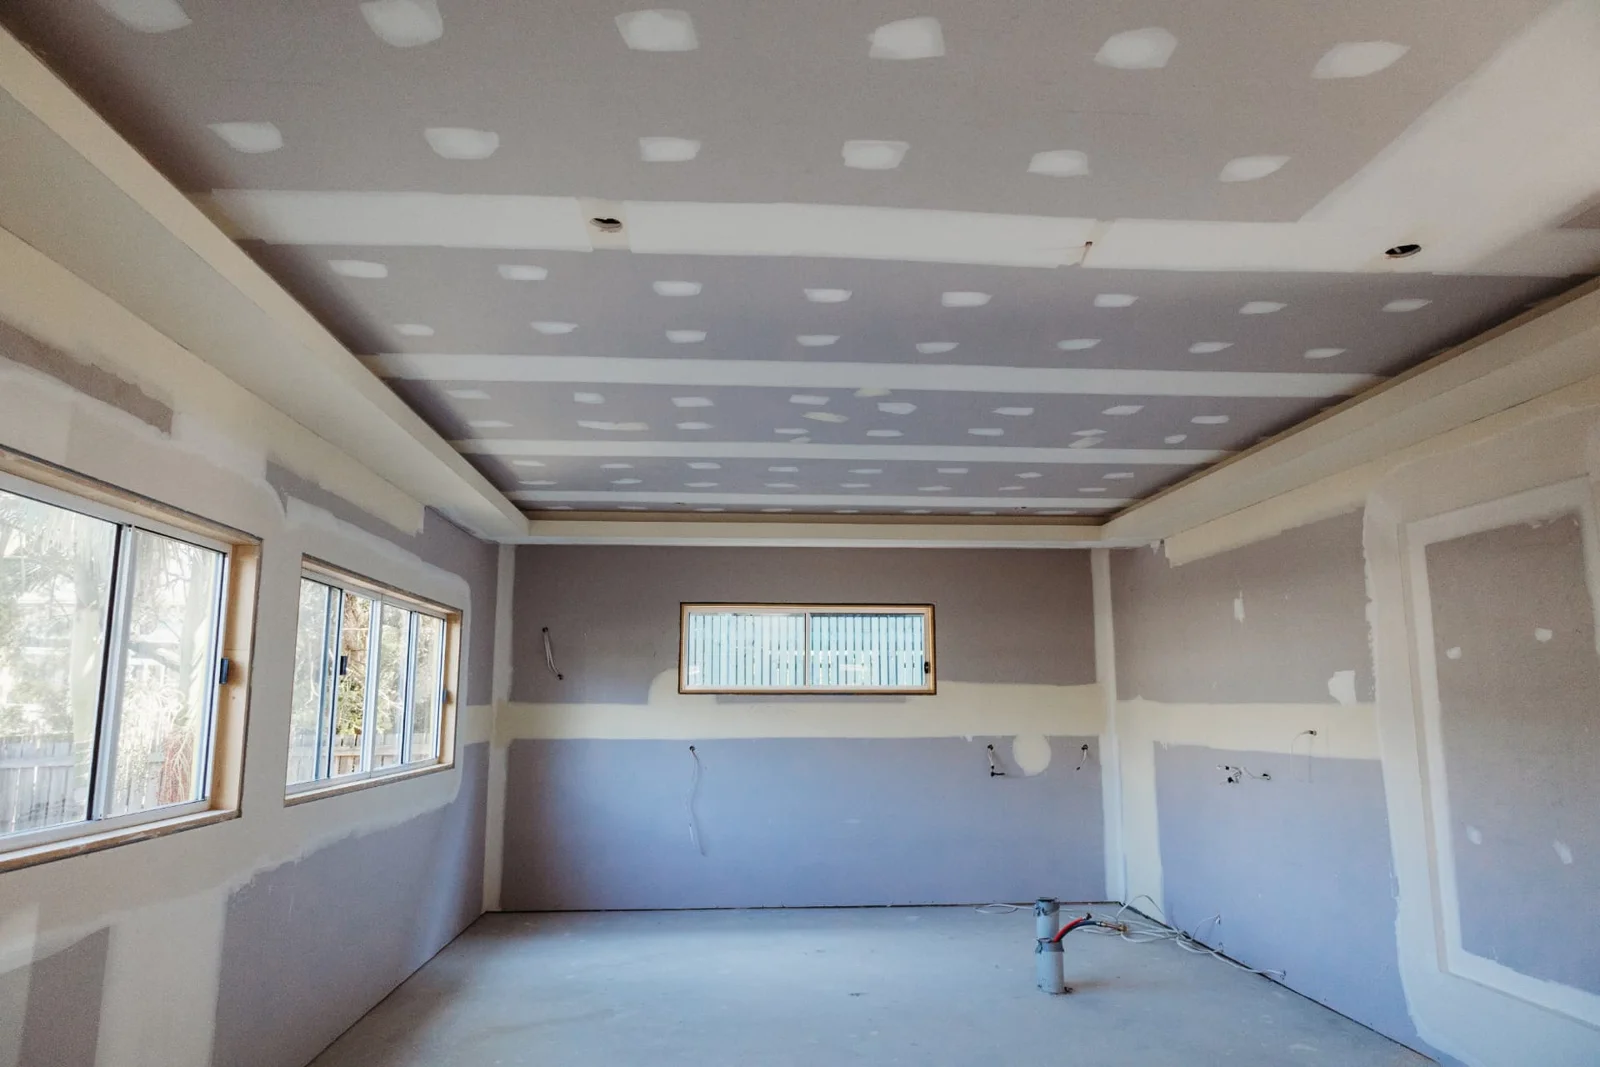
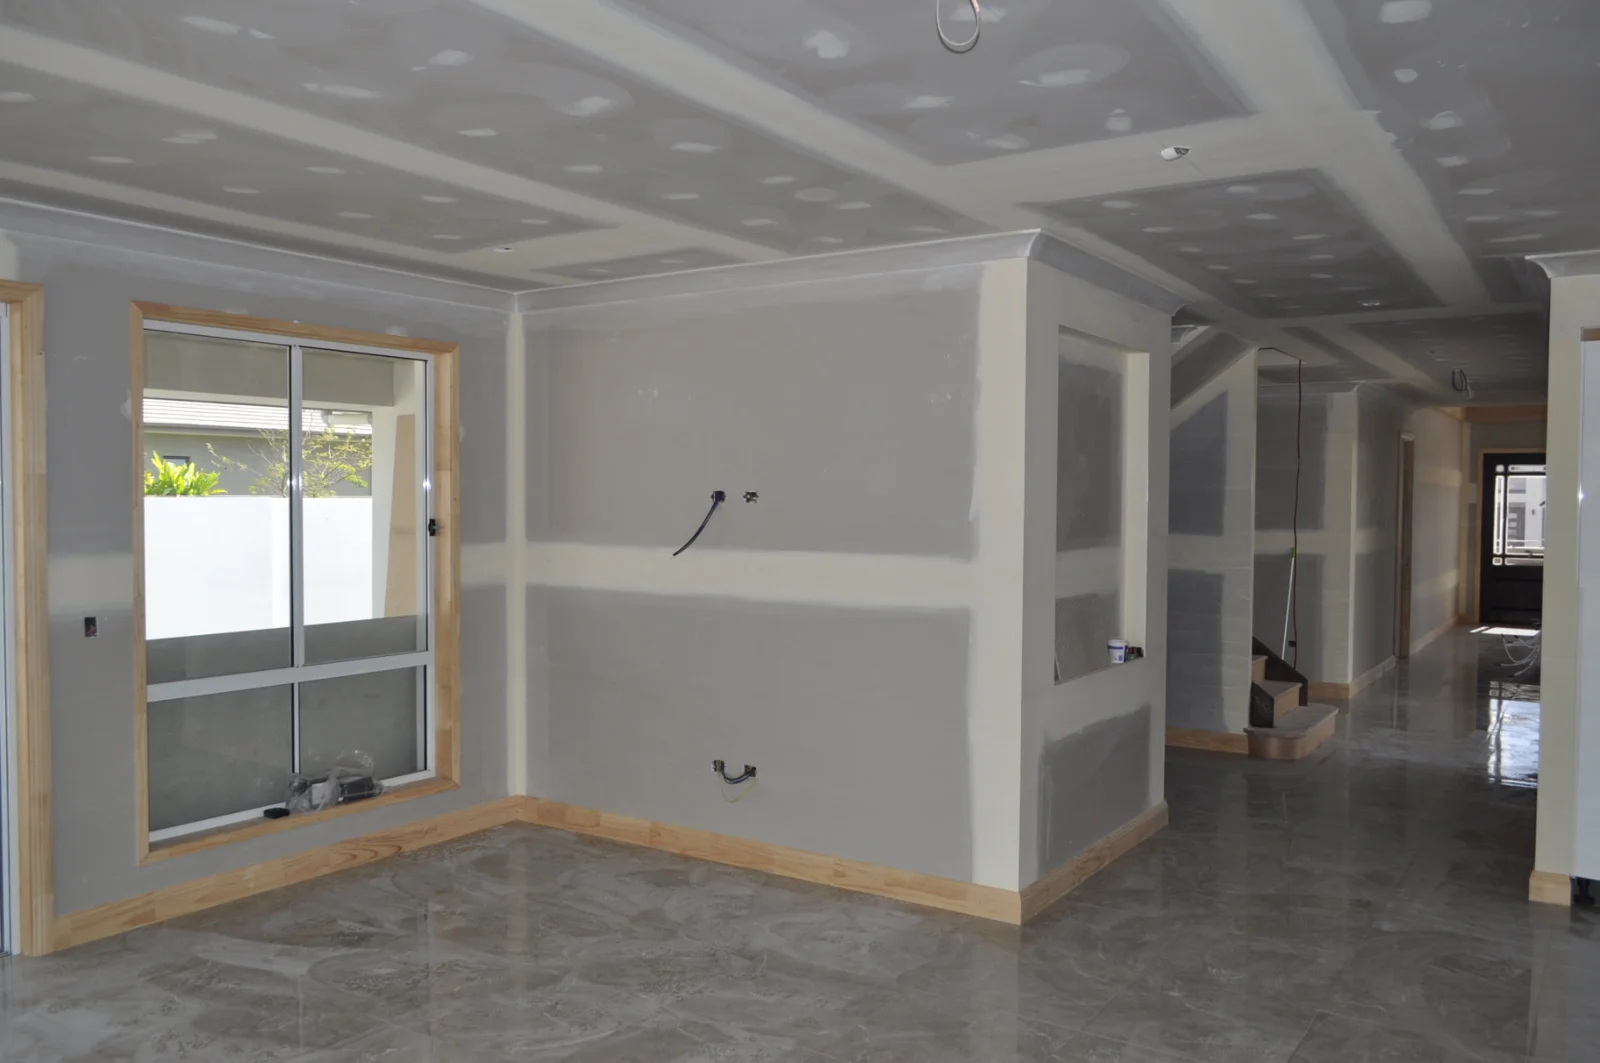
K & J plasterboard ceiling and walls with visible joint compound before sanding and painting
K & J project · Wall & ceiling installation · Joint setting in progress

02

Ceiling work above occupied rooms

If adjoining rooms remain in use, describe furniture, access routes and the ceiling areas needing attention. A wider photograph helps show whether damage crosses a room boundary or meets a bulkhead. Discuss protection and the proposed replacement extent together, including any fittings that other trades must remove before ceiling work starts.

Discuss ceiling repair boundaries
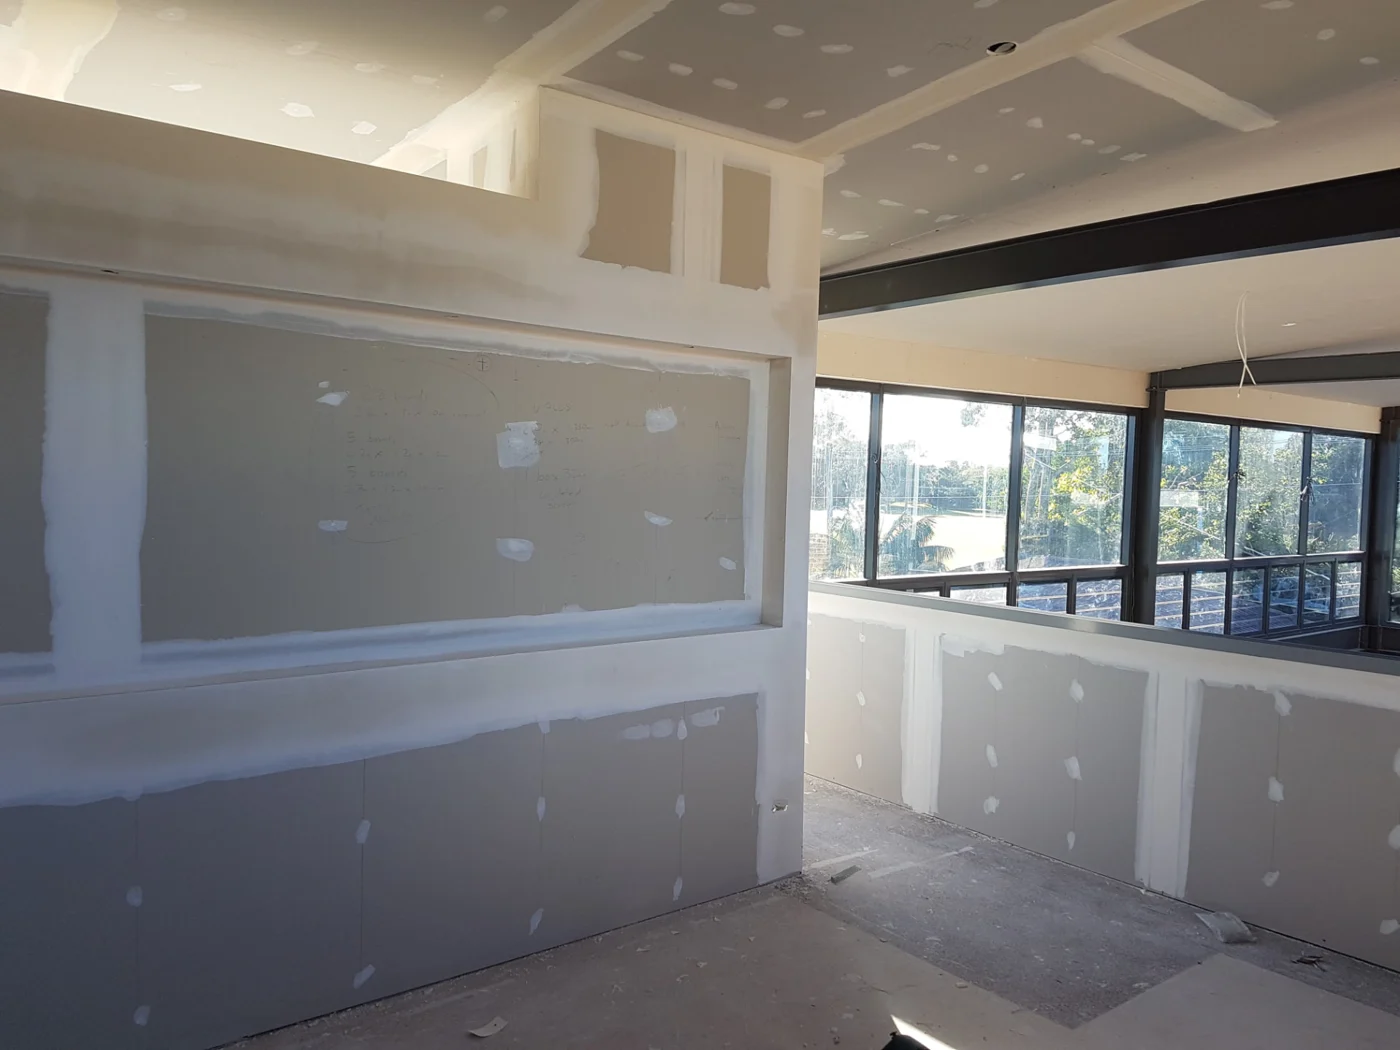
K & J bulkhead and square-set ceiling junction during joint setting
K & J project · Bulkhead & square-set construction · Setting in progress

03

Cornice runs that continue into later stages

A cornice can continue beyond the room being renovated, so identify its profile and where the current work should finish. Photograph corners and connecting hallways as well as the damaged length. Matching options and junction treatment can then be considered before removal, particularly where a later stage will complete the same run.

Coordinate cornice installation
K & J cornice and room linings with plasterboard joints being set
K & J project · Cornice & room linings · Setting in progress

04

Repairs grouped by room readiness

List holes, cracks and removed fittings under the room they belong to. Note which openings still provide access for electrical or plumbing work and which are ready to close. Grouping repairs this way helps separate immediate patching from work that should wait until concealed services and any necessary backing are complete.

Organise interior plaster repairs

05

Paint coverage at each handover

Decide whether each stage ends with prepared plaster or includes painting of complete walls and ceilings. A patch can require preparation beyond the original hole, and retained paint may need separate attention. Record colour changes and stopping points so a finished room does not depend on an undefined future repaint.

Set the painting scope

Setting skills behind connected interior finishes

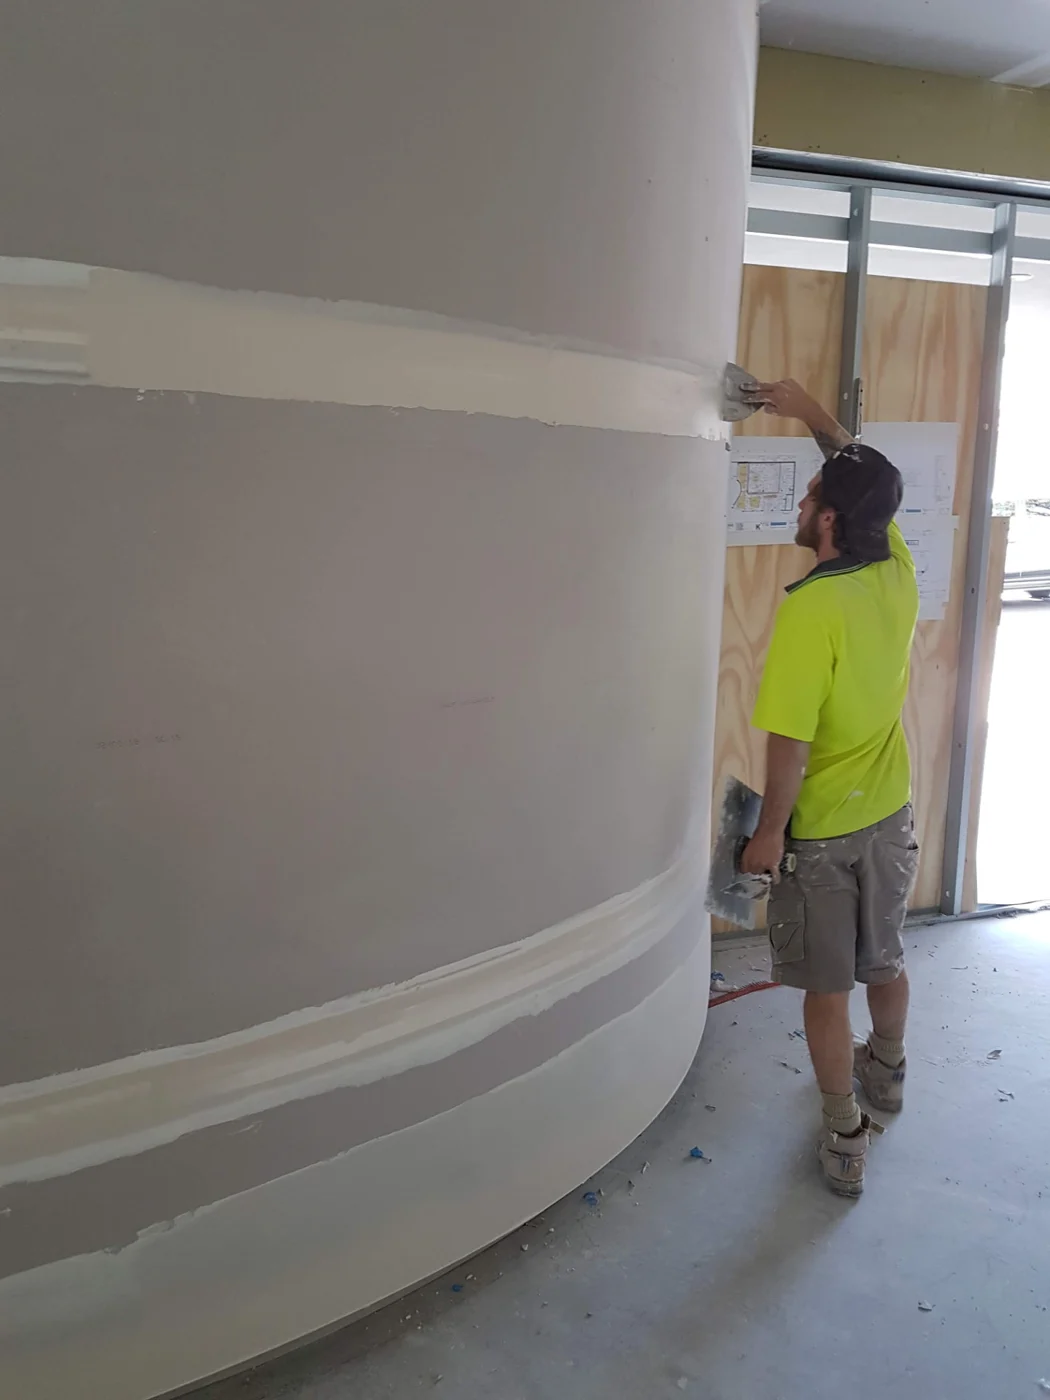
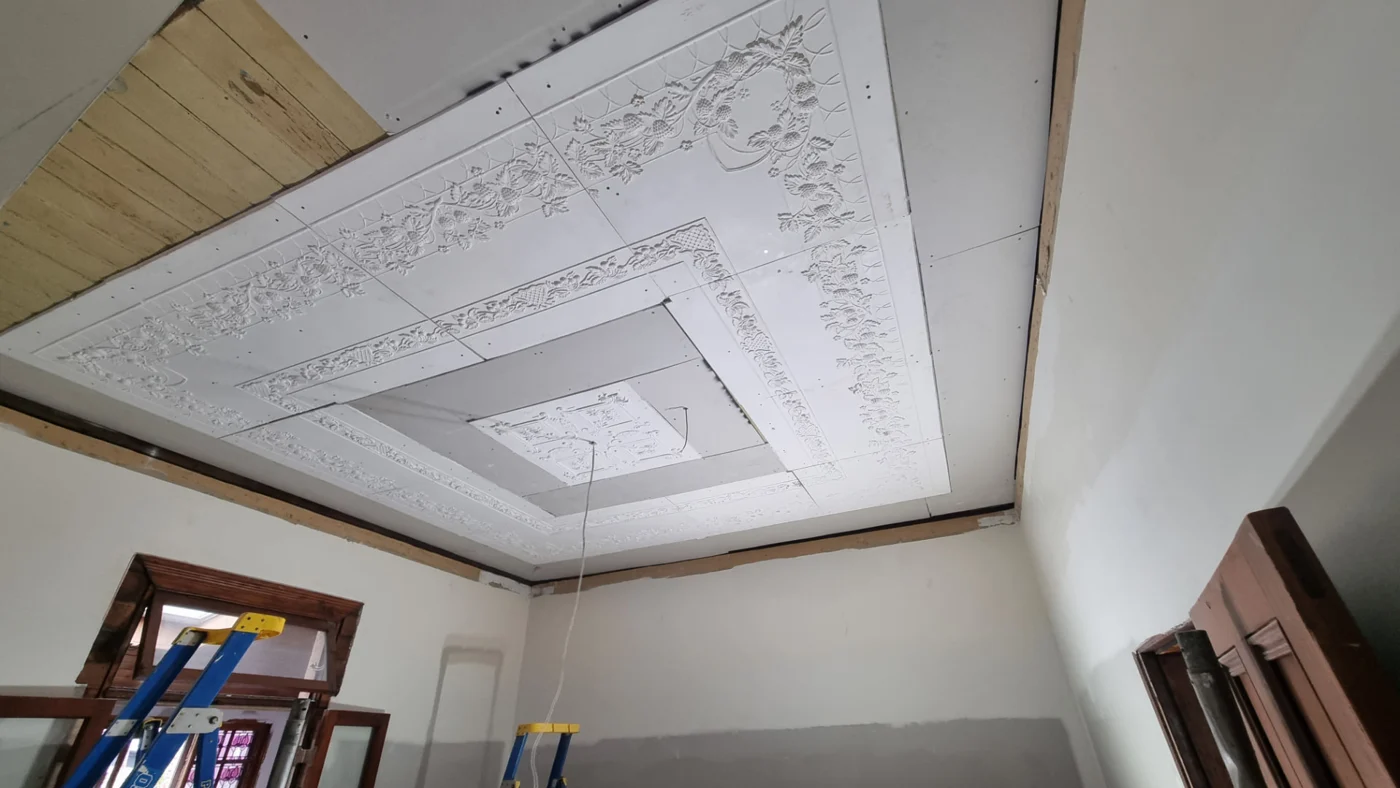
K & J project photographs show curved-wall setting and decorative ceiling installation in progress. They illustrate workmanship rather than a Yandina Creek project history.

K & J plasterer applying joint compound to a curved plasterboard wall
K & J project · Curved-wall plastering · Compound being applied
K & J patterned ceiling panels and centrepiece during decorative plaster restoration
K & J project · Ornate ceiling restoration · Installation in progress

Keep an isolated repair from becoming an unclear stage

If damage appears while a room is being opened up, photograph the surrounding lining before deciding where replacement should stop. The condition of retained material and its support can affect the repair boundary. A small visible mark does not establish how much plasterboard needs removal.

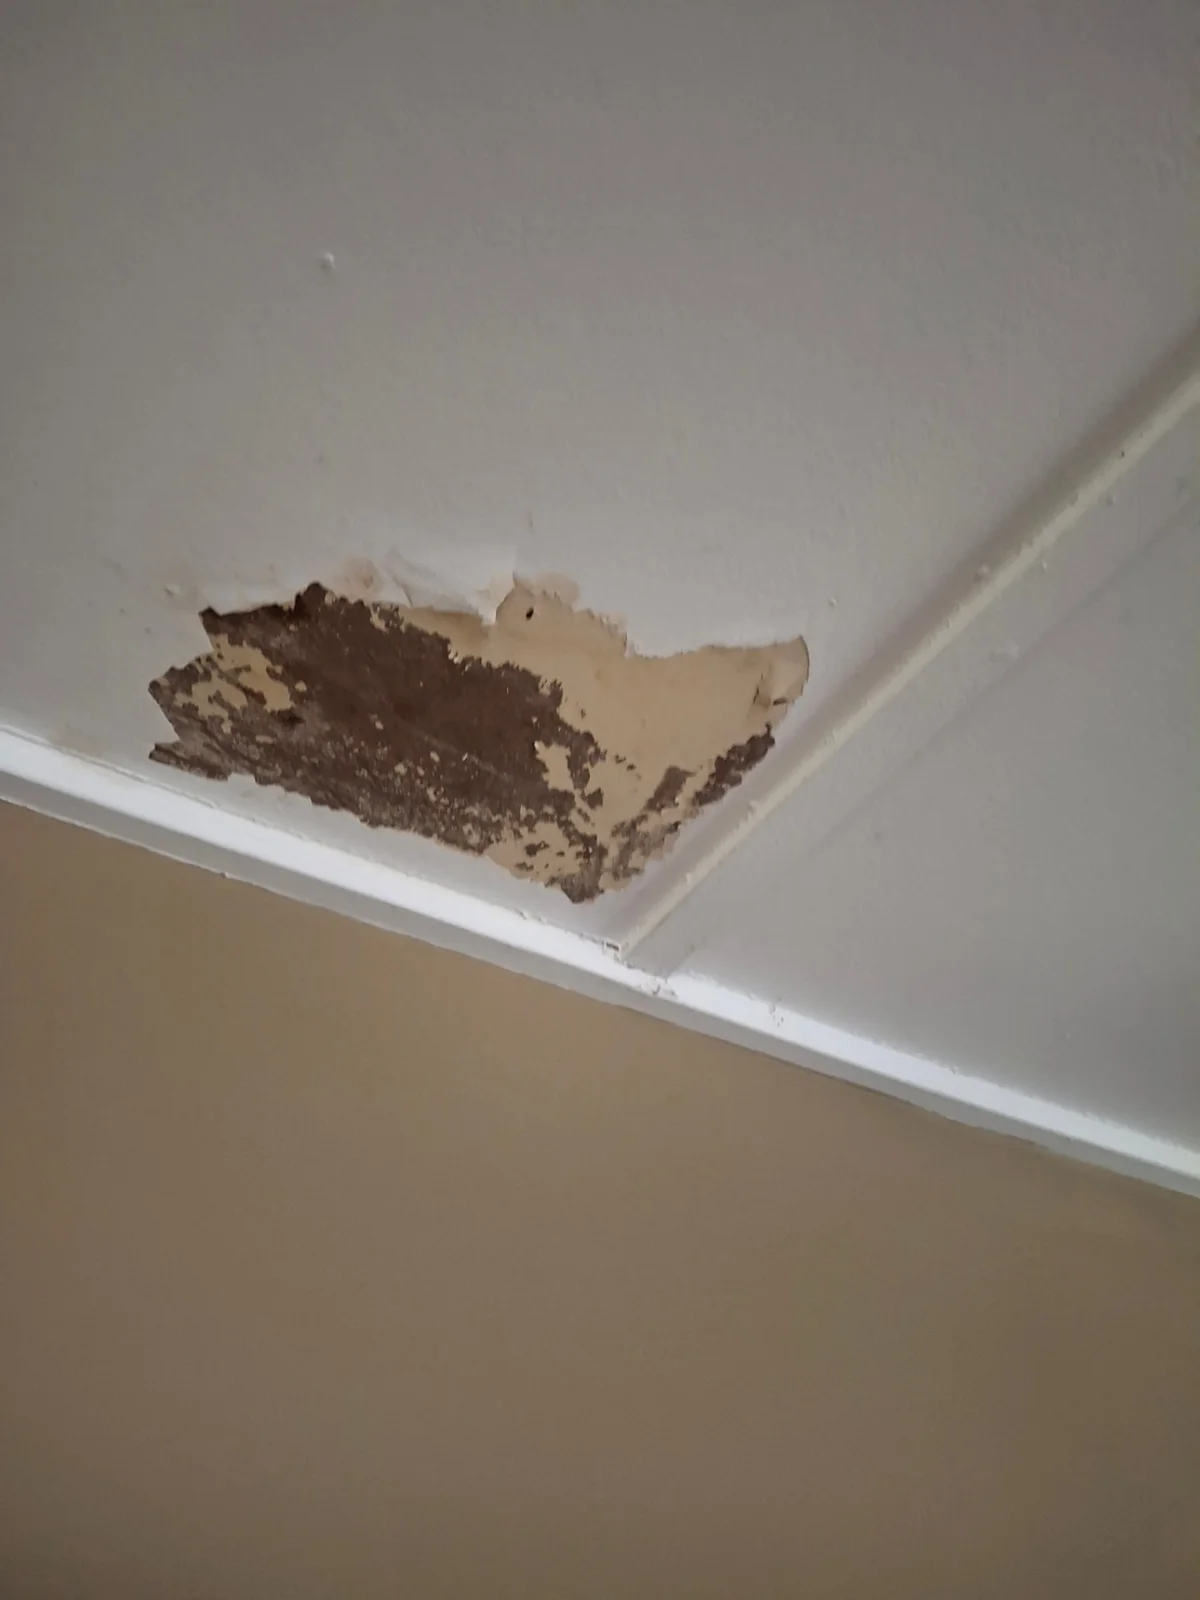
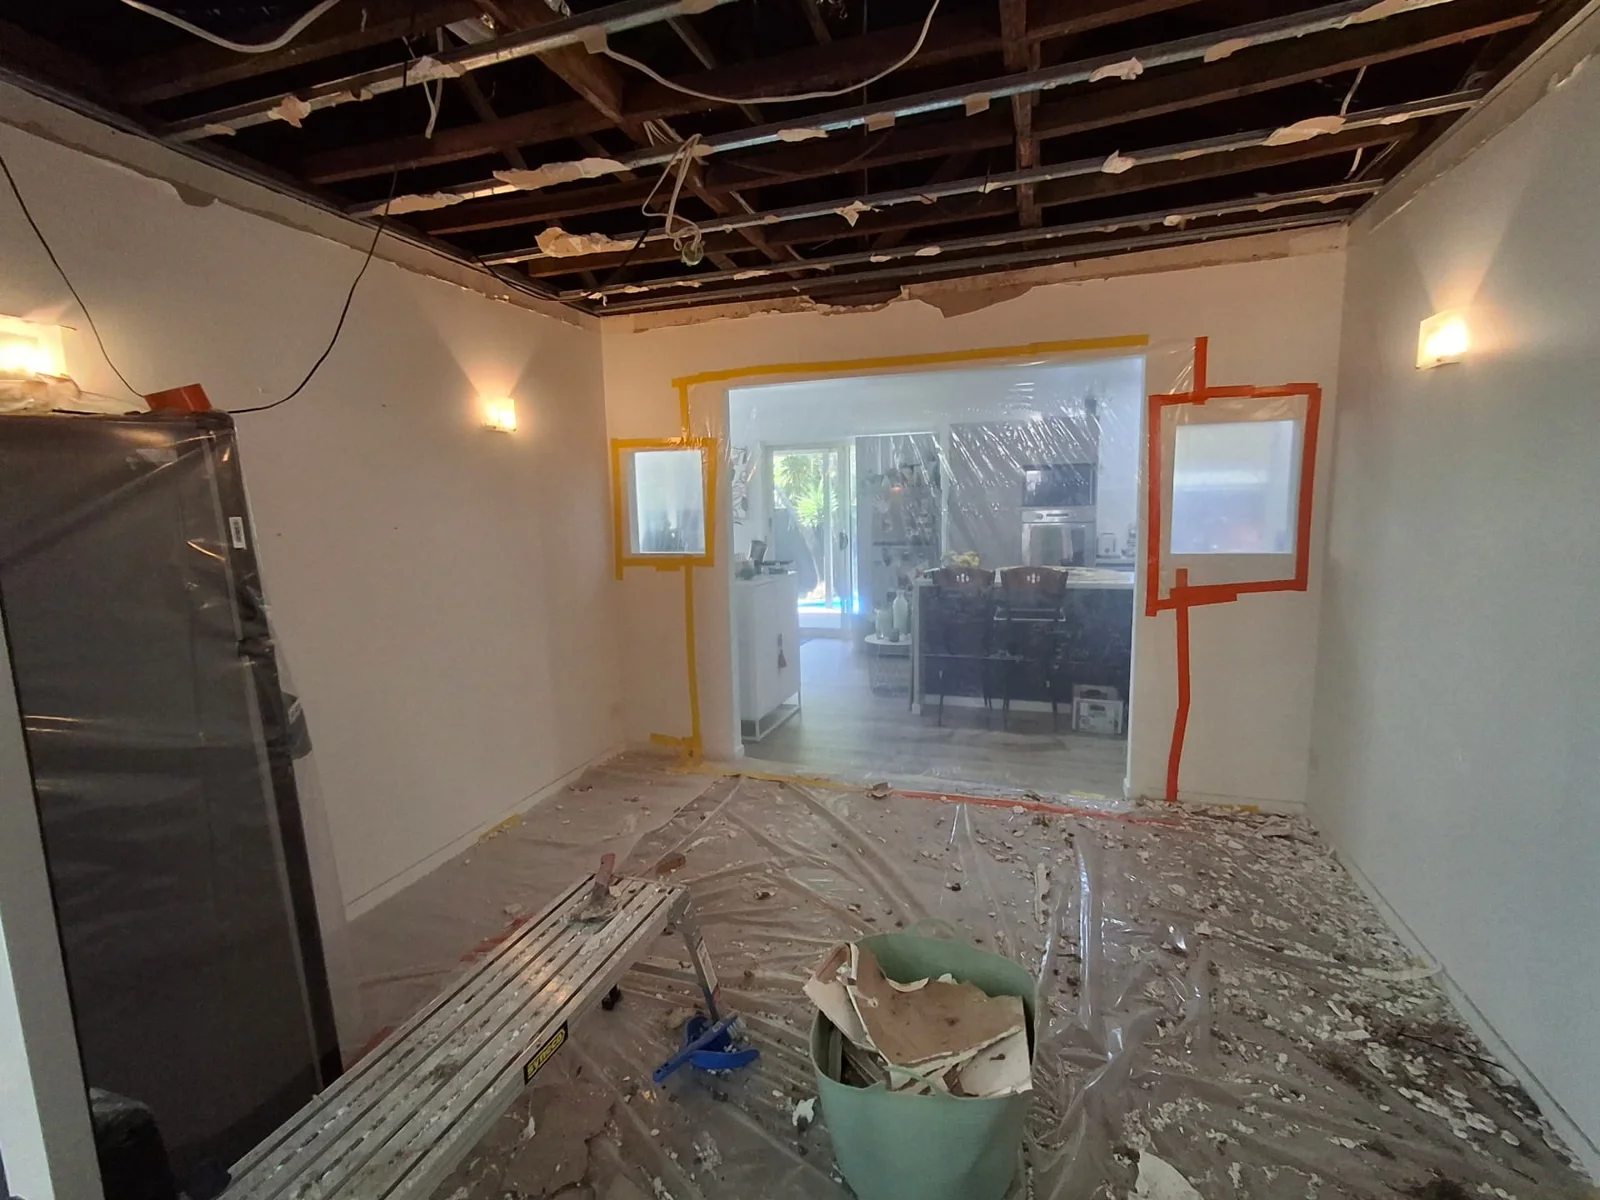
Where moisture is involved, arrange investigation of the source, required drying and any specialist treatment before reinstatement. Record whether the affected room can remain outside the renovation sequence while that work proceeds. The images below show damaged lining and a strip-out stage, not a matched local before-and-after repair.

K & J project showing damaged ceiling lining with peeling surfaces before repair
Before repair · Damaged ceiling lining
K & J project showing exposed ceiling framing after lining removal
Strip-out stage · Ceiling lining removed

Build a room-by-room plastering sequence

  1. 01

    Choose the first handover

    Identify the rooms needed first, the spaces staying occupied and the intended finish at the end of that stage.

  2. 02

    Check what is ready to close

    Separate completed framing and services from openings still needed by other trades, then agree the lining and repair boundaries.

  3. 03

    Carry the finish to a sensible edge

    Confirm cornice connections, sanding and paint coverage so each stage ends at an agreed room or architectural junction.

Yandina Creek within the wider Yandina area

Council's Yandina–Maroochy River Valley geographic overview includes Yandina Creek alongside North Arm, Ninderry, Valdora and Maroochy River. Zgrajewski Road is one documented Yandina Creek locality reference. Use the property address when enquiring so the proposed work is attached to the right site.

For a staged renovation, practical access details matter more than a general description of the surrounding area. Explain where materials can enter, which internal routes stay available and who coordinates access between stages. Nearby existing service information is available for Eumundi, Bli Bli and Coolum Beach.

Questions about staged Yandina Creek plastering

Can one room be finished before the rest of the renovation?

That can be discussed when the room has a workable access route and the framing and services are ready. Identify its connection to later work, including continuous ceilings or cornices, so the proposed handover has a clear boundary.

Should every hole be patched before the first stage starts?

No. Mark any opening that another trade still needs. Closing it too early can create unnecessary reopening and repair work. Separate ready-to-repair holes from access points that must remain available.

Where should painting stop between stages?

A complete wall, ceiling or defined architectural break is usually easier to specify than an arbitrary line around a patch. The appropriate coverage depends on the existing finish and the result you want.

What should I include when several people arrange access?

Nominate one authorised contact, provide room availability and explain who confirms readiness after other trades finish. Include any restrictions on entry or materials storage so the sequence can be discussed realistically.

K&J Plastering, Painting & Carpentry

Request a plastering quote in Yandina Creek

Send a room list, photographs and your preferred first handover. Mark occupied spaces, unfinished services and the paint coverage needed at each stage.

Plastering • Painting • Carpentry

  • Experienced local tradespeople

    Over 10 years of experience delivering quality finishes.

  • Licensed & insured

    QBCC licence 15438315.

  • Photos & plans welcome

    Upload your job photos or drawings with your enquiry.

  • Yandina Creek & surrounds

    Residential plastering, painting and carpentry enquiries.

Prefer to talk? Call 0404 070 587

Request a Free Quote

Fill in the details below. You can also attach photos or plans.