K&J Plastering, Painting & Carpentry logo

K & J Interiors

Plasterers Sunrise Beach

Plastering for Sunrise Beach interiors, with attention to continuous walls, ceiling edges and the surfaces seen together.

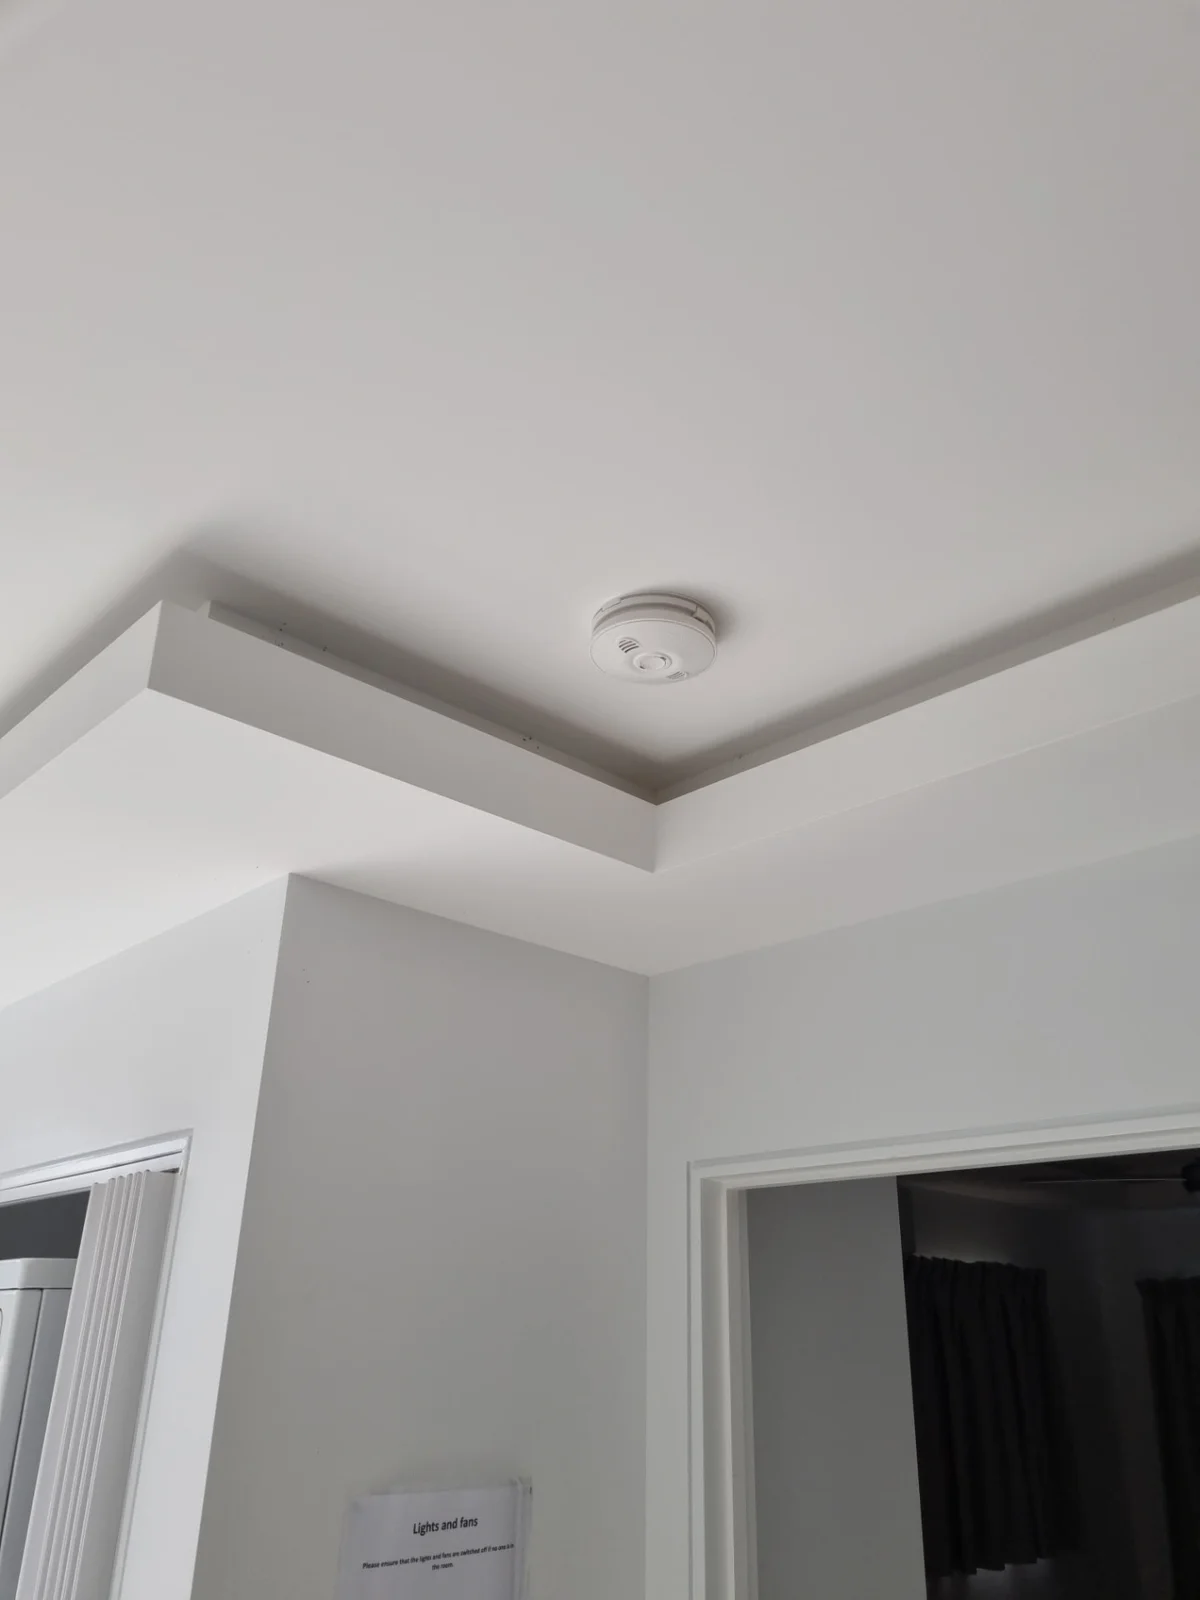
K & J finished painted ceiling corner with a clean square-set junction and bulkhead detail
K & J project photograph · Finished painted square-set detail. Project location not represented as Sunrise Beach.

Consider the whole visible surface

A repaired patch belongs to a wall, and that wall belongs to the way a room is viewed and used. For Sunrise Beach plastering enquiries, photographs taken from normal viewing positions can be as useful as close-ups. K & J Interiors can discuss installation, repairs and finishing in that wider context. Show long wall runs, ceiling junctions and any proposed cabinetry changes. Include the paint coverage you want so preparation and completion are considered together rather than as disconnected tasks later.

01

Linings along continuous wall runs

Where a new partition meets an existing wall, include the full run and the junction on your plan. Board fixing and joint placement need to suit the framing and specified finish. Identify openings, returns and retained painted areas. This gives the installation discussion a clear relationship to the surfaces visible from adjoining rooms.

Plan connected wall linings
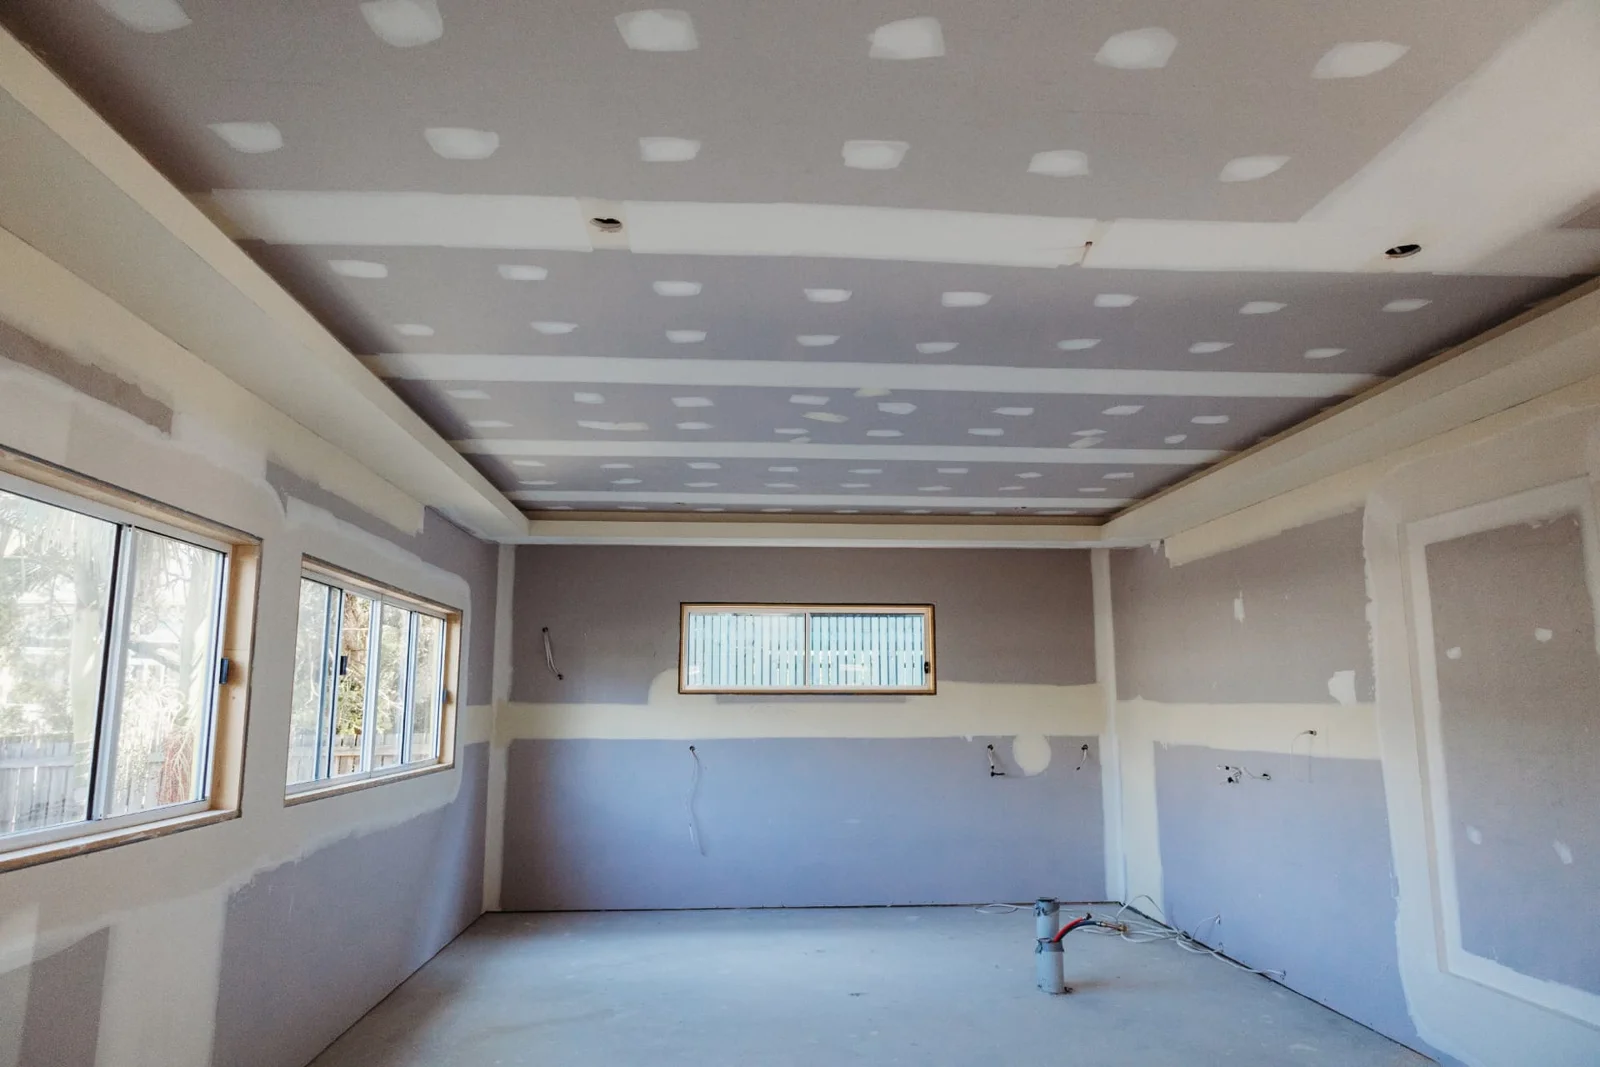
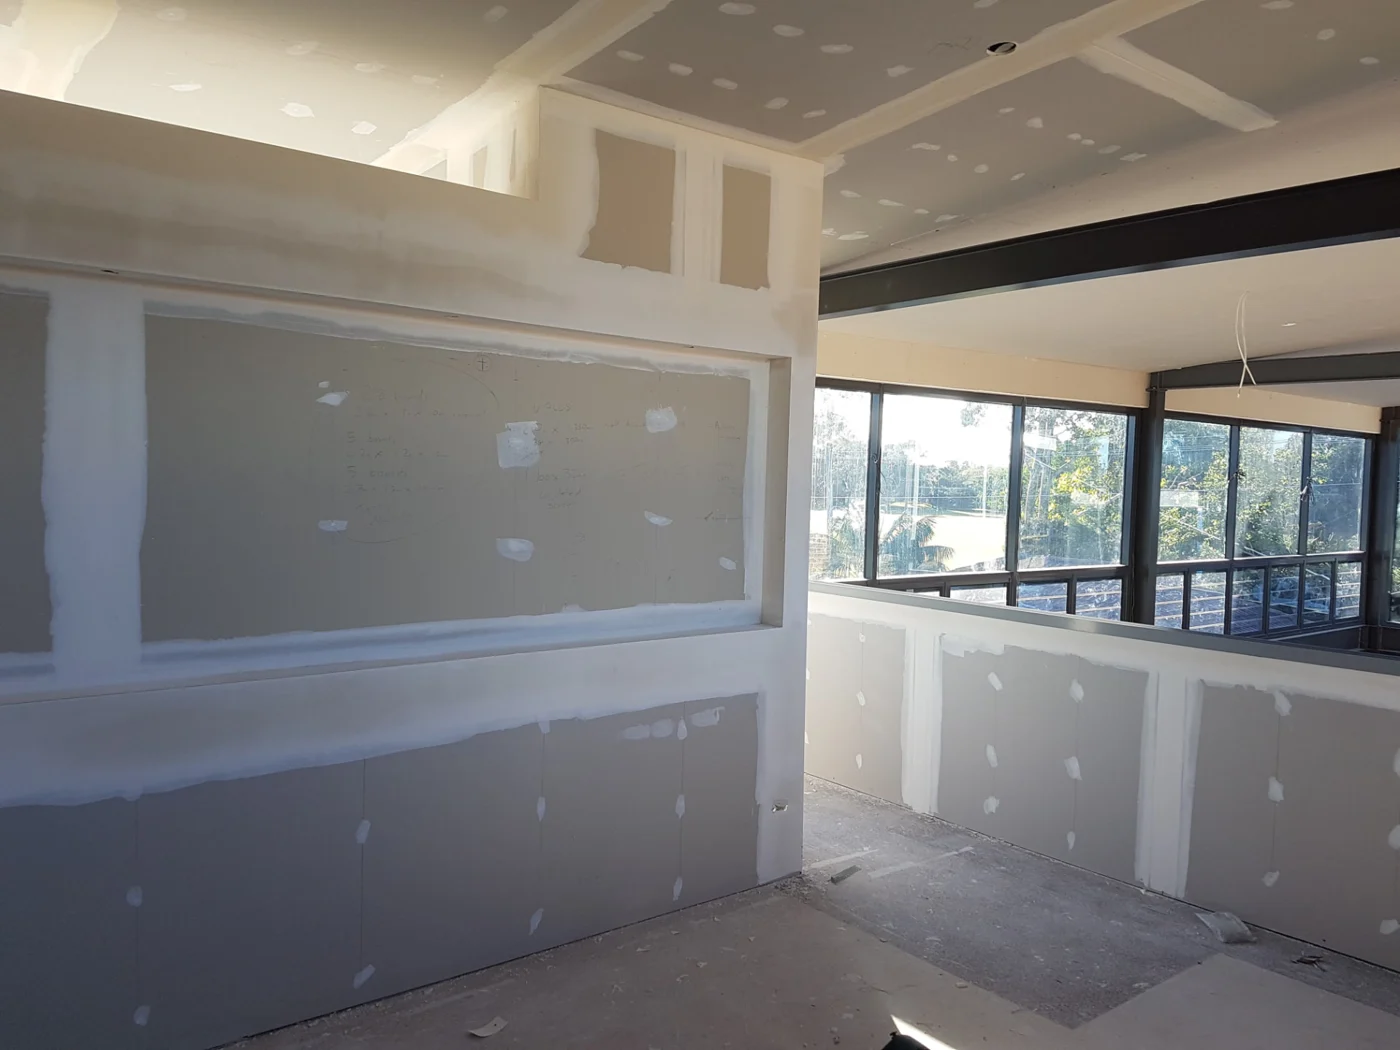
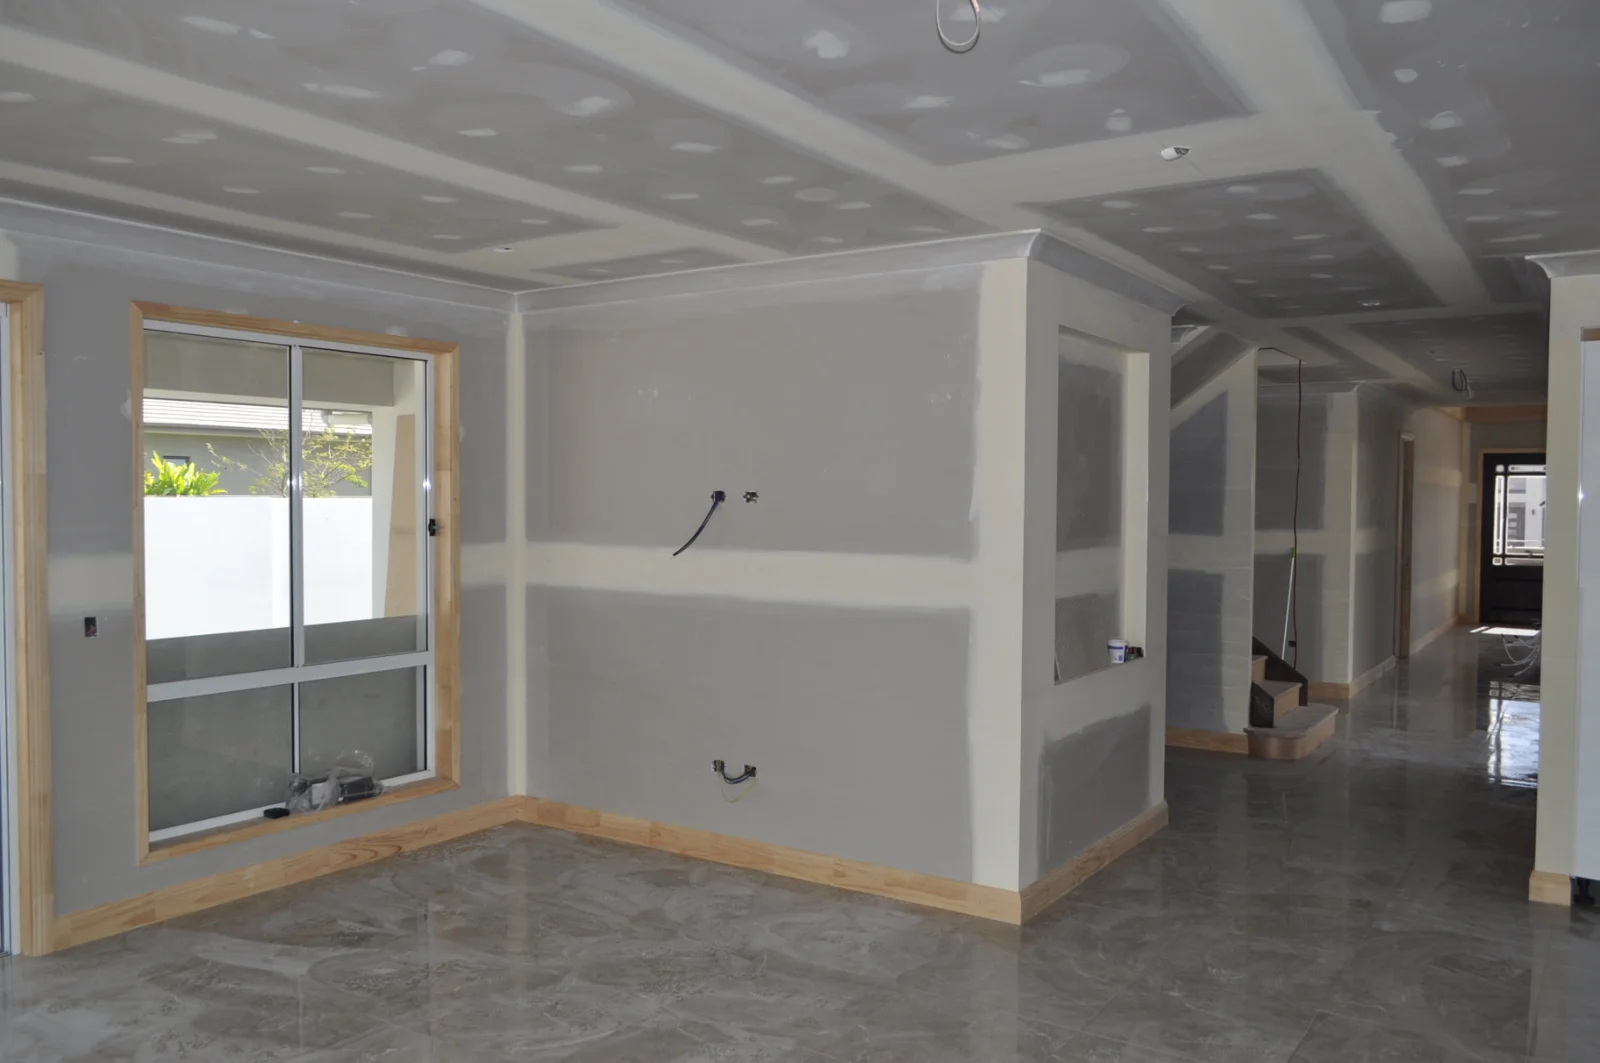
K & J plasterboard ceiling and walls with visible joint compound before sanding and painting
K & J project · Wall & ceiling installation · Joint setting in progress

02

Bulkheads seen from adjoining rooms

A bulkhead can be viewed along its length as well as from underneath. Supply dimensions, level changes and the intended corners, together with nearby lighting or cabinetry positions. Suitable framing and junction preparation underpin the finished shape. Include the adjoining ceiling in the scope discussion where its surface or edge will also be disturbed.

Discuss bulkhead and ceiling details
K & J bulkhead and square-set ceiling junction during joint setting
K & J project · Bulkhead & square-set construction · Setting in progress

03

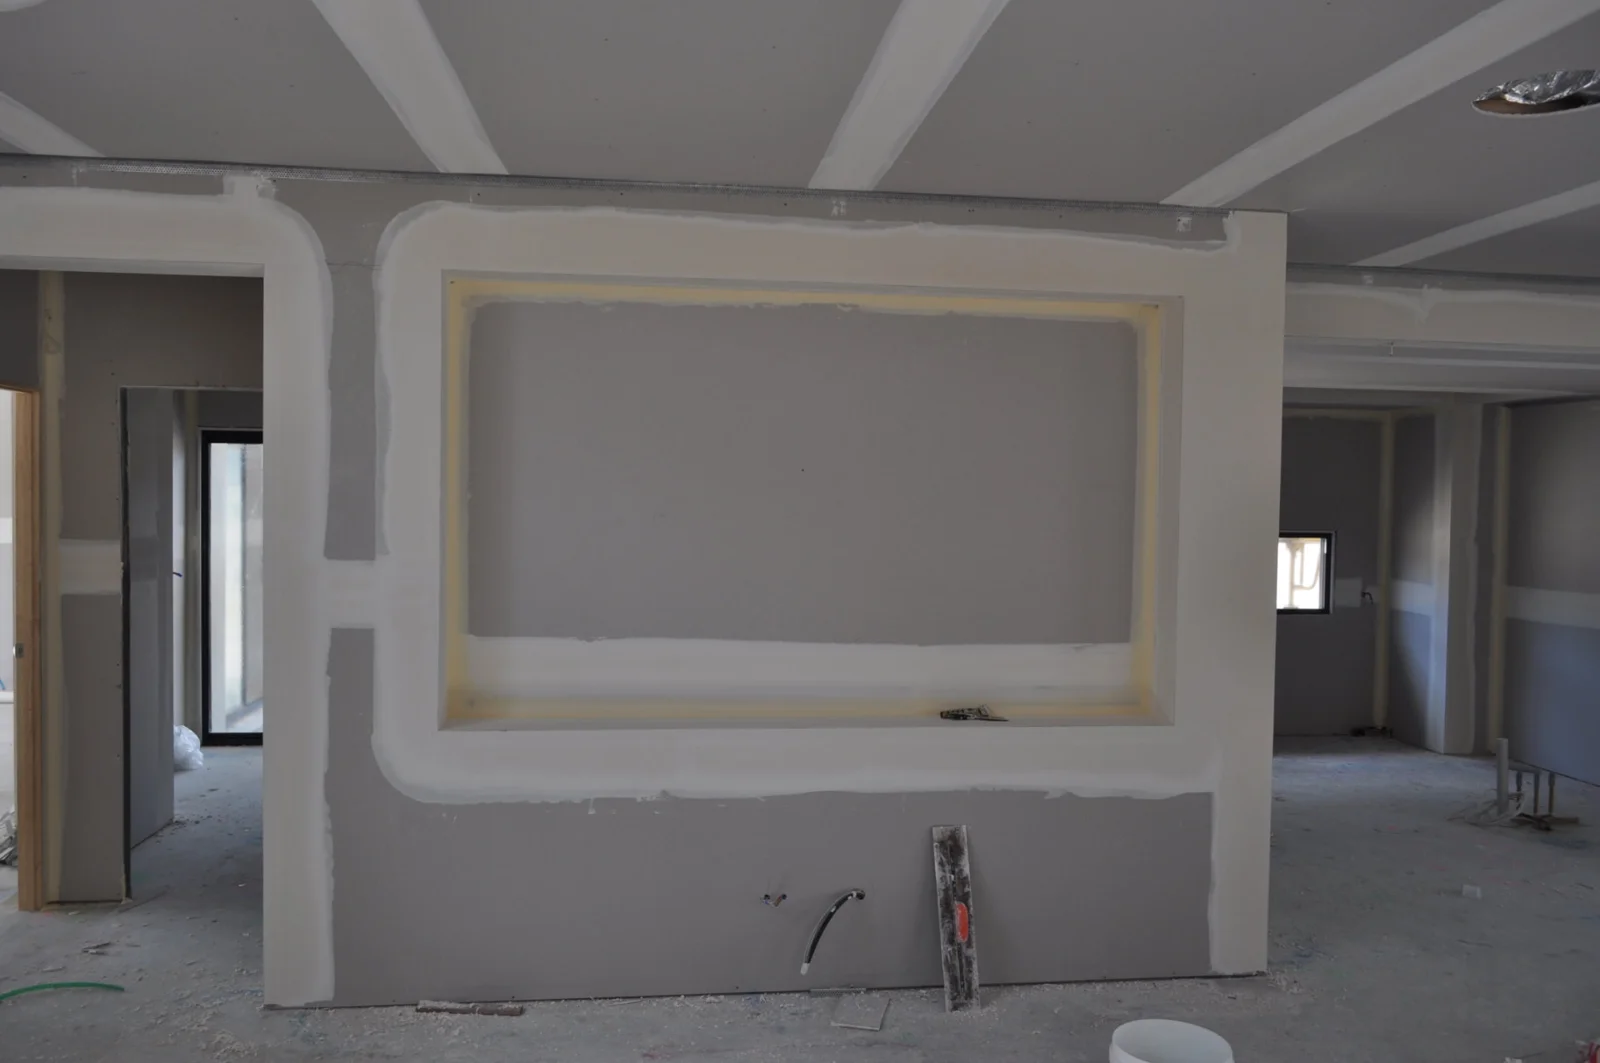
Recessed details with clear edges

For a niche or recessed feature, show its width, height, depth and relationship to nearby openings. Establish the intended shape before framing and lining proceed. Corners, internal returns and adjoining wall preparation all contribute to the result. If lighting or fittings are proposed, coordinate their locations before the plasterboard detail is closed.

Prepare recessed plasterboard details
K & J recessed plasterboard niche with corners and joints being finished
K & J project · Recessed plasterboard detail · Setting in progress

04

Patches assessed in normal room light

Photograph wall damage both close up and from a position that shows the surrounding surface in normal light. Include old patches, textured areas or changes in paint finish nearby. The repair needs sound edges and appropriate support, followed by setting and sanding. Its preparation area may be wider than the original mark or hole.

Assess visible wall repairs

05

Painting across connected surfaces

If two rooms share an uninterrupted wall or ceiling, state where you expect repainting to stop. A colour change, corner or doorway may provide a useful nominated boundary, but it should be agreed rather than assumed. Fresh plasterwork requires preparation, and retained paint must also be considered when defining the complete finish.

Set a practical repaint boundary

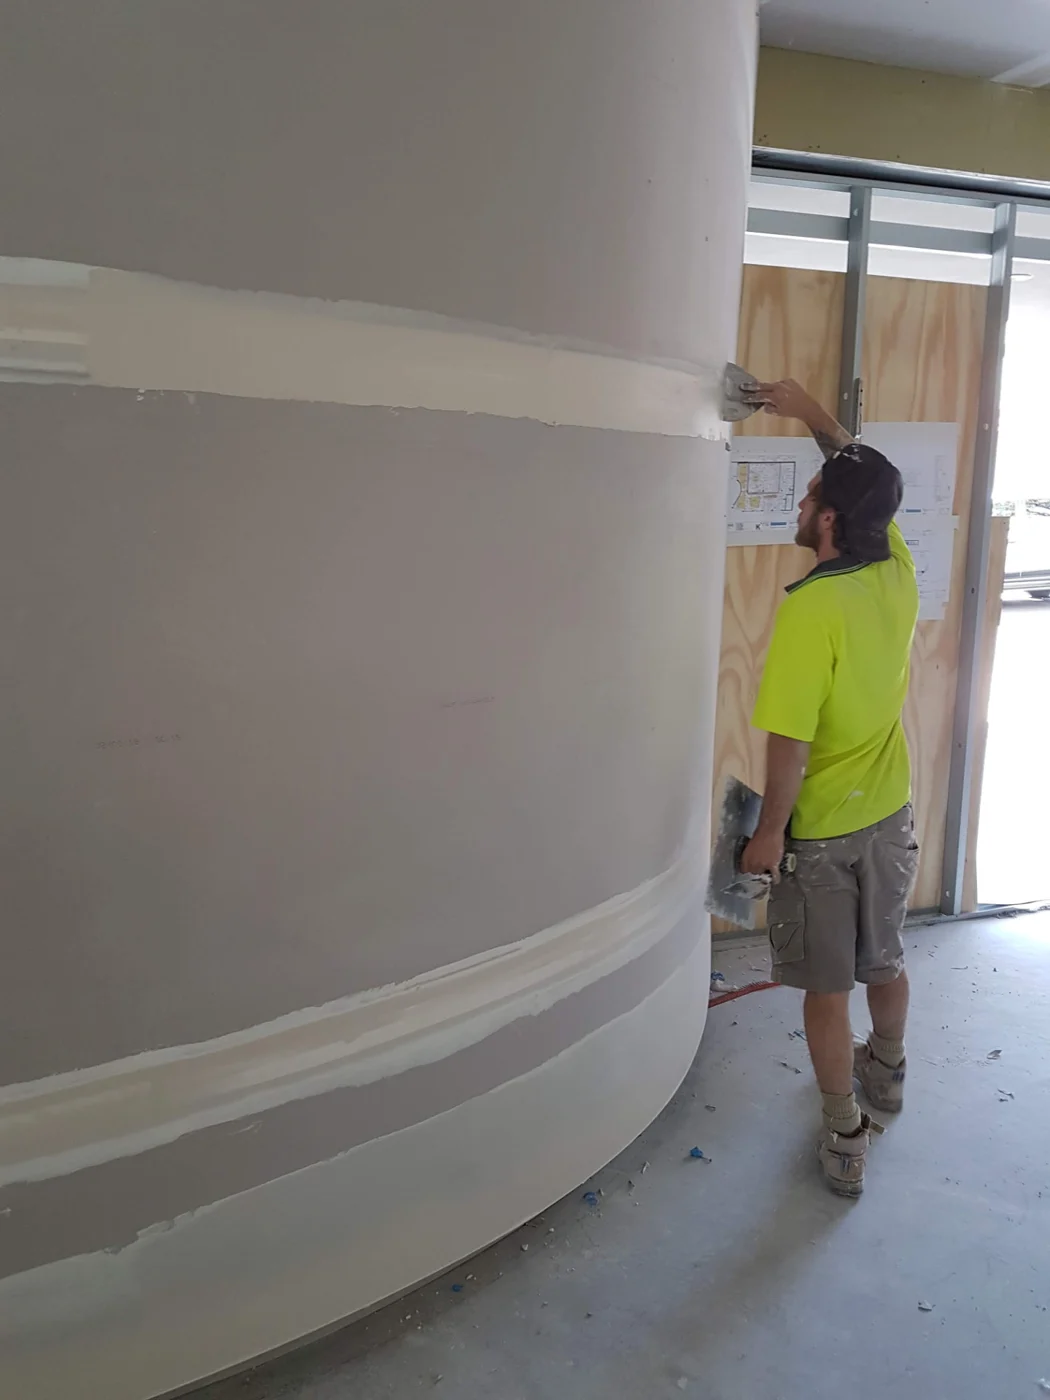
Junctions and shaped surfaces in progress

Cornice work and curved-wall setting show different approaches to finishing an edge or form. The photographs are K & J examples, not verified Sunrise Beach work.

K & J cornice and room linings with plasterboard joints being set
K & J project · Cornice & room linings · Setting in progress
K & J plasterer applying joint compound to a curved plasterboard wall
K & J project · Curved-wall plastering · Compound being applied

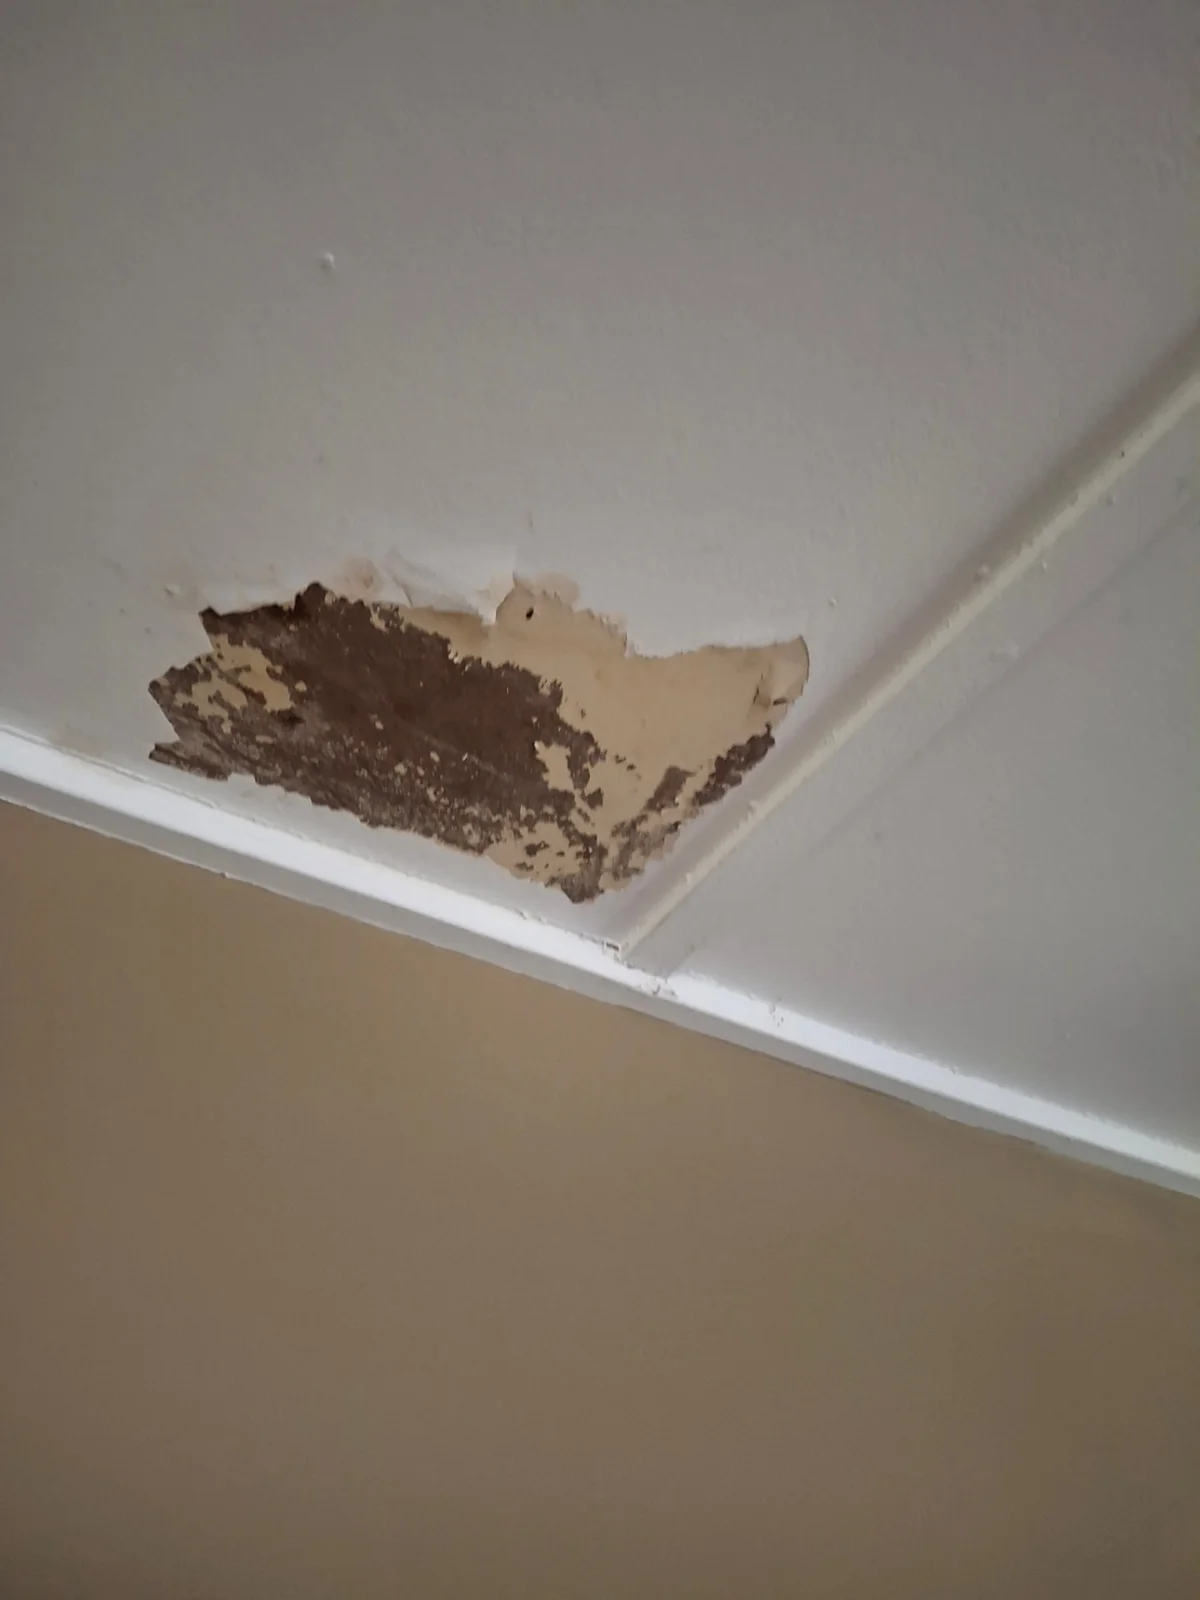
Read a ceiling mark in context

For a stained or cracked ceiling, include the wider ceiling plane and the wall junctions rather than photographing the mark alone. Record when it appeared and whether it has changed. Those details help frame the assessment without treating the visible surface as a complete explanation of the underlying condition.

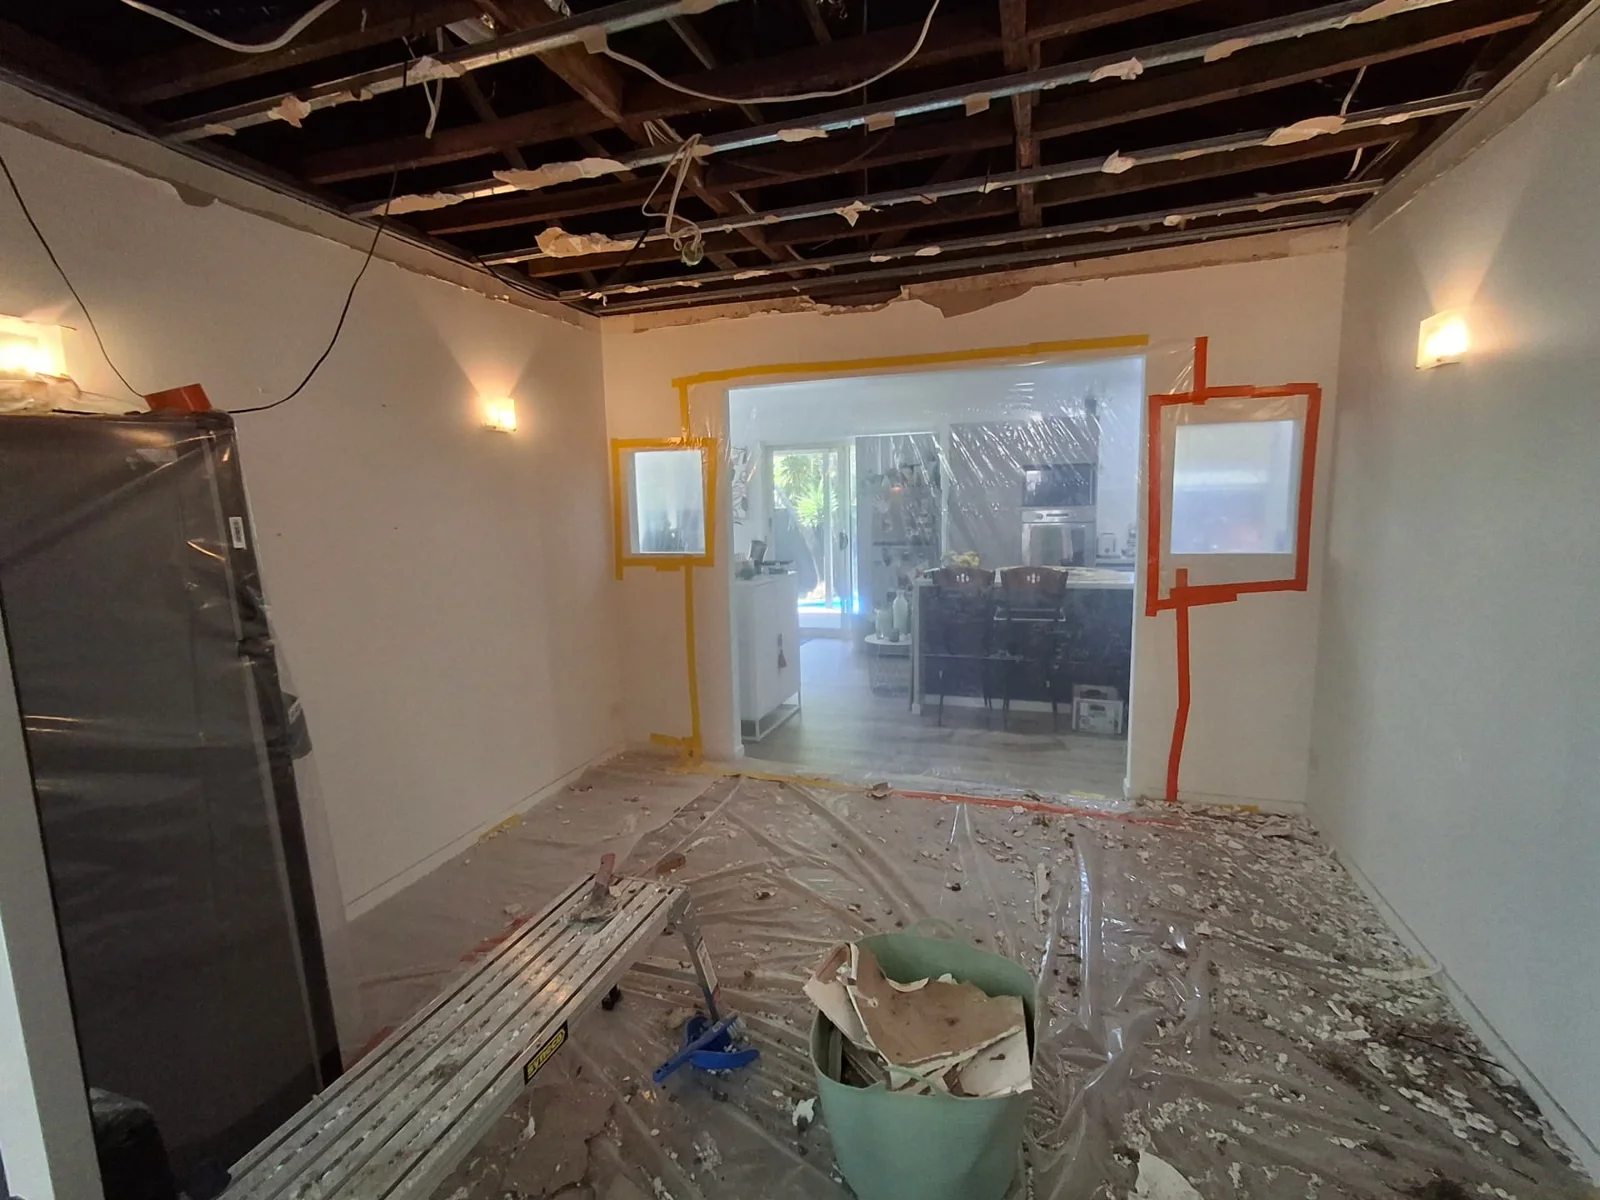
Where water has entered, the source, drying and any specialist treatment need resolution before replacement lining is installed. Also identify fittings requiring other trades and the intended paint boundary. The images below show damage and exposed framing, not a matched local before-and-after sequence.

K & J project showing damaged ceiling lining with peeling surfaces before repair
Before repair · Damaged ceiling lining
K & J project showing exposed ceiling framing after lining removal
Strip-out stage · Ceiling lining removed

Build an enquiry around the room view

  1. 01

    Photograph the sightlines

    Take wide views from doorways and usual room positions, then add close-ups of damage and junctions.

  2. 02

    Draw the changed details

    Mark new walls, recesses, bulkheads and the framing or services still to be completed.

  3. 03

    Define the finished surfaces

    Nominate the wall and ceiling planes to be prepared and painted, including their stopping points.

Sunrise Beach is distinct from Sunshine Beach

Sunrise Beach is one of Noosa's eastern beach communities, south of Sunshine Beach and north of Castaways Beach. Sunshine Beach is a separate neighbouring locality, not an alternative name for Sunrise Beach. Use the correct suburb and street address when sending plans or photographs.

If building management or shared access applies to your property, include permitted work hours and materials-entry requirements. Otherwise, describe the actual room access and occupancy arrangements. Nearby existing information is available for Sunshine Beach, Peregian Beach and Noosa.

Sunrise Beach finish-planning questions

Which photographs help show an uneven-looking repair?

Send a close-up and a wider view in normal room light, including adjacent paint and junctions. Avoid relying only on an extreme close-up that hides the surrounding surface.

What information is needed for a recessed feature?

Provide width, height, depth and the intended corner detail. Add proposed lighting and fittings, and say whether framing has been completed.

Can repainting stop halfway along a continuous wall?

You can nominate that scope, but discuss its visual implications first. A complete wall or a defined architectural boundary may better reflect the finish you are seeking.

Should I select Sunshine Beach when my address is Sunrise Beach?

No. They are separate localities. Use Sunrise Beach and the actual street address so the enquiry and any supplied plans refer to the same property.

K&J Plastering, Painting & Carpentry

Request a plastering quote in Sunrise Beach

Show the room from its usual viewing positions, then add detail photos and the full wall or ceiling finish you want.

Plastering • Painting • Carpentry

  • Experienced local tradespeople

    Over 10 years of experience delivering quality finishes.

  • Licensed & insured

    QBCC licence 15438315.

  • Photos & plans welcome

    Upload your job photos or drawings with your enquiry.

  • Sunrise Beach & surrounds

    Residential plastering, painting and carpentry enquiries.

Prefer to talk? Call 0404 070 587

Request a Free Quote

Fill in the details below. You can also attach photos or plans.