K&J Plastering, Painting & Carpentry logo

K & J Interiors

Plasterers Valdora

Wall and ceiling plastering in Valdora, coordinated with cabinetry, openings and the details that need to be settled before fit-out.

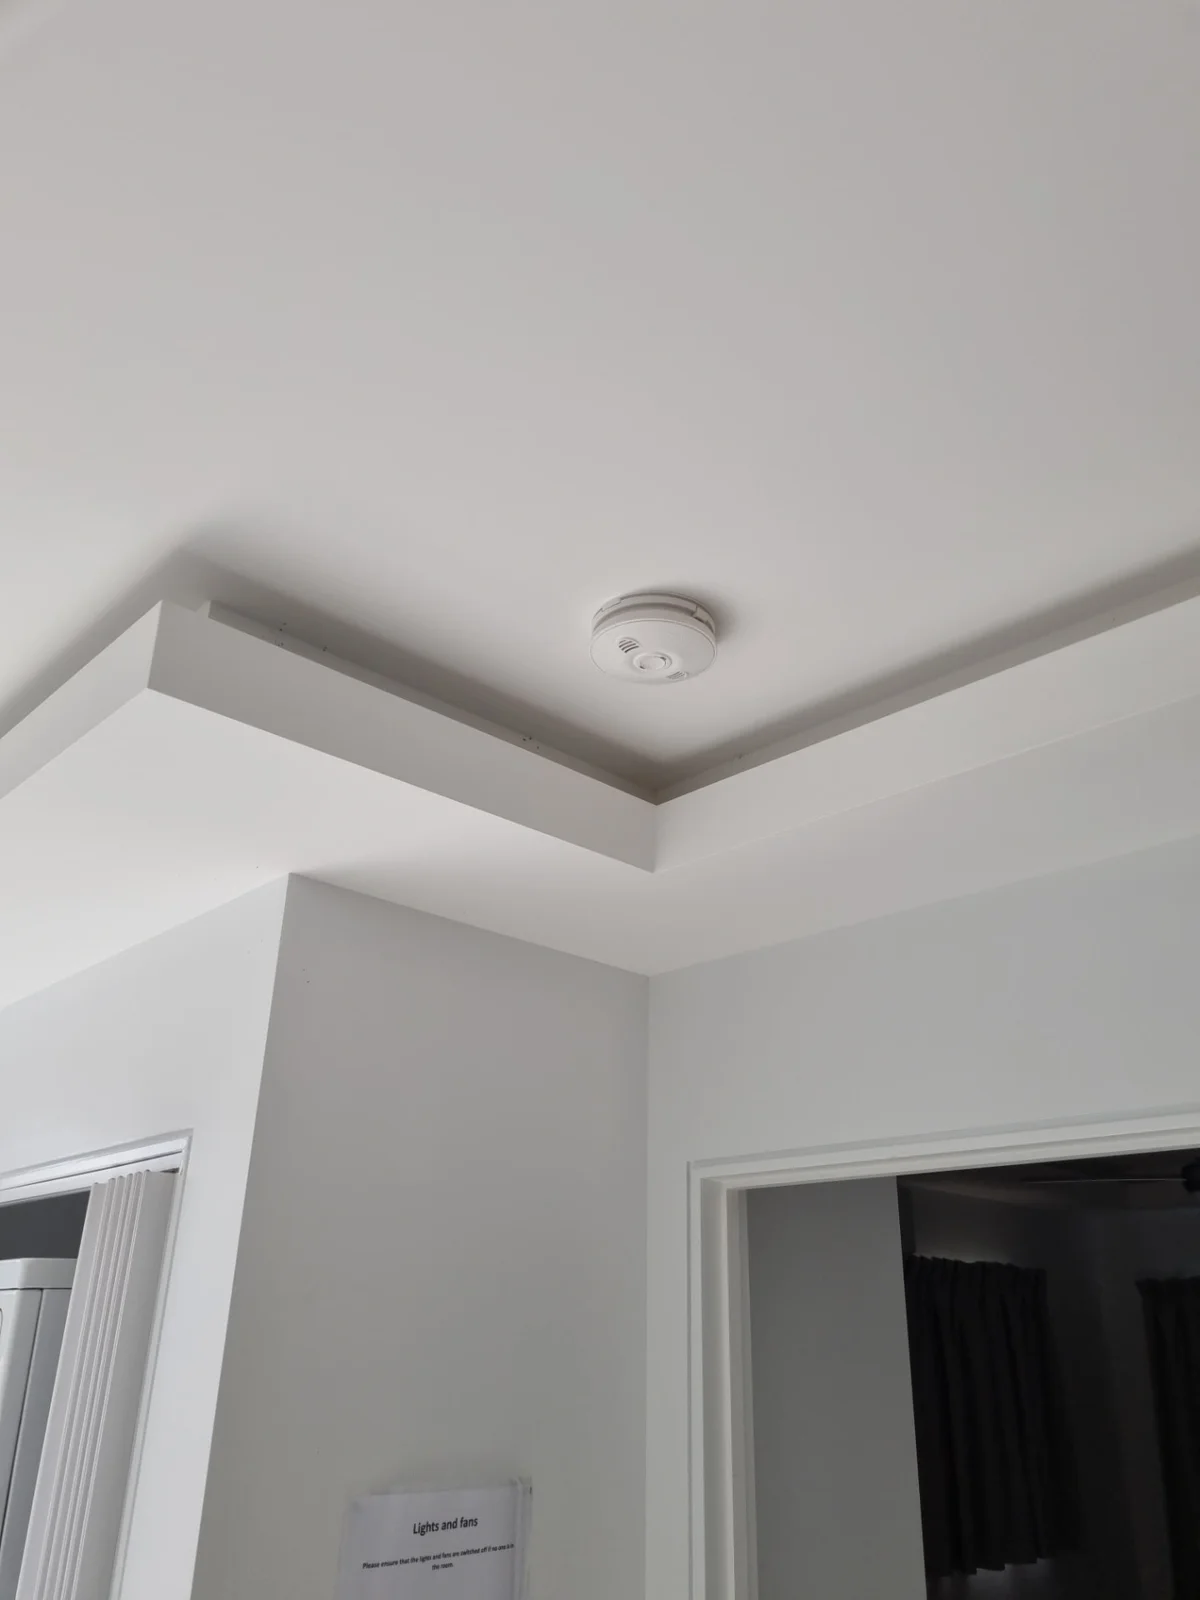
K & J finished painted ceiling corner with a clean square-set junction and bulkhead detail
K & J project photograph · Finished painted square-set detail. Project location not represented as Valdora.

Get the lining details right before fittings go in

Cabinetry and fixed fittings make lining decisions harder to revisit once they are installed. A Valdora plastering enquiry is most useful when it shows those items alongside the walls and ceilings being changed. K & J Interiors can discuss new plasterboard, bulkheads, recesses and repairs with the installation sequence in mind. Identify finished dimensions and the edges that remain visible. The aim is a defined plastering scope that supports the planned fit-out without leaving awkward strips or unfinished junctions behind fittings.

01

Wall linings ahead of cabinetry

Provide the cabinet layout and identify which wall surfaces must be lined before installation. Include returns, end panels and areas visible above or beside the joinery. Framing, services and any required fixing provisions need coordination first, so board installation and joint treatment follow the actual fit-out requirements rather than an incomplete outline.

Prepare walls for the fit-out
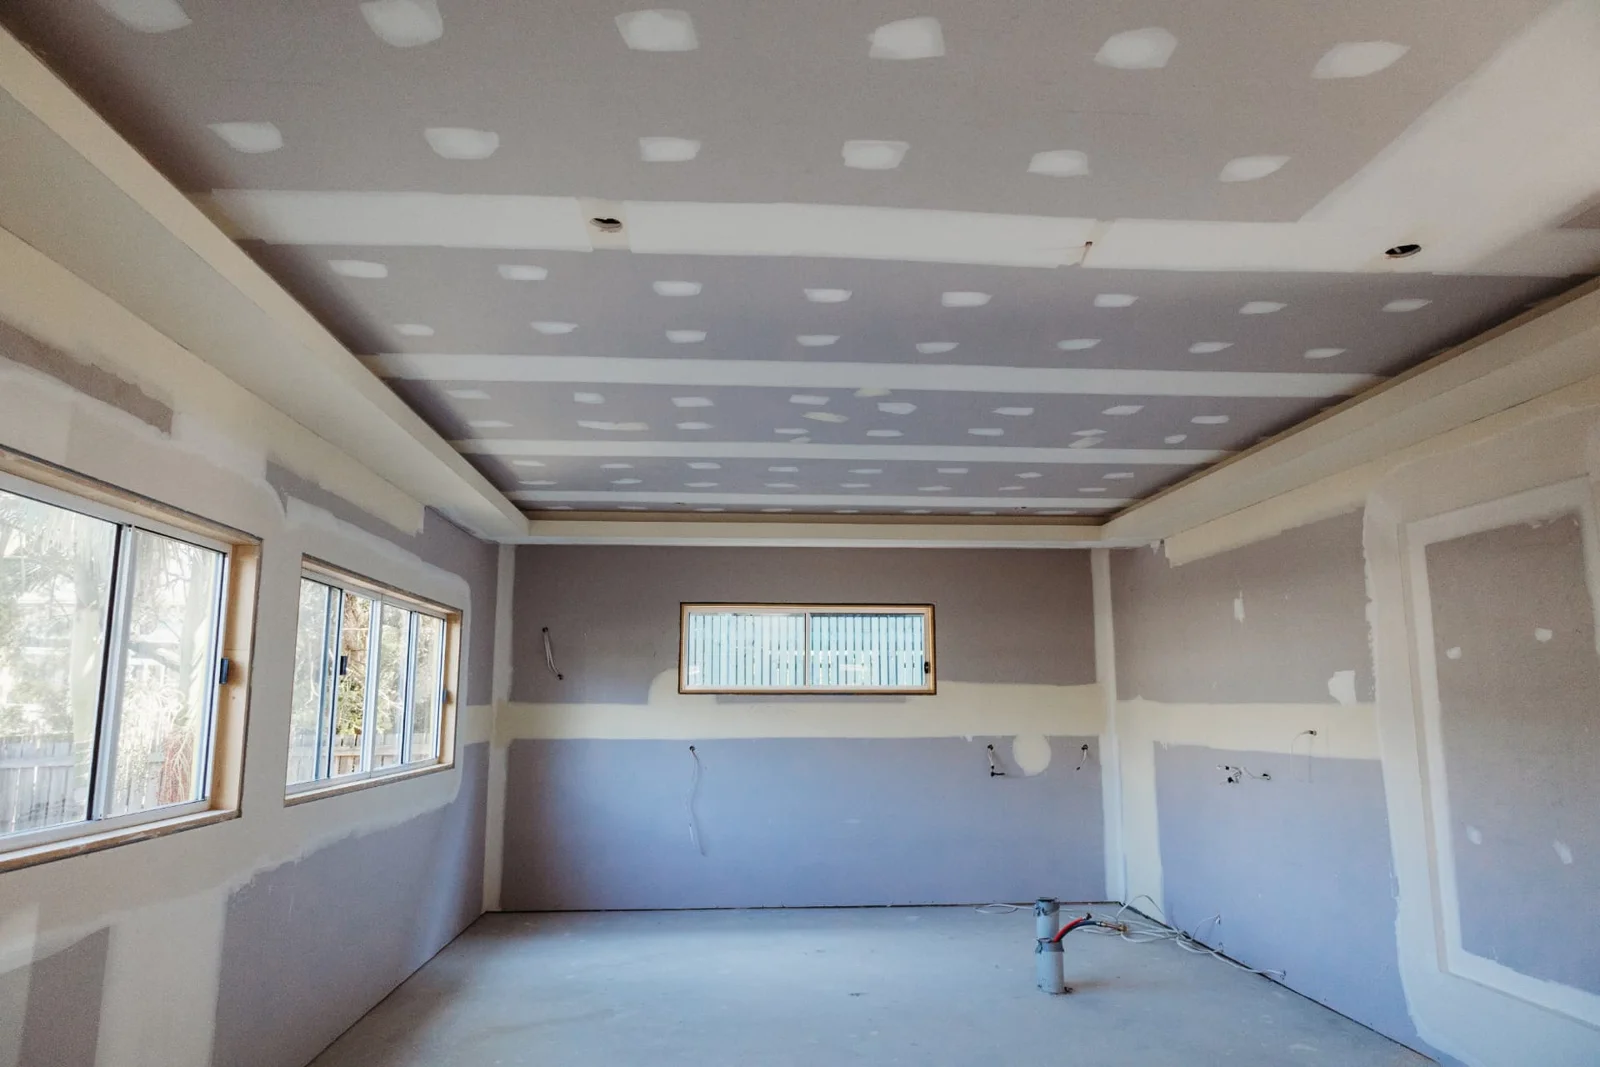
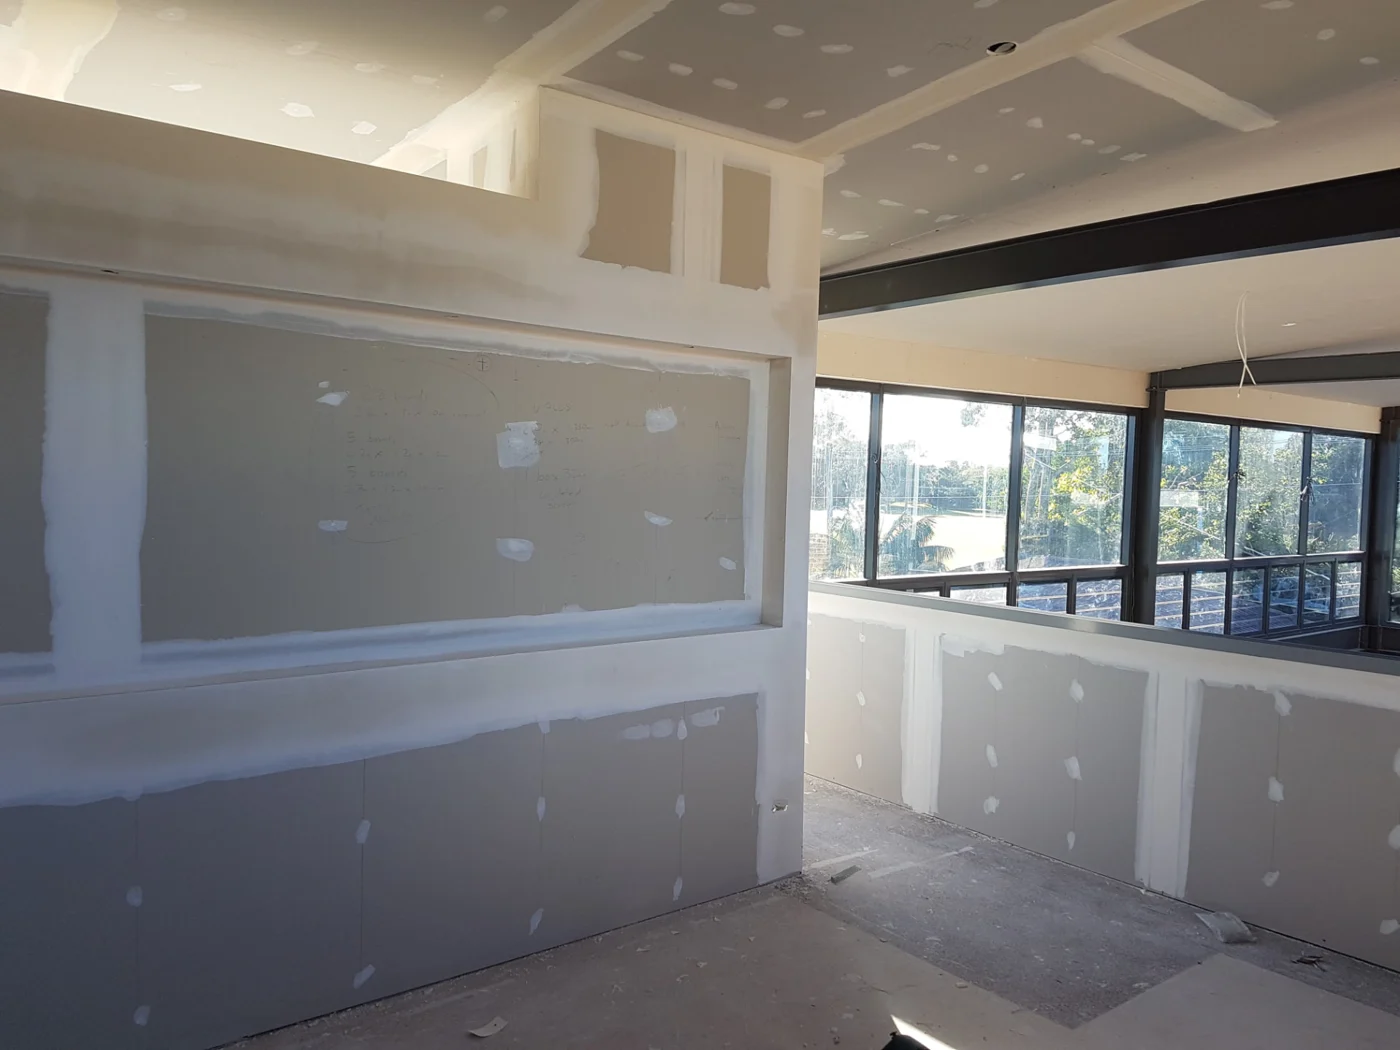
K & J plasterboard ceiling and walls with visible joint compound before sanding and painting
K & J project · Wall & ceiling installation · Joint setting in progress

02

Bulkheads aligned with finished dimensions

Show the bulkhead length, depth and height against the cabinetry or room layout. Identify whether dimensions refer to framing or finished surfaces. The support, lining thickness and junction finish need to work together, particularly where a narrow visible edge will sit directly above cupboards, doors or another fixed feature.

Specify bulkhead and ceiling details
K & J bulkhead and square-set ceiling junction during joint setting
K & J project · Bulkhead & square-set construction · Setting in progress

03

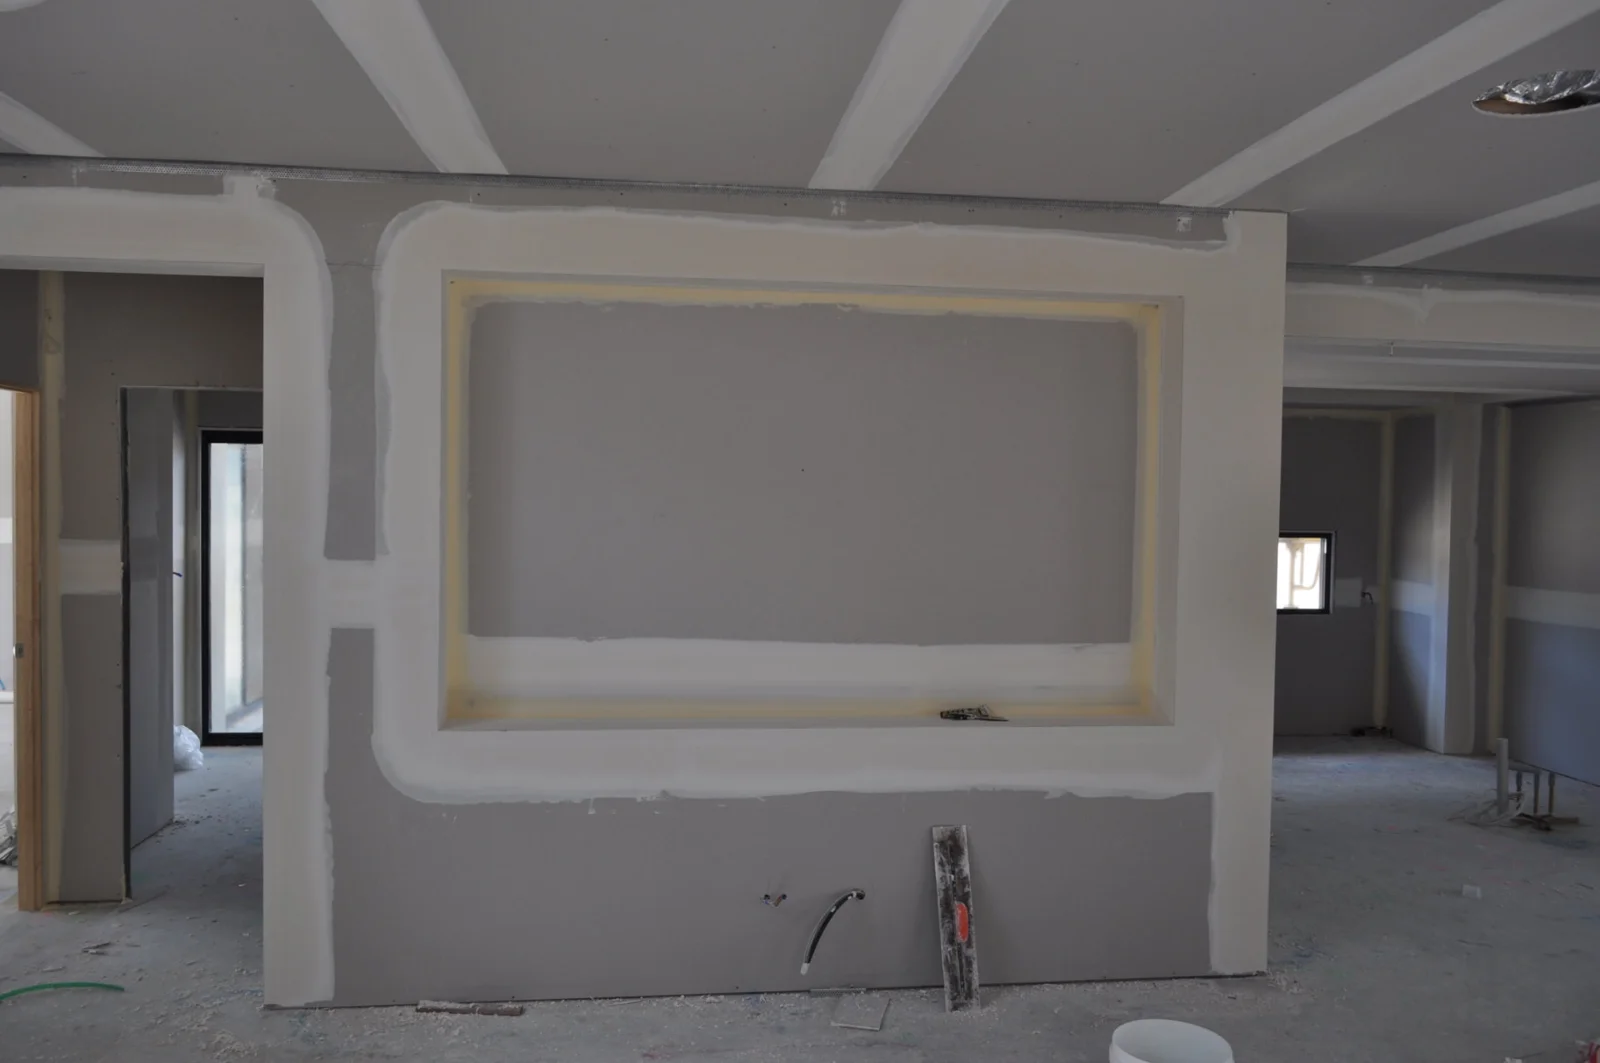
Recesses with an agreed finished shape

For a plasterboard recess, include its clear opening, depth and relationship to nearby fittings. State which faces will remain exposed and whether services pass through the detail. Suitable framing and corner treatment should be arranged before lining, with the intended painted finish considered alongside the shape rather than added afterwards.

Plan recessed plasterboard features
K & J recessed plasterboard niche with corners and joints being finished
K & J project · Recessed plasterboard detail · Setting in progress

04

Repairs after old cupboards are removed

Removal can uncover unpainted board, missing lining or damaged edges beyond the original cabinet footprint. Photograph the exposed wall once it is safely accessible and mark the replacement layout. Repairs should account for the surfaces that will remain visible, as well as any openings that need proper backing before they are closed.

Reinstate walls after removal

05

Painting before and after installation

Separate surfaces that can be prepared and painted before fit-out from those needing a later finishing stage. Include bulkhead faces, reveals and narrow wall sections beside cupboards. Clear coverage and sequencing help coordinate the trades, while any touch-up expectation should be discussed rather than assumed to include a complete room repaint.

Coordinate interior painting stages

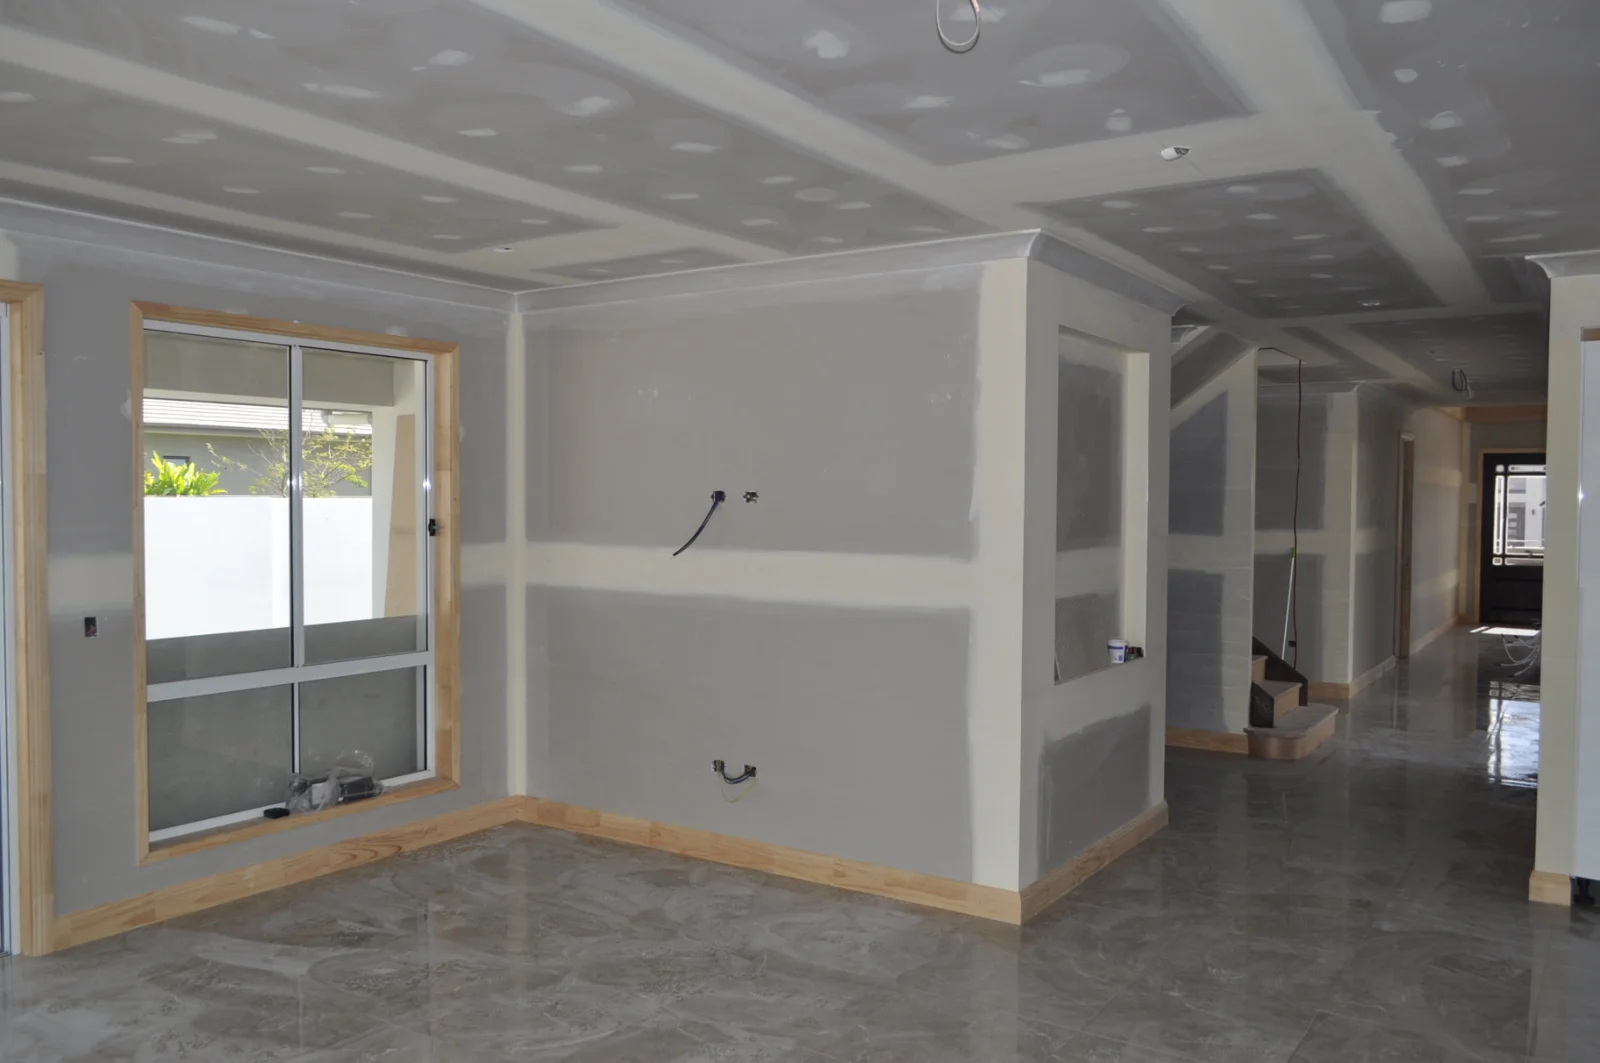
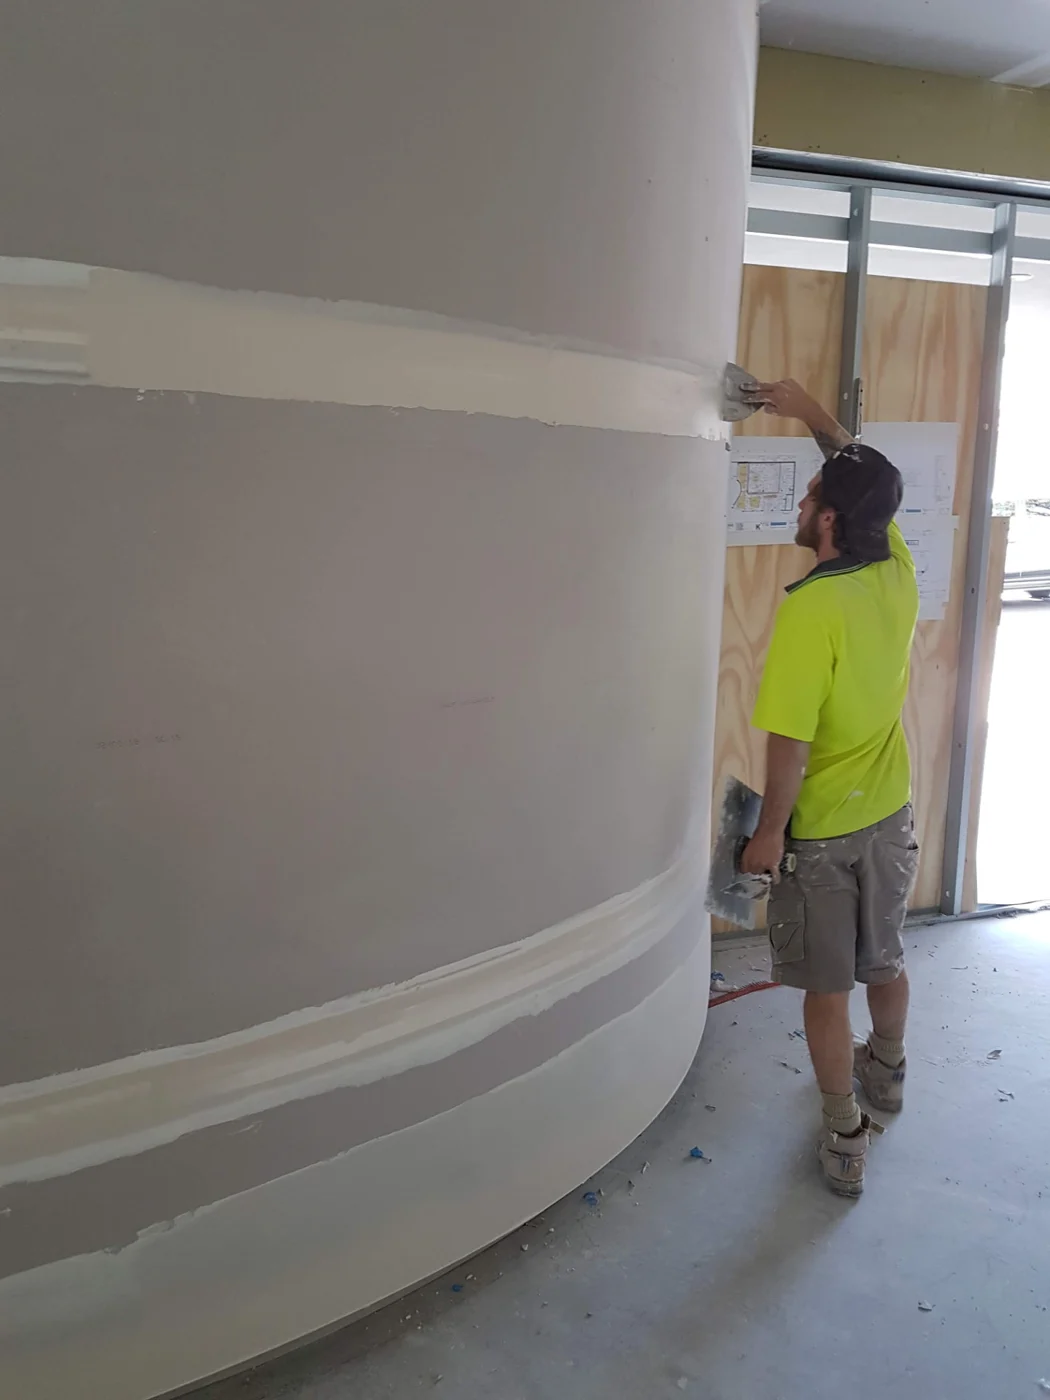
Cornice junctions and shaped setting details

These genuine K & J images show cornice installation and curved-wall setting. They demonstrate work in progress, without suggesting the photographed fit-outs are in Valdora.

K & J cornice and room linings with plasterboard joints being set
K & J project · Cornice & room linings · Setting in progress
K & J plasterer applying joint compound to a curved plasterboard wall
K & J project · Curved-wall plastering · Compound being applied

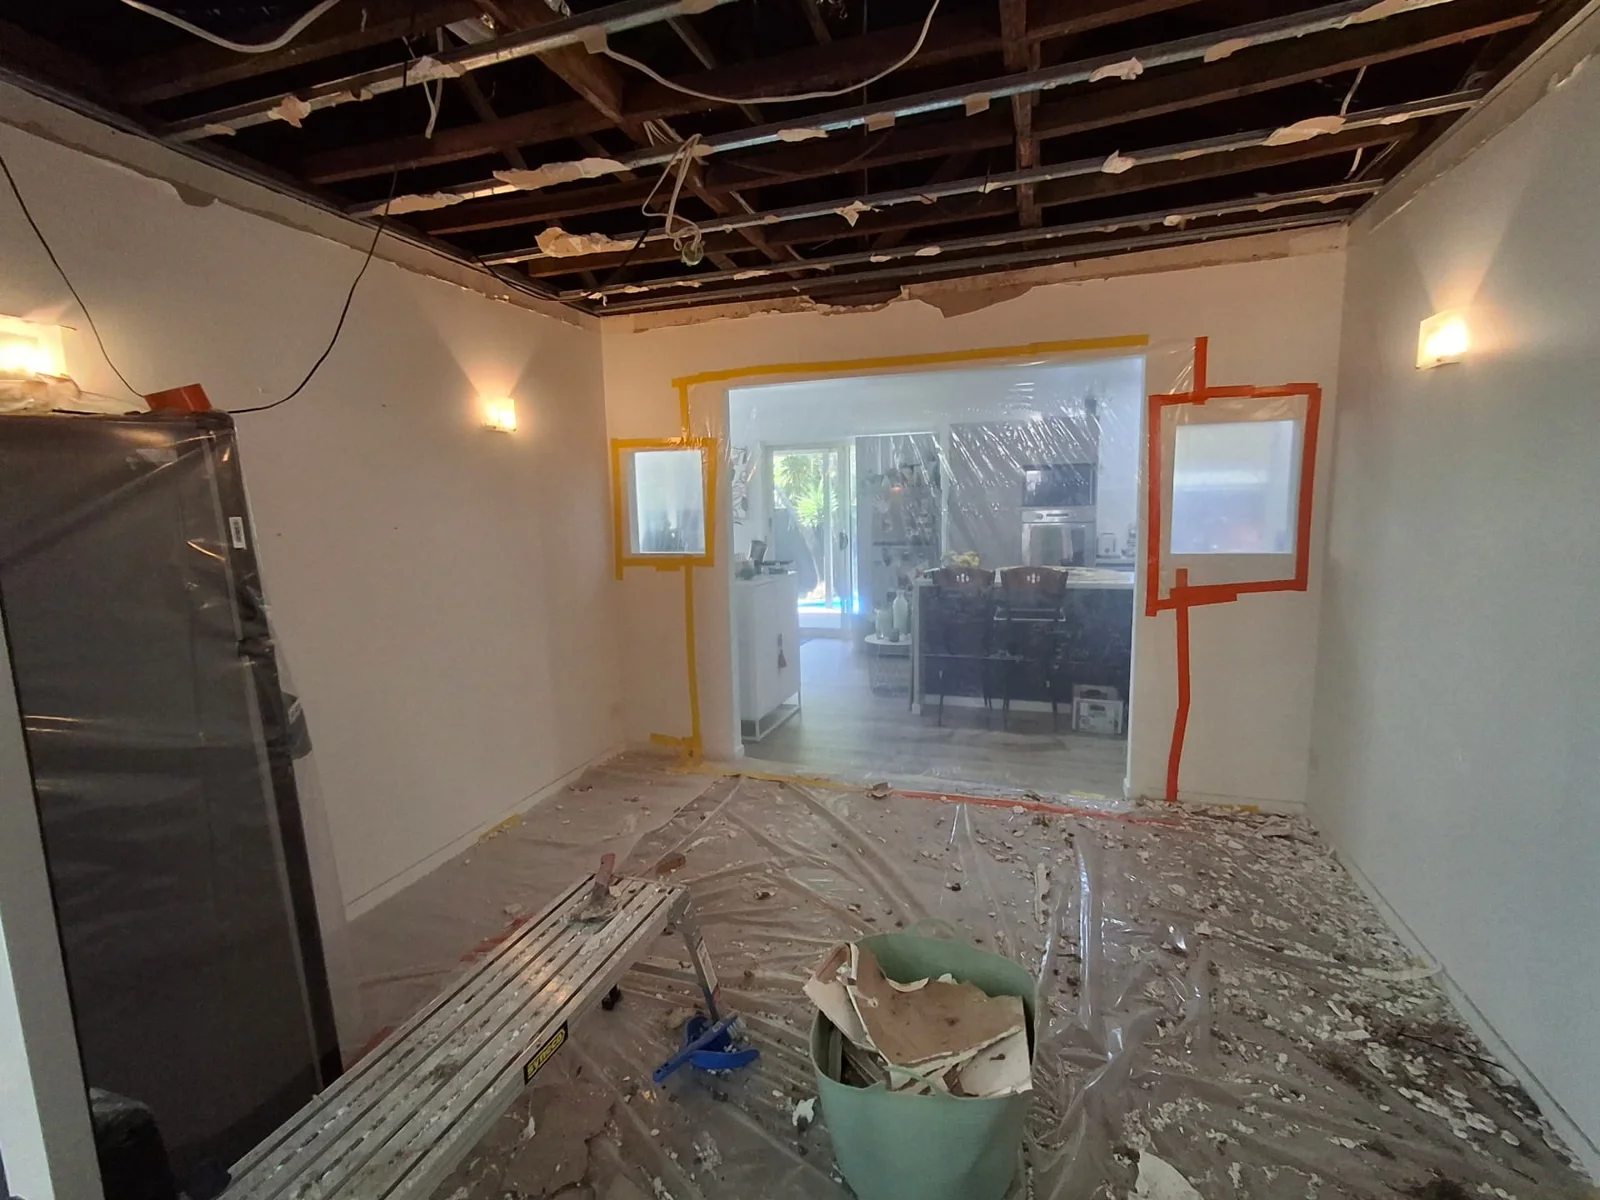
Use strip-out to establish the reinstatement boundary

Once existing fittings are removed, distinguish surface marks from damaged or missing board. Some retained areas may need preparation while others require replacement lining and backing. Photograph the exposed condition before new cabinetry hides the repair area, and identify any services still awaiting completion.

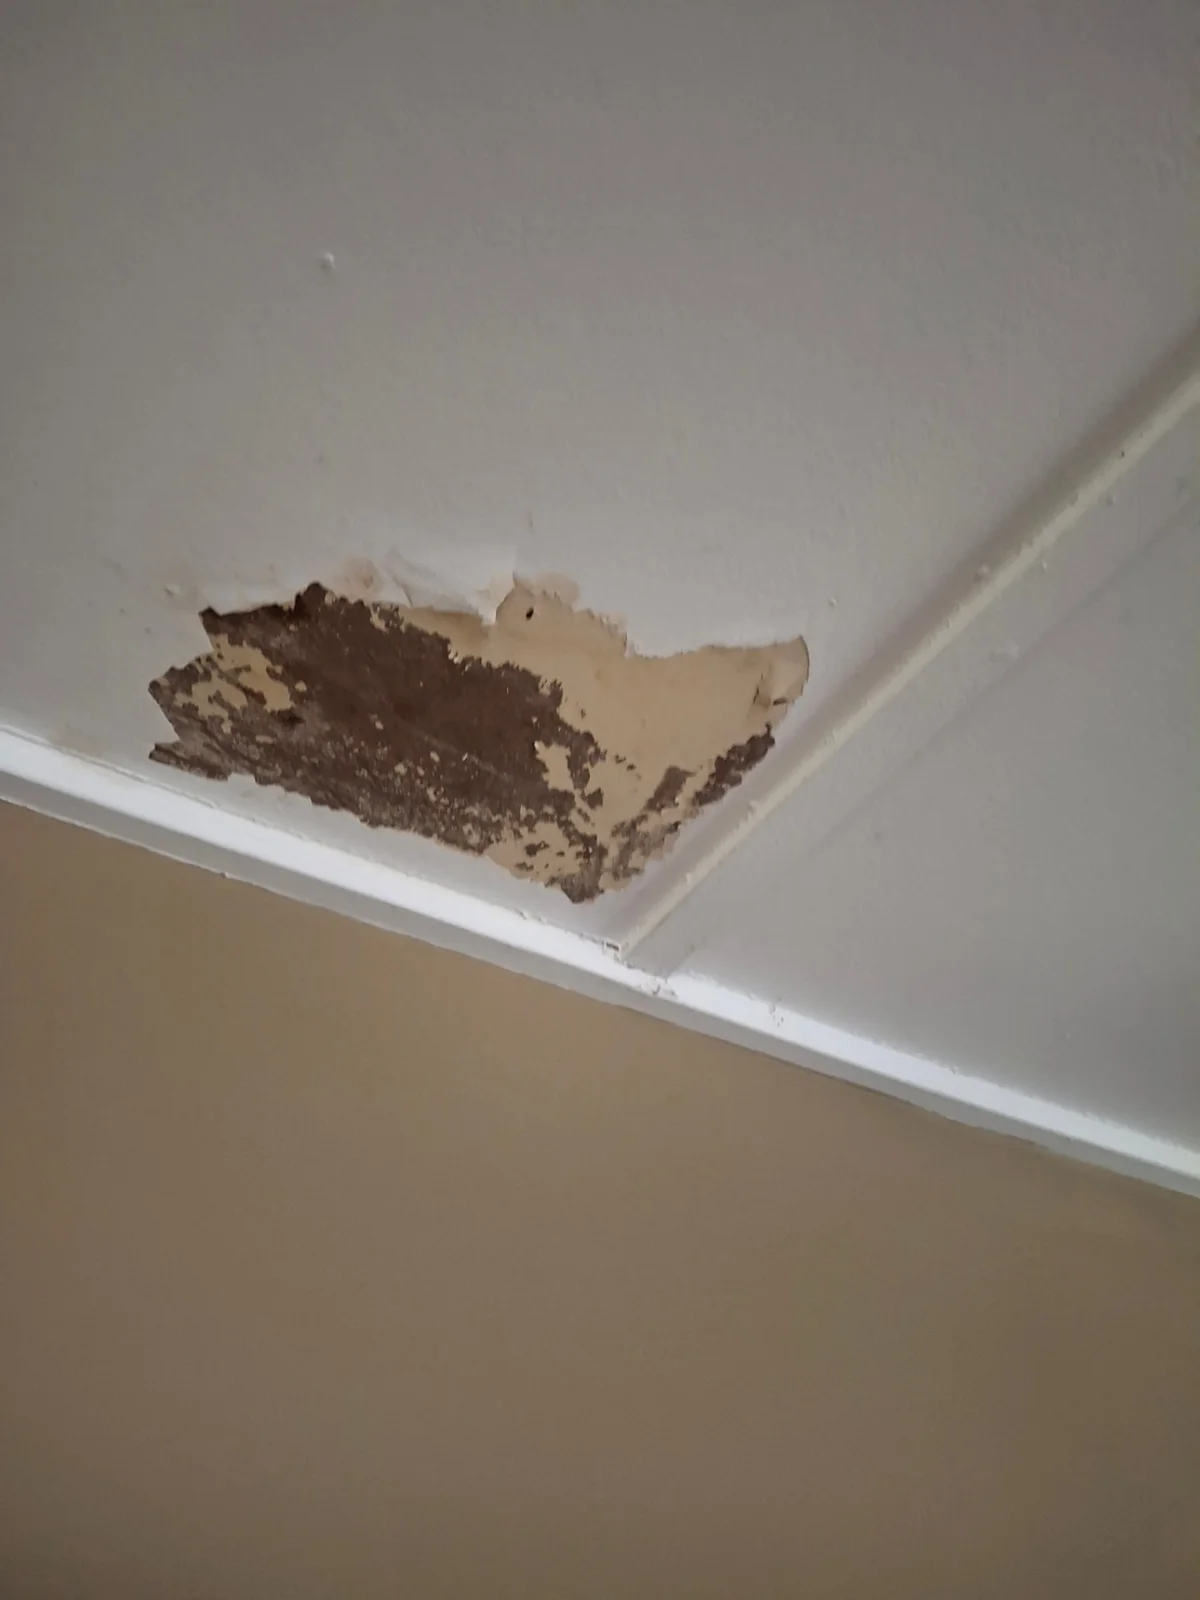
If dampness or deteriorated material is discovered, have the cause investigated and any required drying or specialist treatment completed before relining. The damage and strip-out photographs below illustrate separate stages; they do not establish that a fit-out caused the damage or show a Valdora project.

K & J project showing damaged ceiling lining with peeling surfaces before repair
Before repair · Damaged ceiling lining
K & J project showing exposed ceiling framing after lining removal
Strip-out stage · Ceiling lining removed

Coordinate the lining with the fit-out drawings

  1. 01

    Share the finished layout

    Include cabinetry elevations, bulkhead dimensions and the wall sections that will remain visible.

  2. 02

    Confirm concealed preparation

    Resolve framing, fixing provisions and service positions before plasterboard closes the area.

  3. 03

    Sequence the visible finish

    Agree setting, sanding and paint coverage before and after fit-out, including responsibility for any later touch-ups.

Valdora in the wider Maroochy River Valley area

Valdora appears in council's Yandina–Maroochy River Valley geographic overview, which also includes Maroochy River, Ninderry and Yandina Creek. The regional grouping helps locate a project enquiry without suggesting that every Valdora address has the same layout, access or building requirements.

For a fit-out enquiry, name the person coordinating cabinetry and provide the latest drawings rather than relying on a verbal description of the room. Include delivery access and which installations are already booked. Existing service pages for Coolum Beach, Bli Bli and Marcoola offer nearby area information.

Valdora fit-out plastering questions

Should bulkhead measurements show the finished surface?

Yes. Identify finished dimensions clearly and distinguish them from framing dimensions. The lining and setting details need to be coordinated with the clearances expected by the cabinetry or other adjoining installation.

Can you quote wall repairs before old cupboards come out?

Photographs can begin the discussion, but concealed damage or missing lining may only become apparent after removal. Explain what is known and allow the reinstatement extent to be confirmed once the wall is accessible.

Do concealed areas behind cabinets need lining?

That depends on the design and construction requirements. Provide the specified wall arrangement and cabinet layout rather than assuming an area can remain open simply because a cupboard will cover it.

When should painting happen around new joinery?

Some surfaces may be accessible before installation, while final exposed edges may need a later stage. Agree the sequence with the fit-out coordinator and specify what preparation, painting and later touch-up work is included.

K&J Plastering, Painting & Carpentry

Request a plastering quote in Valdora

Include fit-out drawings, finished bulkhead dimensions and photographs of exposed walls. Tell us which fittings are removed, ordered or already installed.

Plastering • Painting • Carpentry

  • Experienced local tradespeople

    Over 10 years of experience delivering quality finishes.

  • Licensed & insured

    QBCC licence 15438315.

  • Photos & plans welcome

    Upload your job photos or drawings with your enquiry.

  • Valdora & surrounds

    Residential plastering, painting and carpentry enquiries.

Prefer to talk? Call 0404 070 587

Request a Free Quote

Fill in the details below. You can also attach photos or plans.