K&J Plastering, Painting & Carpentry logo

K & J Interiors

Plasterers Black Mountain

Give Black Mountain ceiling and wall work a clear scope, from room measurements to the route for bringing materials inside.

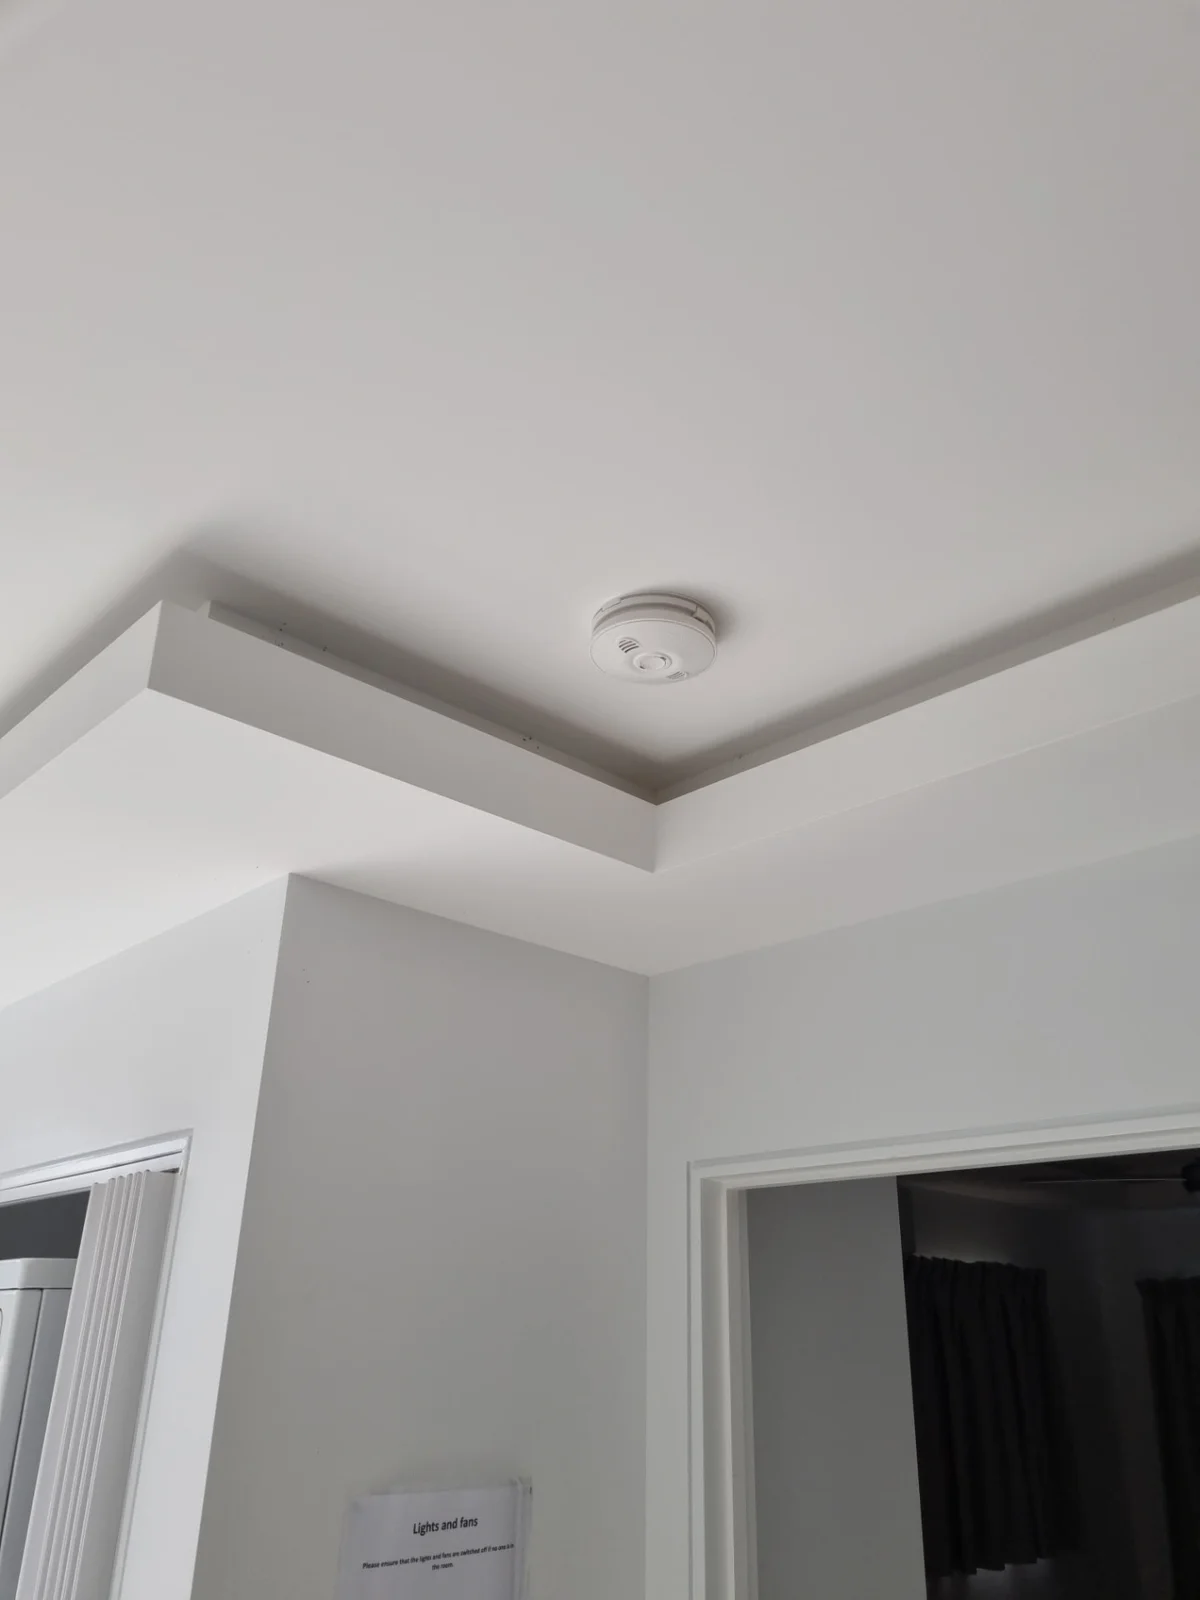
K & J finished painted ceiling corner with a clean square-set junction and bulkhead detail
K & J project photograph · Finished painted square-set detail. Project location not represented as Black Mountain.

Make the physical job clear before choosing finishes

A useful plastering enquiry shows both the surface to be finished and the space needed to work on it. Ceiling height, room shape, entry dimensions and the route for carrying board can all matter, whatever the property's setting. For Black Mountain projects, K & J Interiors can discuss these details alongside the intended repair or new lining. Provide measurements where available and flag uncertainties, rather than assuming the locality describes the terrain, building design or access conditions at your particular address.

01

Ceiling shapes and changes in level

Show ceiling heights, bulkhead drops and changes of plane on a sketch or plan. Photographs should include adjoining walls and nearby fittings so the junctions make sense. Suitable support and preparation are needed before lining and setting. Any unusual access requirement should be discussed from actual dimensions rather than inferred from the property's location.

Describe the ceiling geometry
K & J bulkhead and square-set ceiling junction during joint setting
K & J project · Bulkhead & square-set construction · Setting in progress

02

Board installation with a materials route

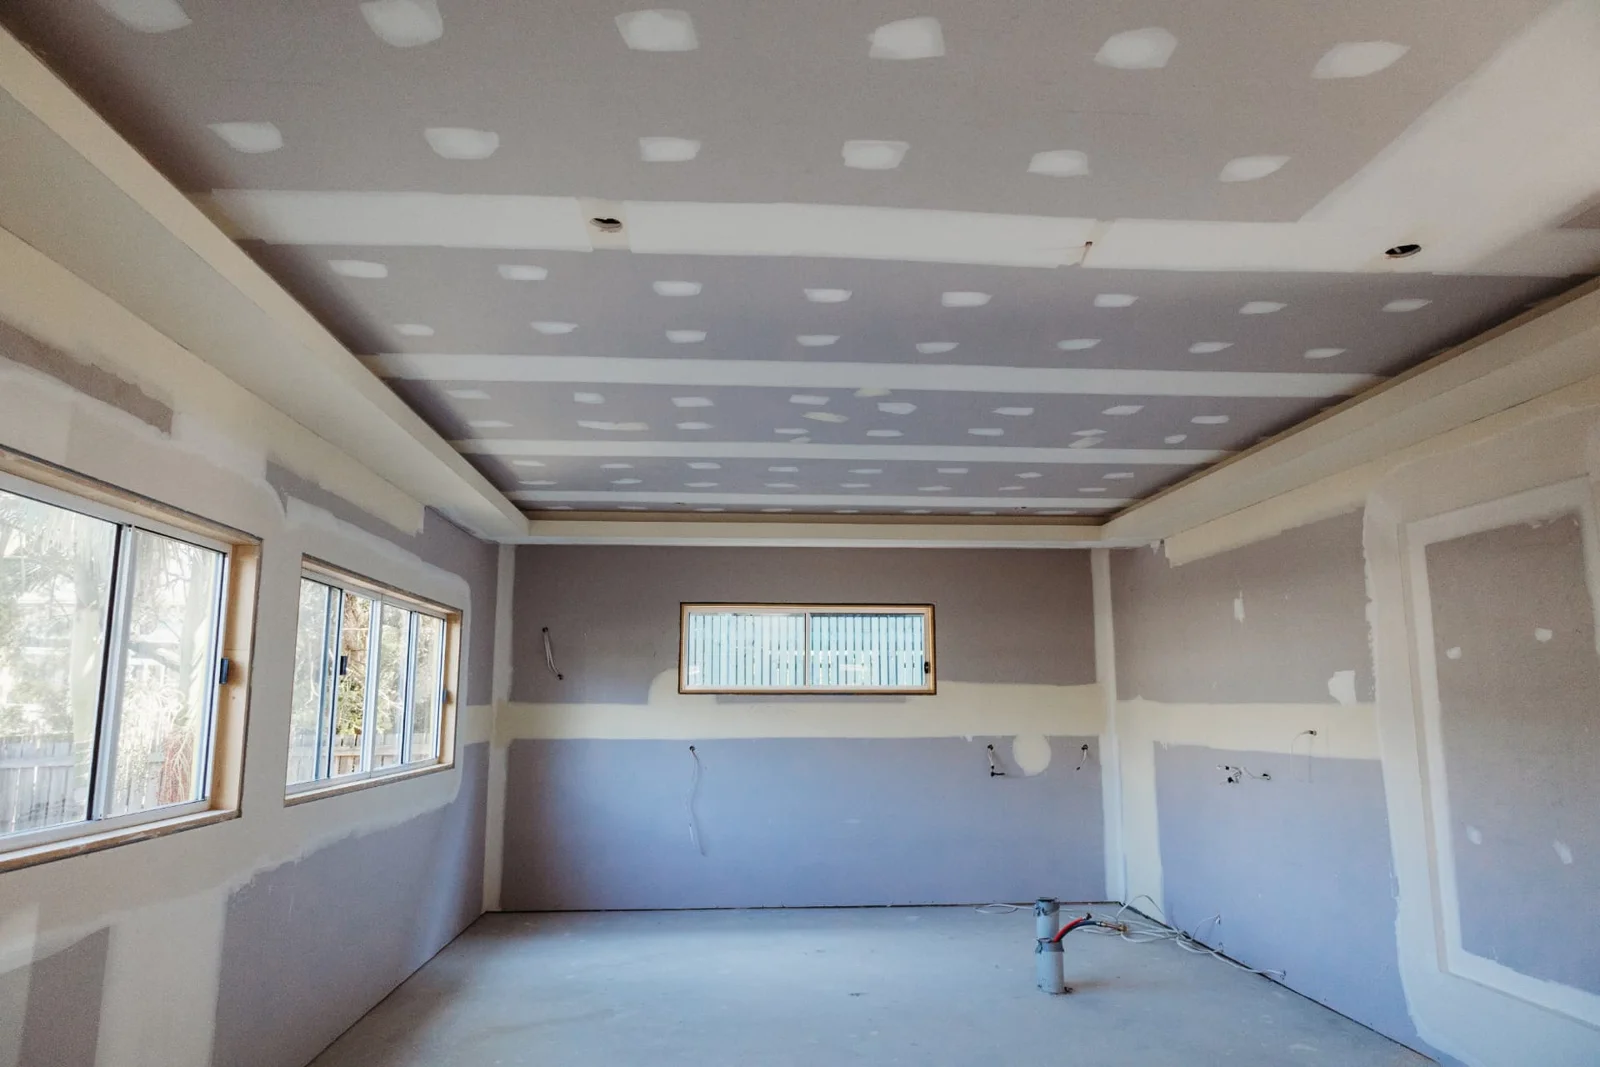
Alongside wall dimensions, describe doorways, turns and any stairs between the unloading point and work area. This information helps explain handling constraints without assuming a particular solution. Identify the framing and services status for each surface. Installation, joint setting and sanding should be listed clearly, with adjoining retained surfaces distinguished from new lining.

Plan board installation and entry
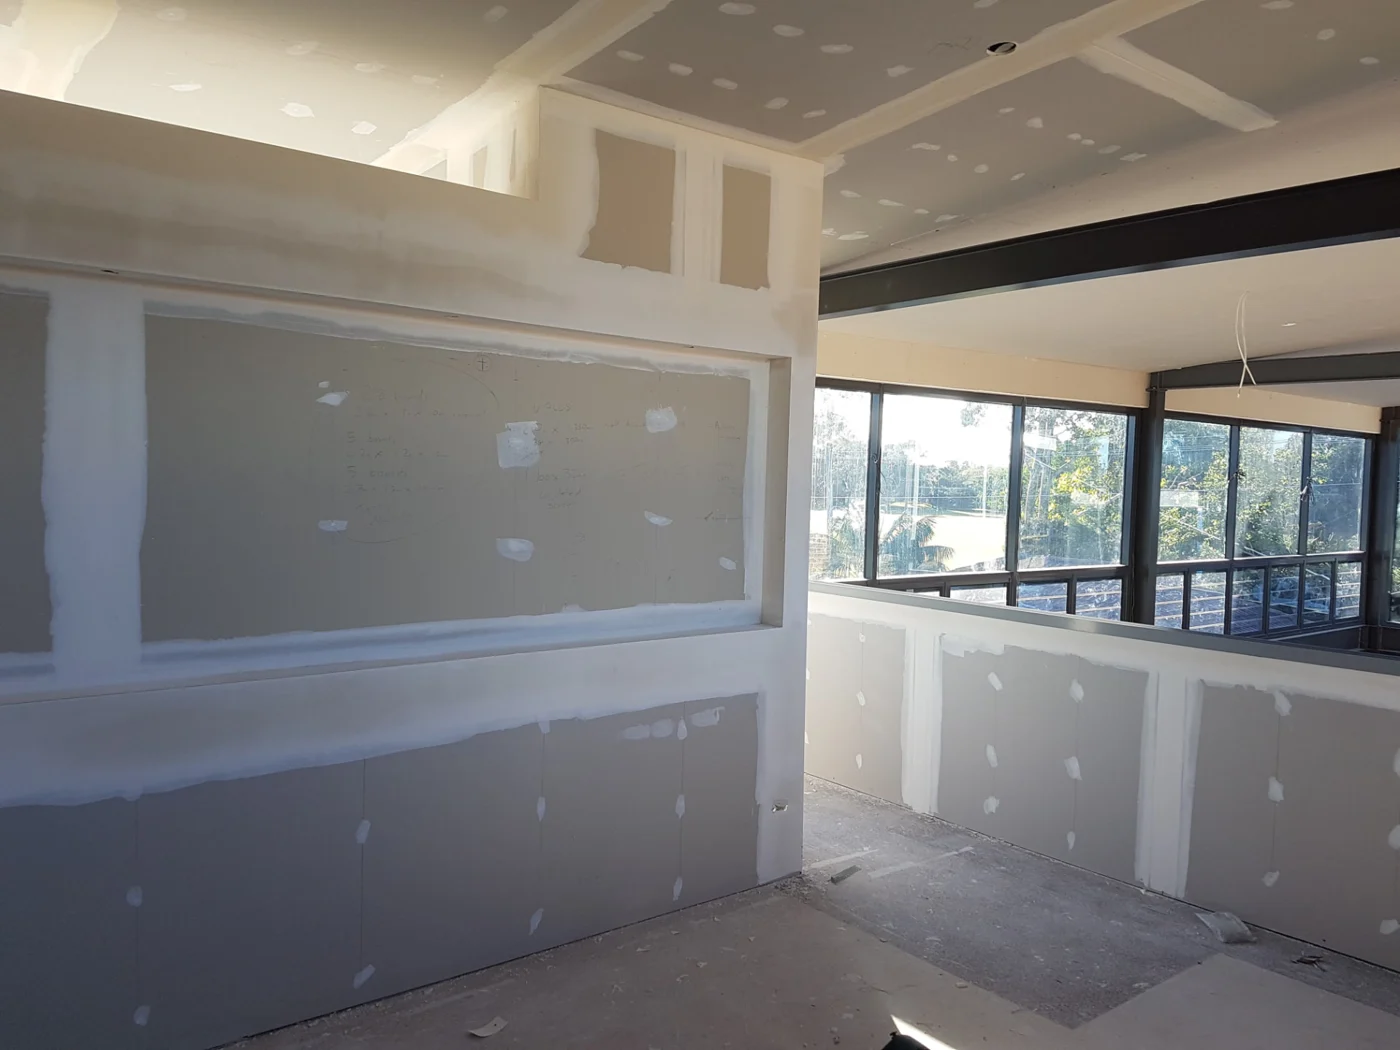
K & J plasterboard ceiling and walls with visible joint compound before sanding and painting
K & J project · Wall & ceiling installation · Joint setting in progress

03

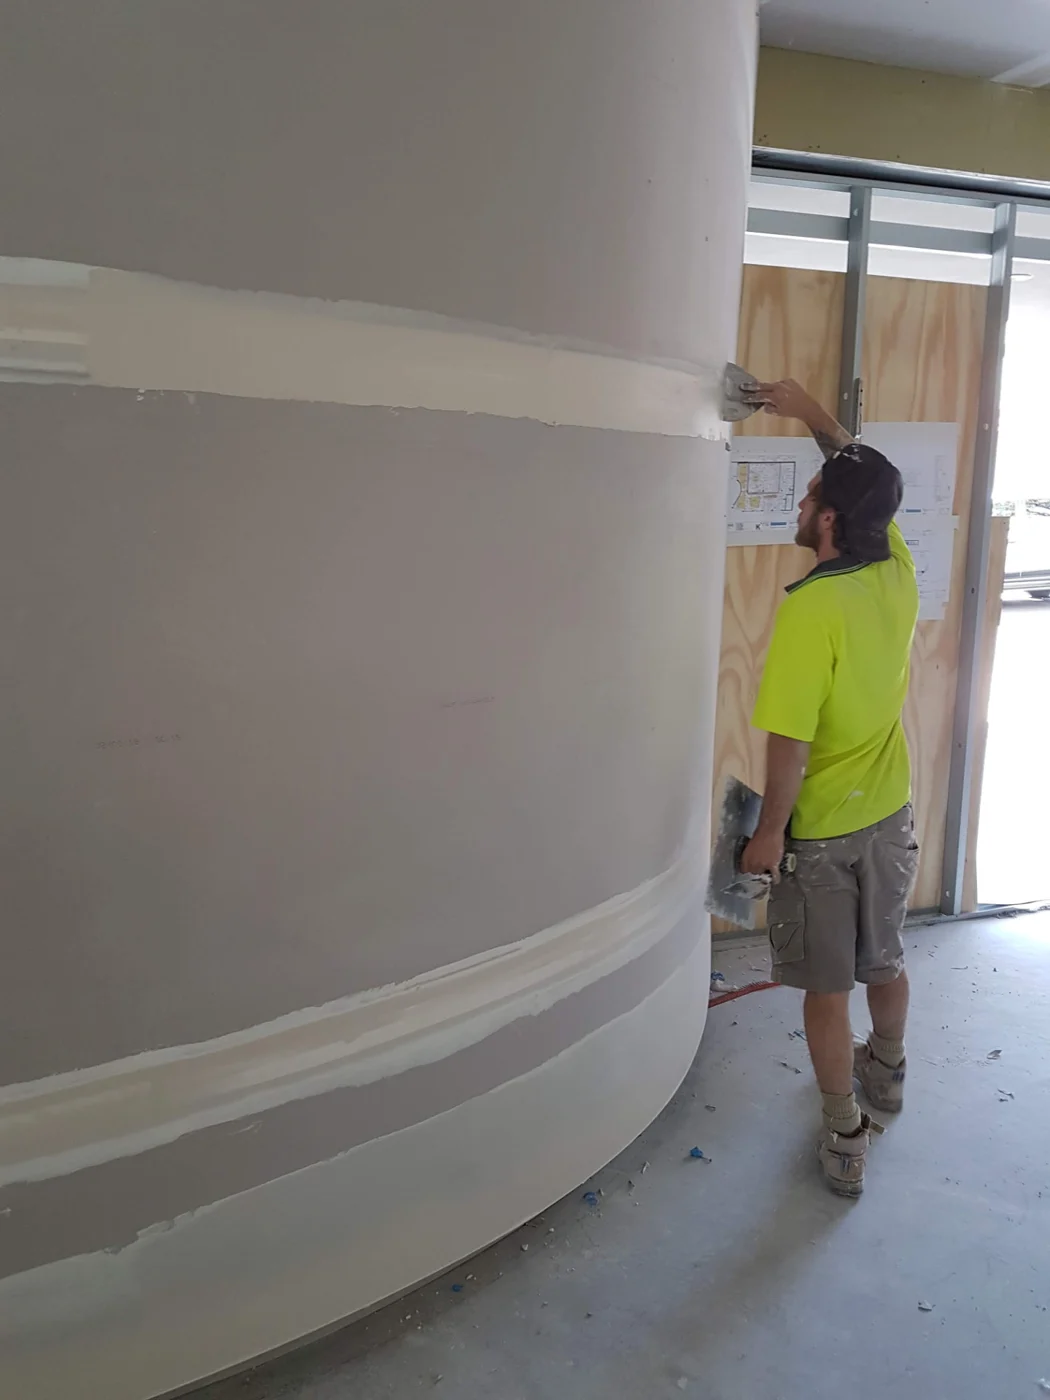
Curved work with a specified shape

If a curved wall forms part of the design, provide drawings or dimensions that establish its shape and endpoints. Include openings and the connection to straight walls or ceilings. Framing suitability and the lining approach require consideration before setting. A reference photograph can explain appearance, but does not replace project dimensions or an agreed finish.

Discuss curved plasterboard finishes
K & J plasterer applying joint compound to a curved plasterboard wall
K & J project · Curved-wall plastering · Compound being applied

04

Repairs measured beyond the visible hole

Include the opening size, surrounding lining and nearby corners when documenting repairs. A small visible defect may still require backing or preparation outside its edge. Tell us whether the damage is isolated or repeated elsewhere. Any concern about movement or support needs appropriate investigation before cosmetic patching is treated as the complete solution.

Set practical repair boundaries

05

Painting across connected ceiling planes

Where a repair meets a bulkhead or another ceiling level, mark the paint boundary on a wider room photograph. The intended coverage may extend beyond new compound, but should not be assumed. Include retained paint condition and any trim work so preparation and coating can be discussed as a defined finishing task.

Define connected paint surfaces

Edges and recesses deserve their own specification

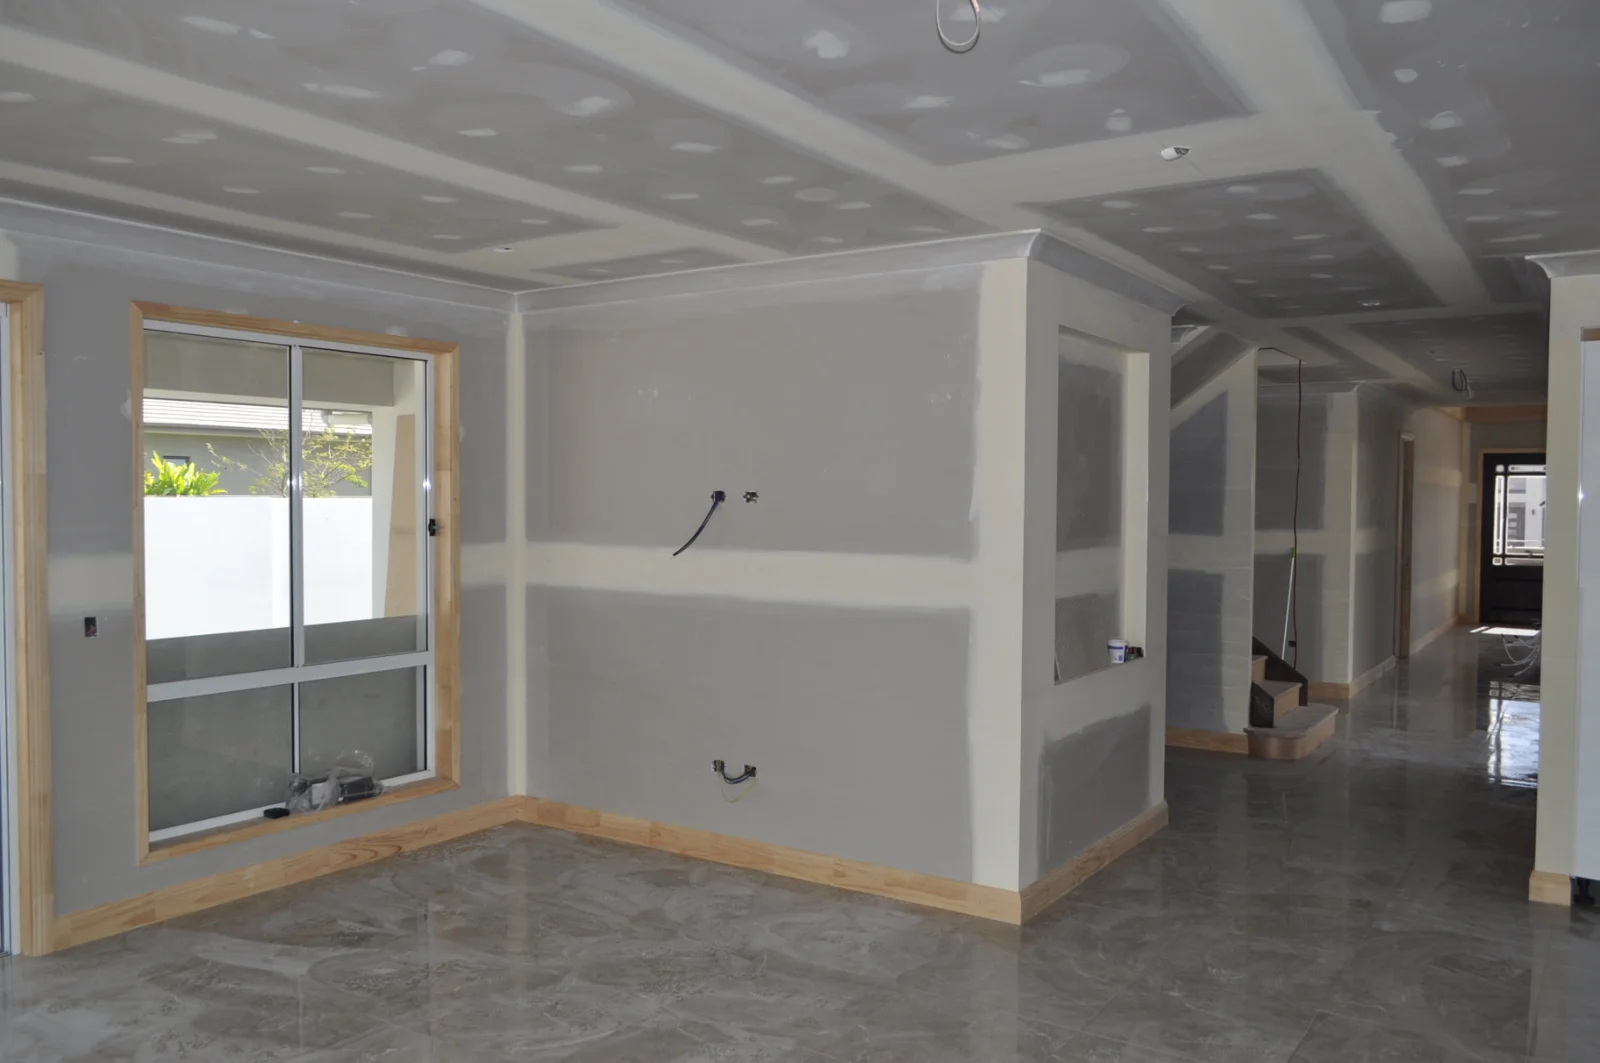
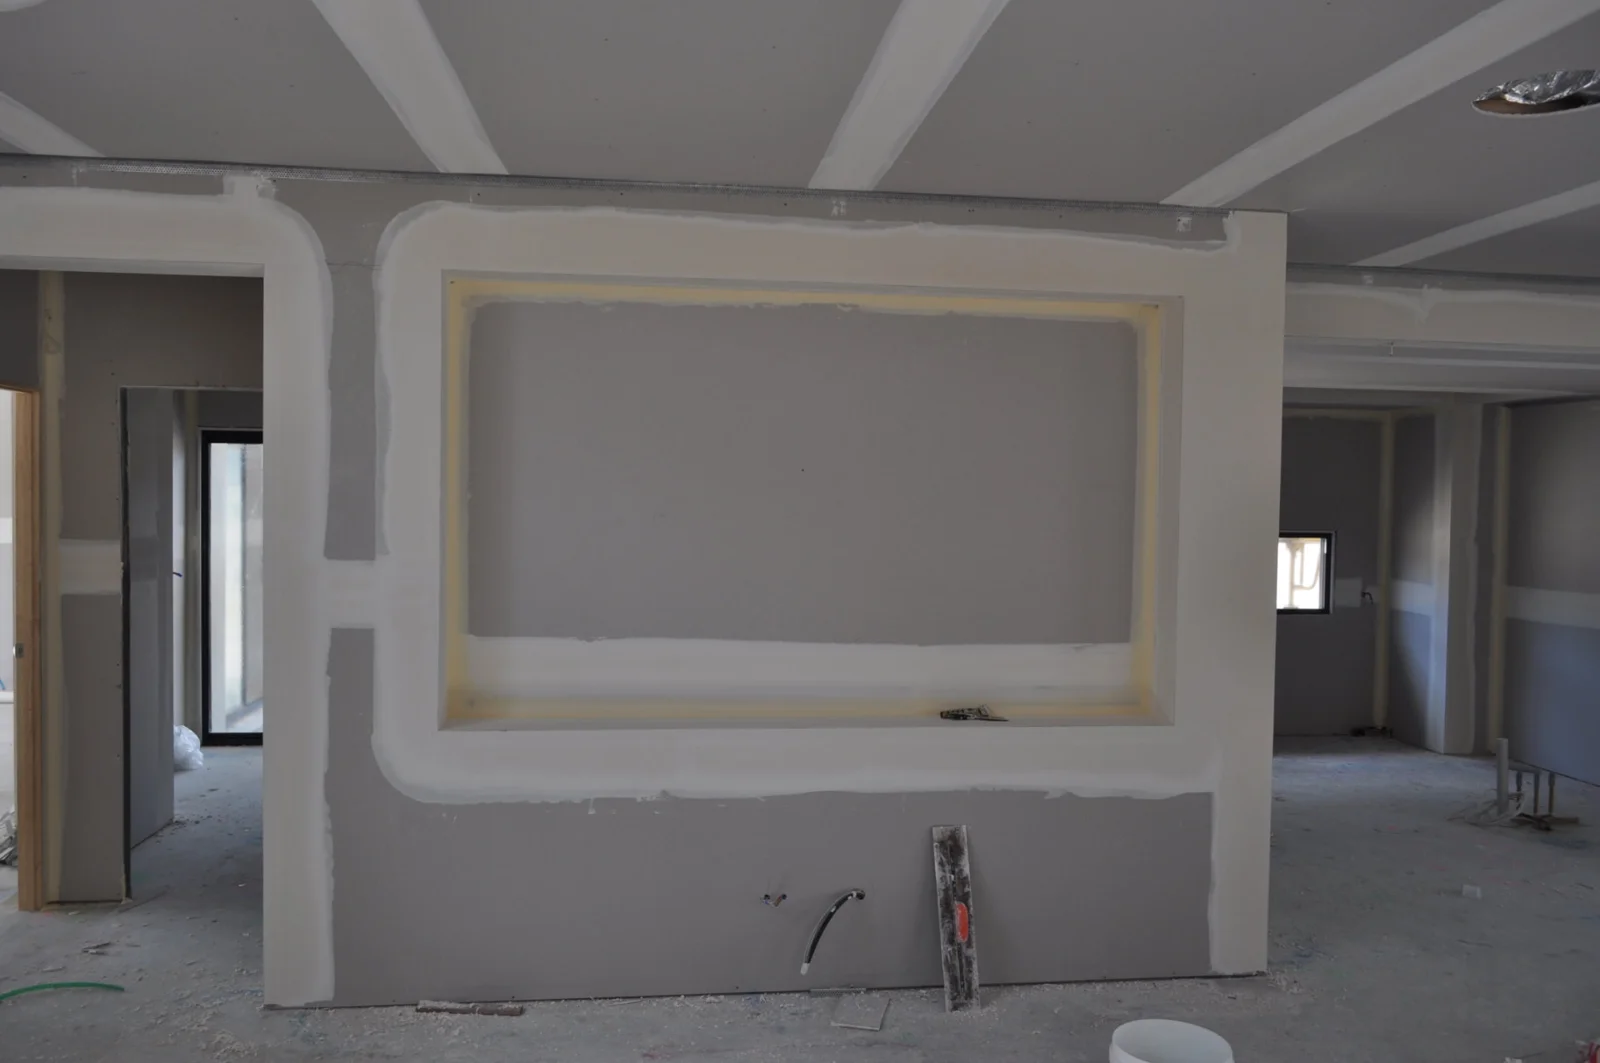
These K & J photographs show cornice work and a recessed niche during setting. They illustrate detail preparation and are not represented as Black Mountain projects.

K & J cornice and room linings with plasterboard joints being set
K & J project · Cornice & room linings · Setting in progress
K & J recessed plasterboard niche with corners and joints being finished
K & J project · Recessed plasterboard detail · Setting in progress

Surface dimensions do not diagnose the damage

Measurements help describe a repair but do not explain why a ceiling has cracked or a lining has deteriorated. Include the history of the defect and any relevant assessment. Where there is active water entry, uncertain support or suspected movement, arrange the appropriate investigation before defining a cosmetic repair as sufficient.

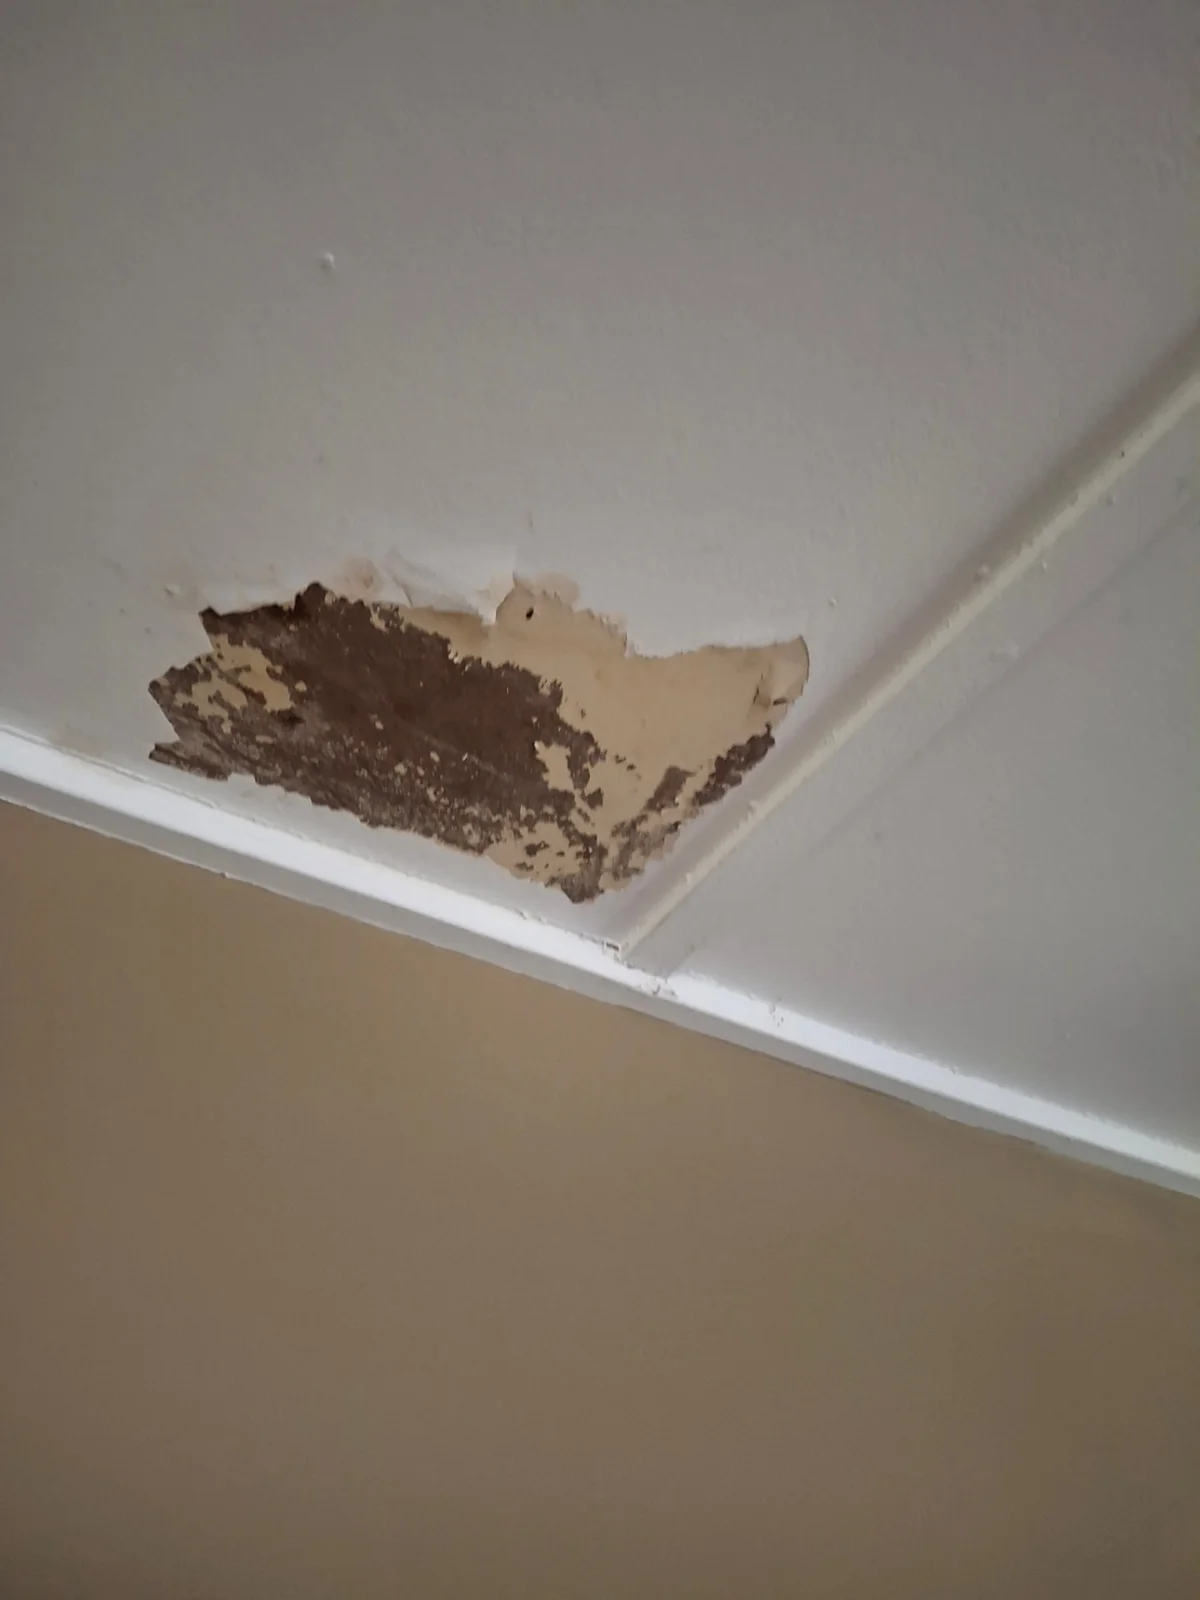
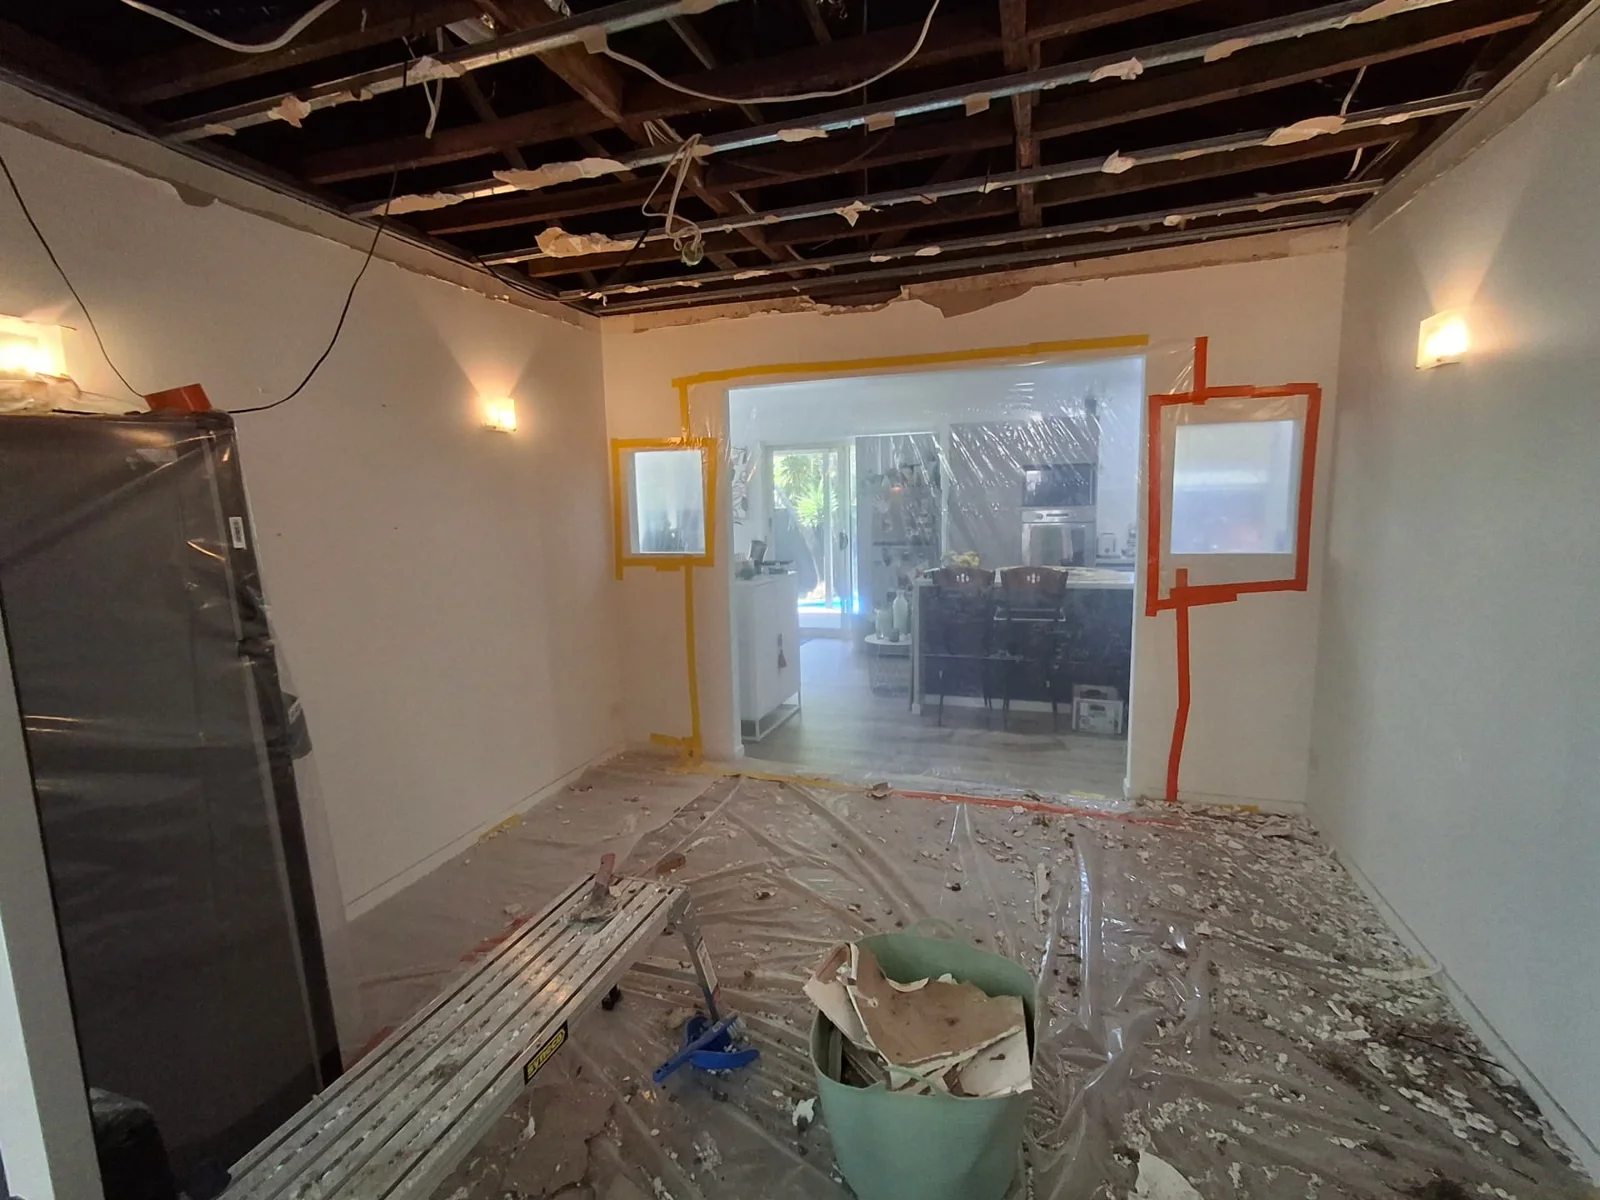
If replacement is needed, discuss safe removal, materials handling and the condition of retained edges. Moisture-related drying or specialist mould work must be addressed separately. The following damage and strip-out photographs illustrate stages only; neither the mountain locality nor the images establish the cause or extent of damage at your property.

K & J project showing damaged ceiling lining with peeling surfaces before repair
Before repair · Damaged ceiling lining
K & J project showing exposed ceiling framing after lining removal
Strip-out stage · Ceiling lining removed

Turn dimensions into a defined lining brief

  1. 01

    Measure the room and entry

    Provide wall lengths, ceiling heights and the materials route, noting measurements that still need checking.

  2. 02

    Map the shape and condition

    Show ceiling levels, curves and damaged areas separately so installation and repair requirements can be discussed.

  3. 03

    Confirm junctions and finish

    Agree the edge details, setting and sanding scope, and the paint coverage across connected surfaces.

Black Mountain west of Cooroy

Noosa Council's heritage collection locates Black Mountain west of Cooroy and south of Pomona. That establishes the locality's regional position, not the slope, driveway or construction of an individual property. A street address and site photographs are more useful than assumptions associated with the locality's name.

For an enquiry, describe where a vehicle can stop and how materials would reach the work area. Include changes in level only where they actually occur at the site. Existing Eumundi, Tewantin and Noosa pages provide regional service references without implying a confirmed visit or booking.

Black Mountain measurement and scope questions

Which measurements are useful for ceiling work?

Include room length and width, ceiling height and any changes in level. Mark bulkheads and openings. Approximate measurements can start a discussion, but identify them as estimates.

Does the suburb name tell you enough about access?

No. Describe the actual unloading point, doorway route, stairs and restrictions. Black Mountain does not mean every property has steep or difficult access.

Can a photograph establish the shape of a curved wall?

It can show the intended appearance, but drawings or dimensions are needed to explain the curve and its connections. Framing and lining details also require consideration.

Why might a repair extend beyond the damaged spot?

Support, damaged edges and joint preparation can require work outside the visible hole. The practical boundary depends on the surrounding lining, not only the size of the mark.

K&J Plastering, Painting & Carpentry

Request a plastering quote in Black Mountain

Send room dimensions, ceiling sketches, access photographs and a clear distinction between new work and repairs.

Plastering • Painting • Carpentry

  • Experienced local tradespeople

    Over 10 years of experience delivering quality finishes.

  • Licensed & insured

    QBCC licence 15438315.

  • Photos & plans welcome

    Upload your job photos or drawings with your enquiry.

  • Black Mountain & surrounds

    Residential plastering, painting and carpentry enquiries.

Prefer to talk? Call 0404 070 587

Request a Free Quote

Fill in the details below. You can also attach photos or plans.