K&J Plastering, Painting & Carpentry logo

K & J Interiors

Plasterers Cooroy Mountain

Plastering in Cooroy Mountain for the junctions where an addition or substantial alteration meets the rooms being kept.

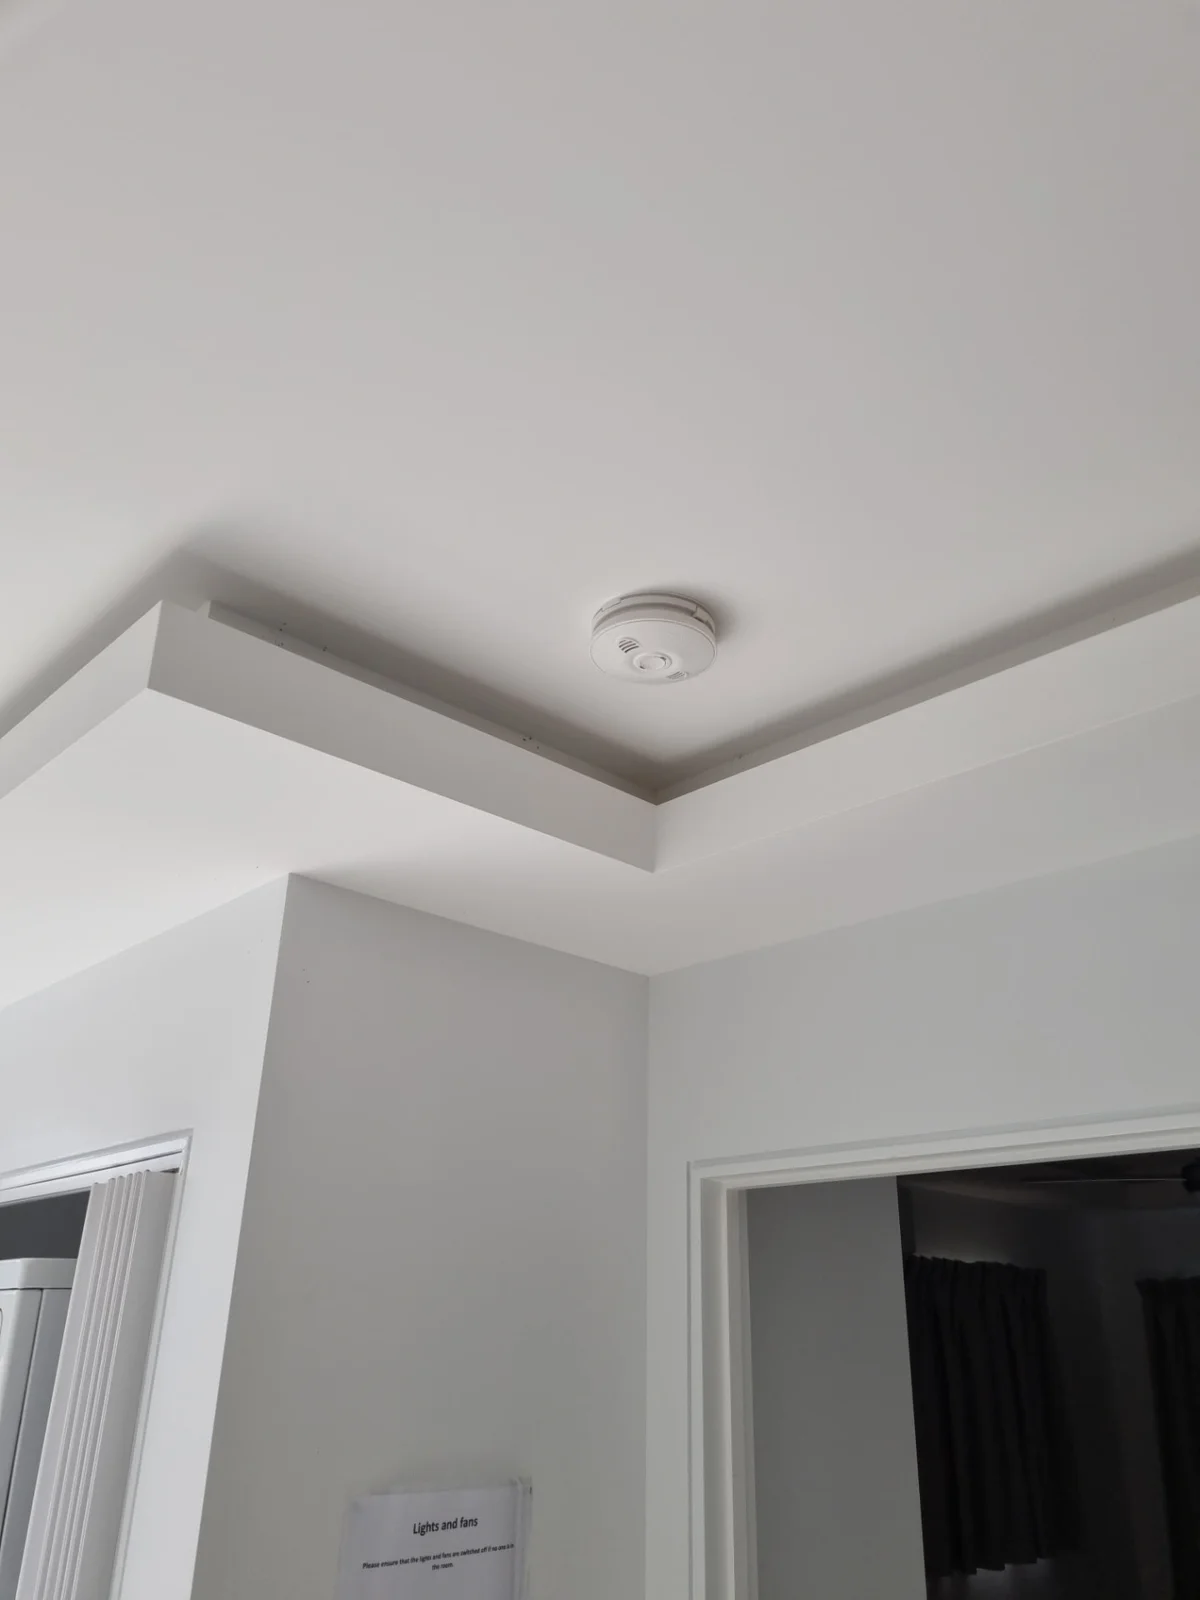
K & J finished painted ceiling corner with a clean square-set junction and bulkhead detail
K & J project photograph · Finished painted square-set detail. Project location not represented as Cooroy Mountain.

Give the connection its own drawing

Plans often show an addition clearly while leaving its connection to existing rooms less fully described. That connection can involve ceiling levels, short wall returns, retained cornice and several different surface conditions. K & J Interiors welcomes Cooroy Mountain enquiries that give these junctions their own attention. Include photographs of the existing side alongside the proposed plan. Explain which details are staying and where the new finish begins, so installation and repair can be considered as related but distinct tasks early.

01

New boards at the addition boundary

Show where the new framing meets retained walls and ceilings, including changes in height and thickness. Identify which side of each opening needs lining. Suitable framing and completed concealed services precede board fixing. Joint setting and sanding should include the agreed connection areas, not only the new sheet surfaces shown on the addition plan.

Plan addition lining connections
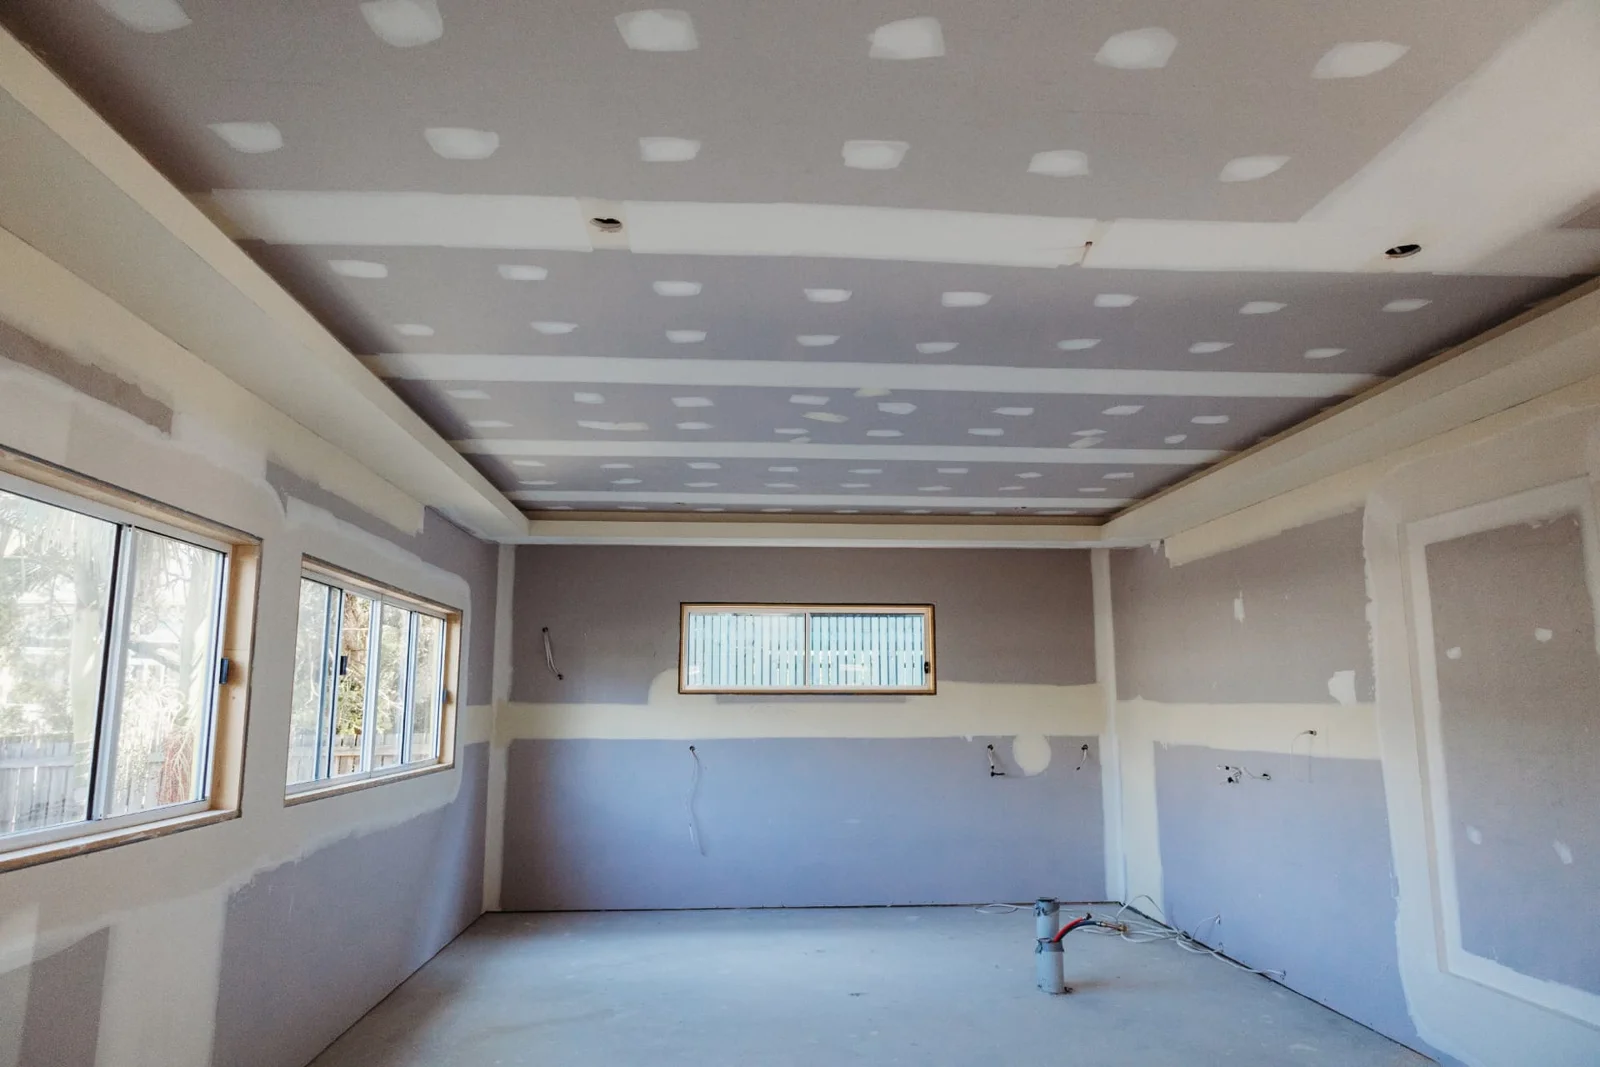
K & J plasterboard ceiling and walls with visible joint compound before sanding and painting
K & J project · Wall & ceiling installation · Joint setting in progress

02

Ceiling levels across the opening

Provide a section or measured sketch where ceiling heights change between old and new rooms. Include bulkheads, beams to be lined and the intended wall junctions. These features need defined framing and edge preparation. Discuss any affected retained ceiling separately so its repair extent is not hidden within the new ceiling installation quantity.

Resolve ceiling transitions
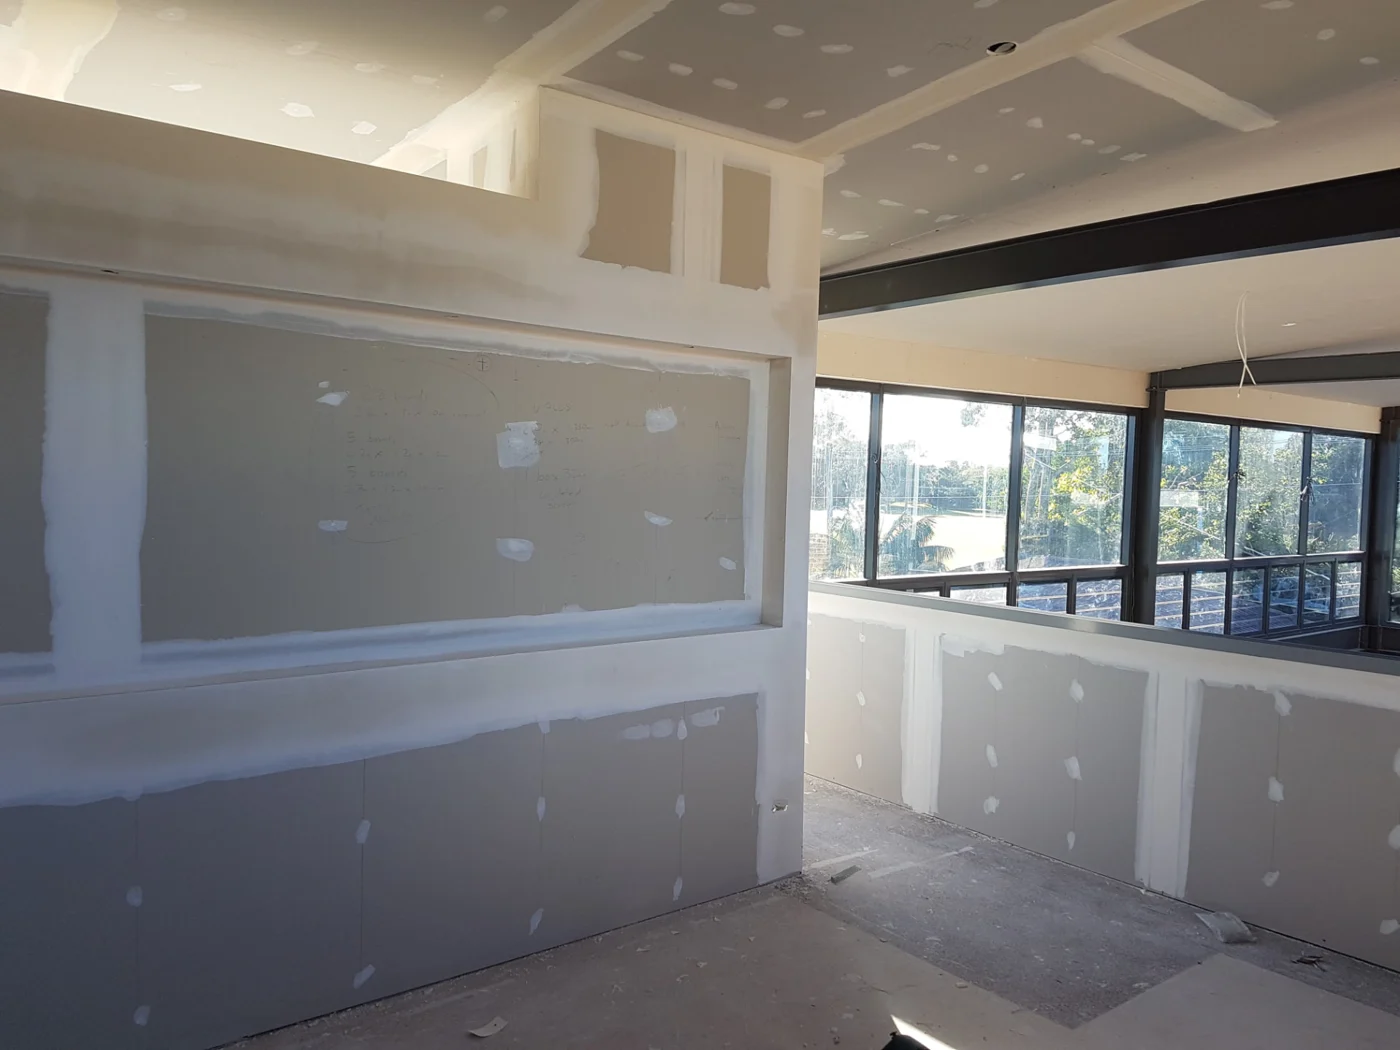
K & J bulkhead and square-set ceiling junction during joint setting
K & J project · Bulkhead & square-set construction · Setting in progress

03

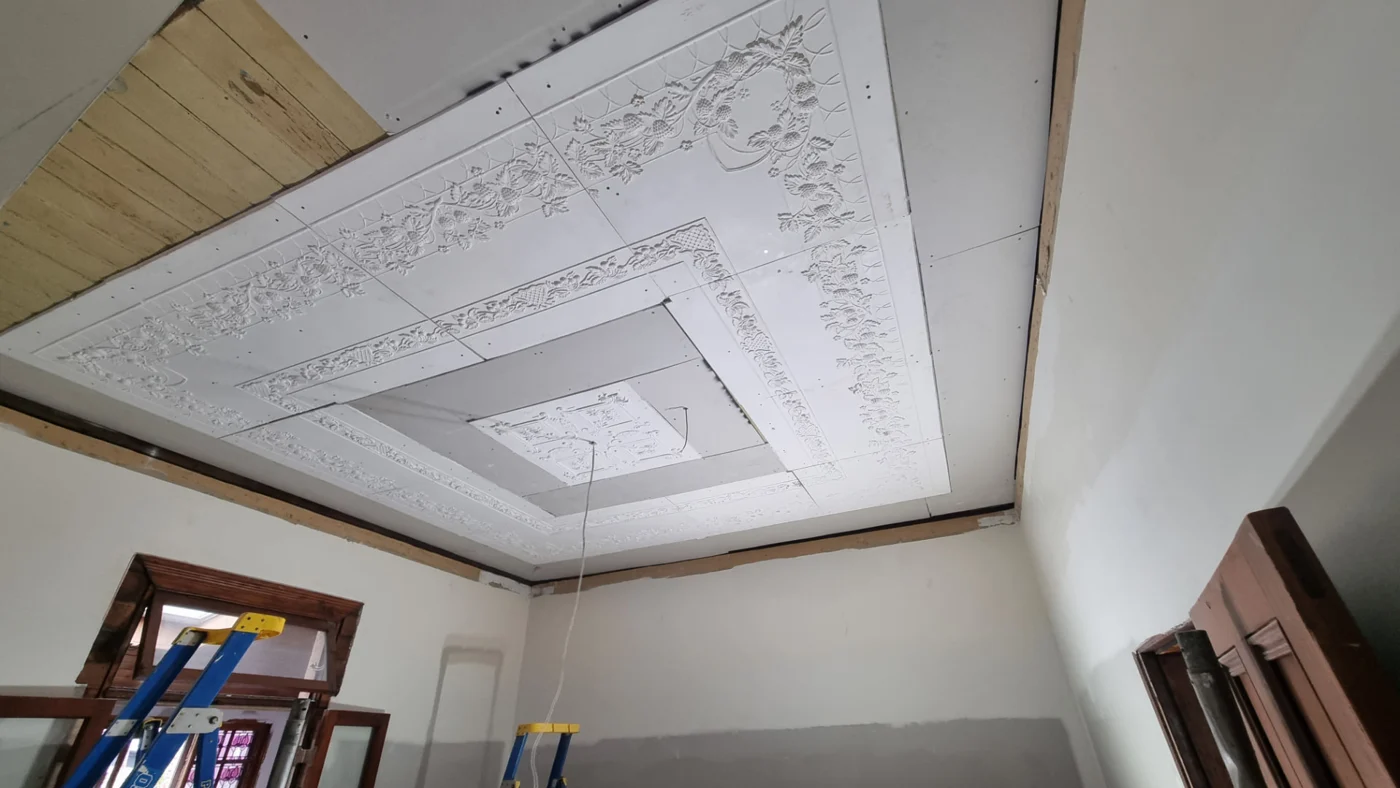
Retained decorative plaster near new work

Photograph decorative ceiling elements and cornices near the connection before removal starts. Mark the pieces intended to remain and the edges that may need repair. Their condition and support affect retention options. Where a new profile or simpler junction is proposed, identify the transition rather than assuming the old detail can continue unchanged.

Review decorative plaster interfaces
K & J patterned ceiling panels and centrepiece during decorative plaster restoration
K & J project · Ornate ceiling restoration · Installation in progress

04

Repairs on the existing-room side

Opening a wall can leave narrow strips of damaged lining, old fixing points and disrupted corners in the retained room. Include photographs from that side as well as the addition. Assessing those surfaces separately helps define backing, patching and preparation without treating the new opening's dimensions as the full extent of the repair.

Include retained-room repairs

05

Painting through the connection

Specify whether painting stops at the opening or continues across the existing room. A new lining and an old painted wall may require different preparation even when they form one visible plane. Include ceiling coverage, returns and relevant trims. An explicit finishing boundary makes the intended relationship between the addition and retained interior clear.

Define connected-room painting

Junction finishing and shaped-wall setting

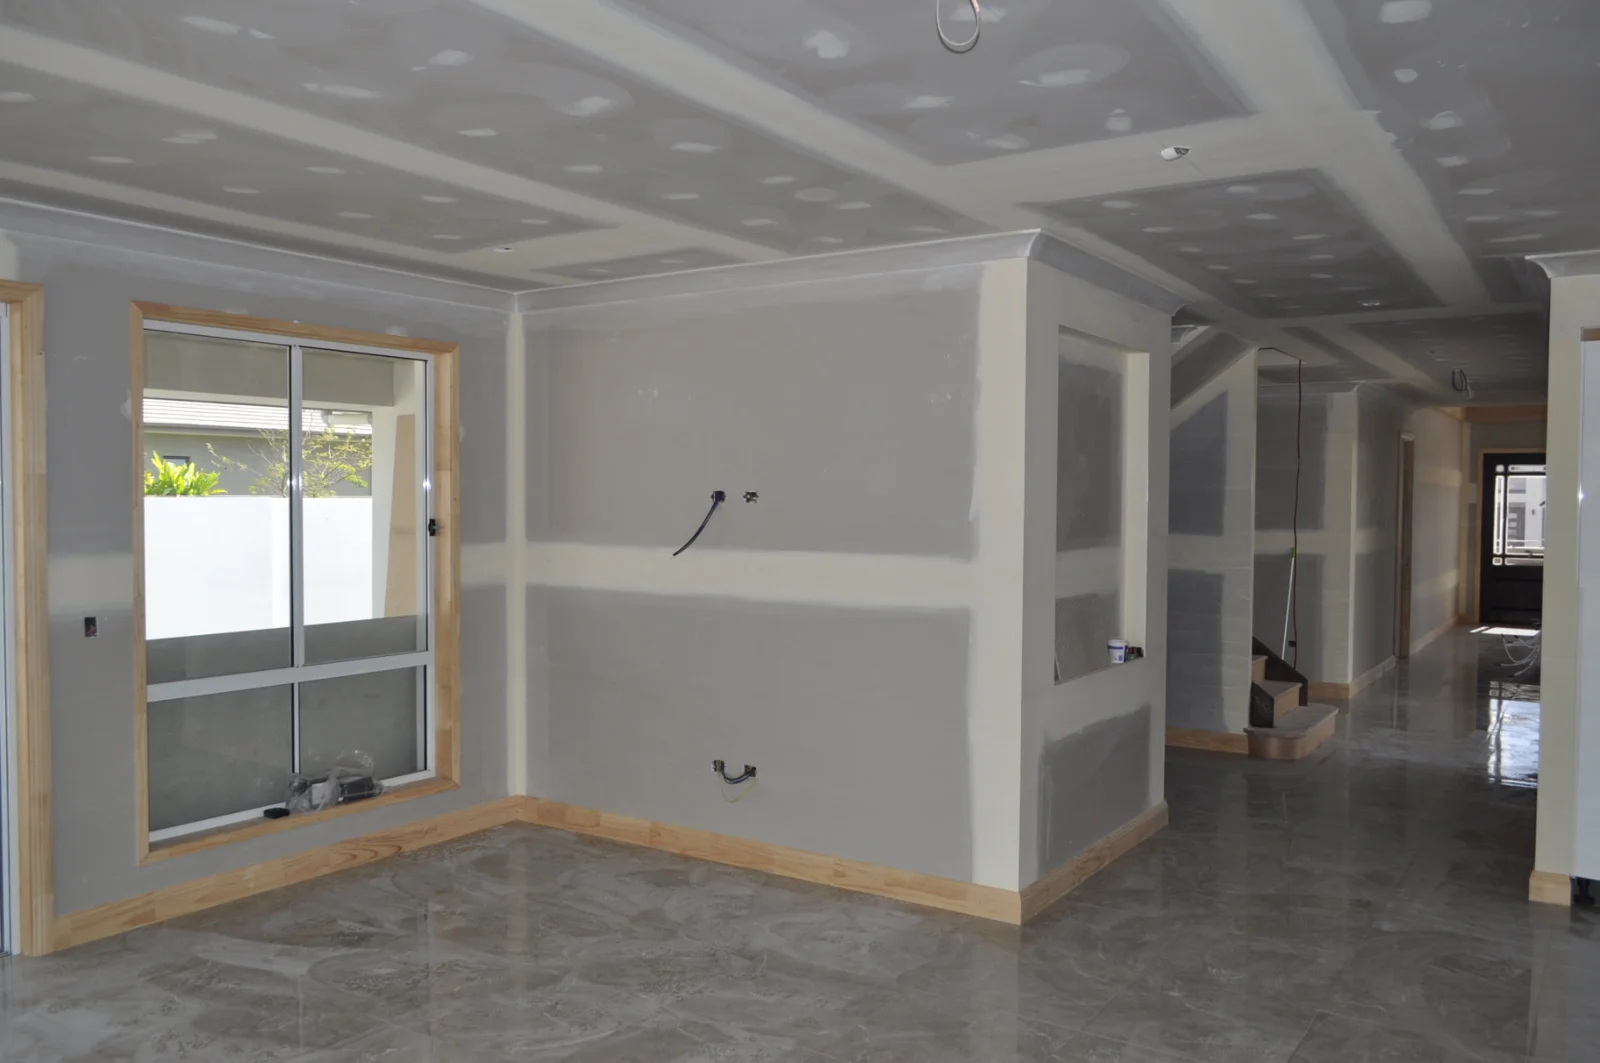
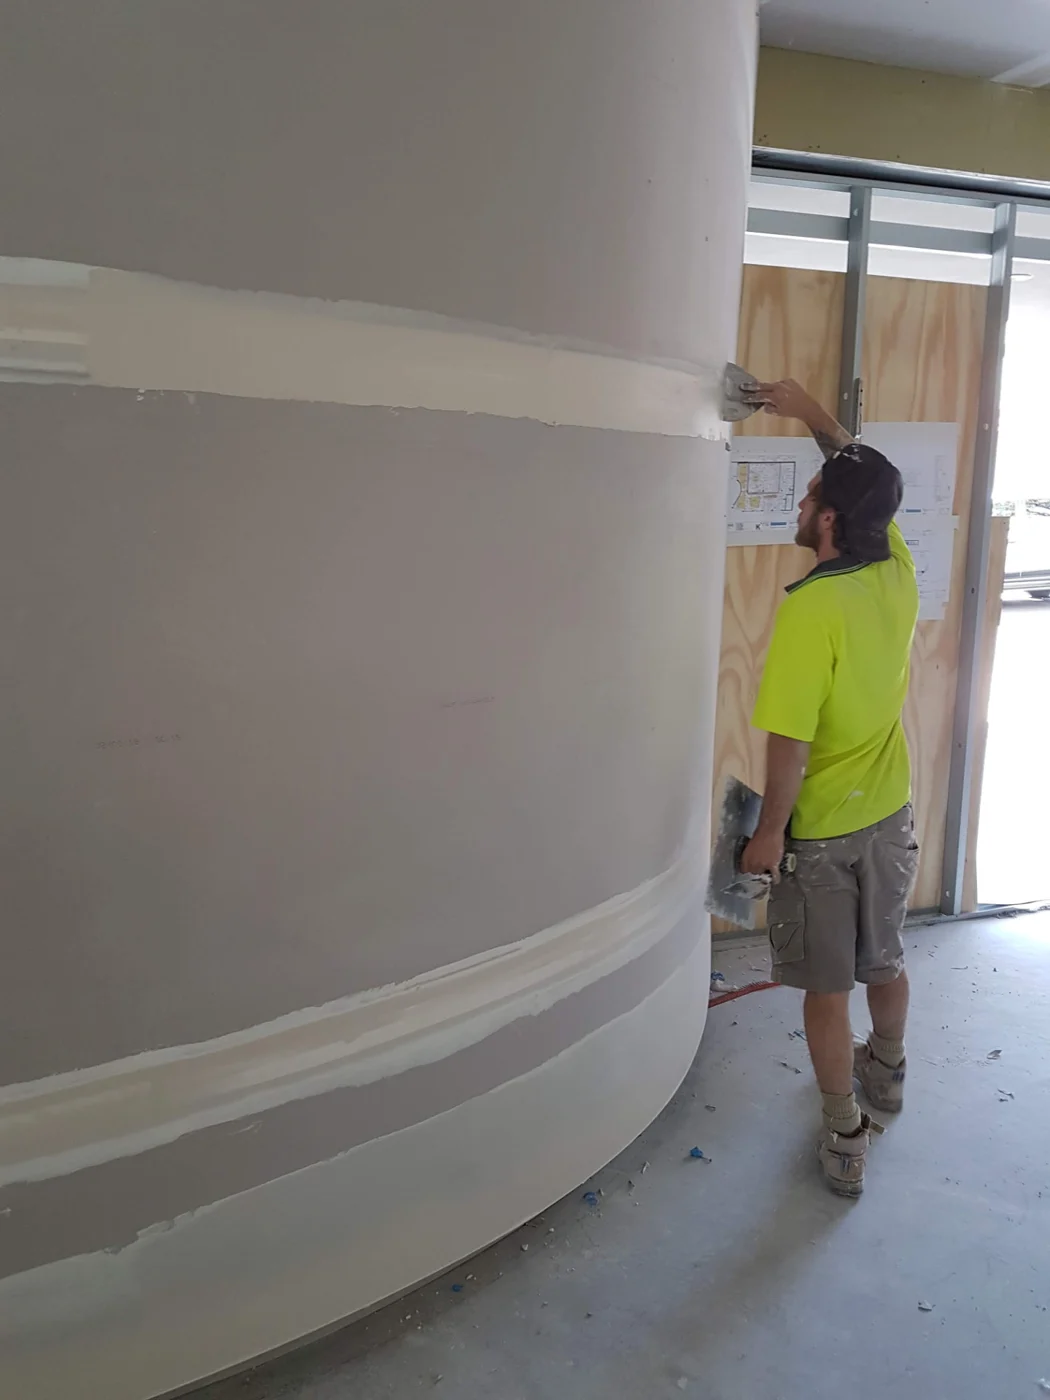
K & J cornice and curved-wall photographs illustrate work in progress. They are not presented as Cooroy Mountain additions or as completed painted surfaces.

K & J cornice and room linings with plasterboard joints being set
K & J project · Cornice & room linings · Setting in progress
K & J plasterer applying joint compound to a curved plasterboard wall
K & J project · Curved-wall plastering · Compound being applied

Allow for assessment where the connection is opened

Once an existing junction is safely exposed, its condition may differ from what could be seen through the finished surface. Photograph damaged edges and identify any framing or service work still required. Agree additional reinstatement boundaries before those areas are concealed by new linings.

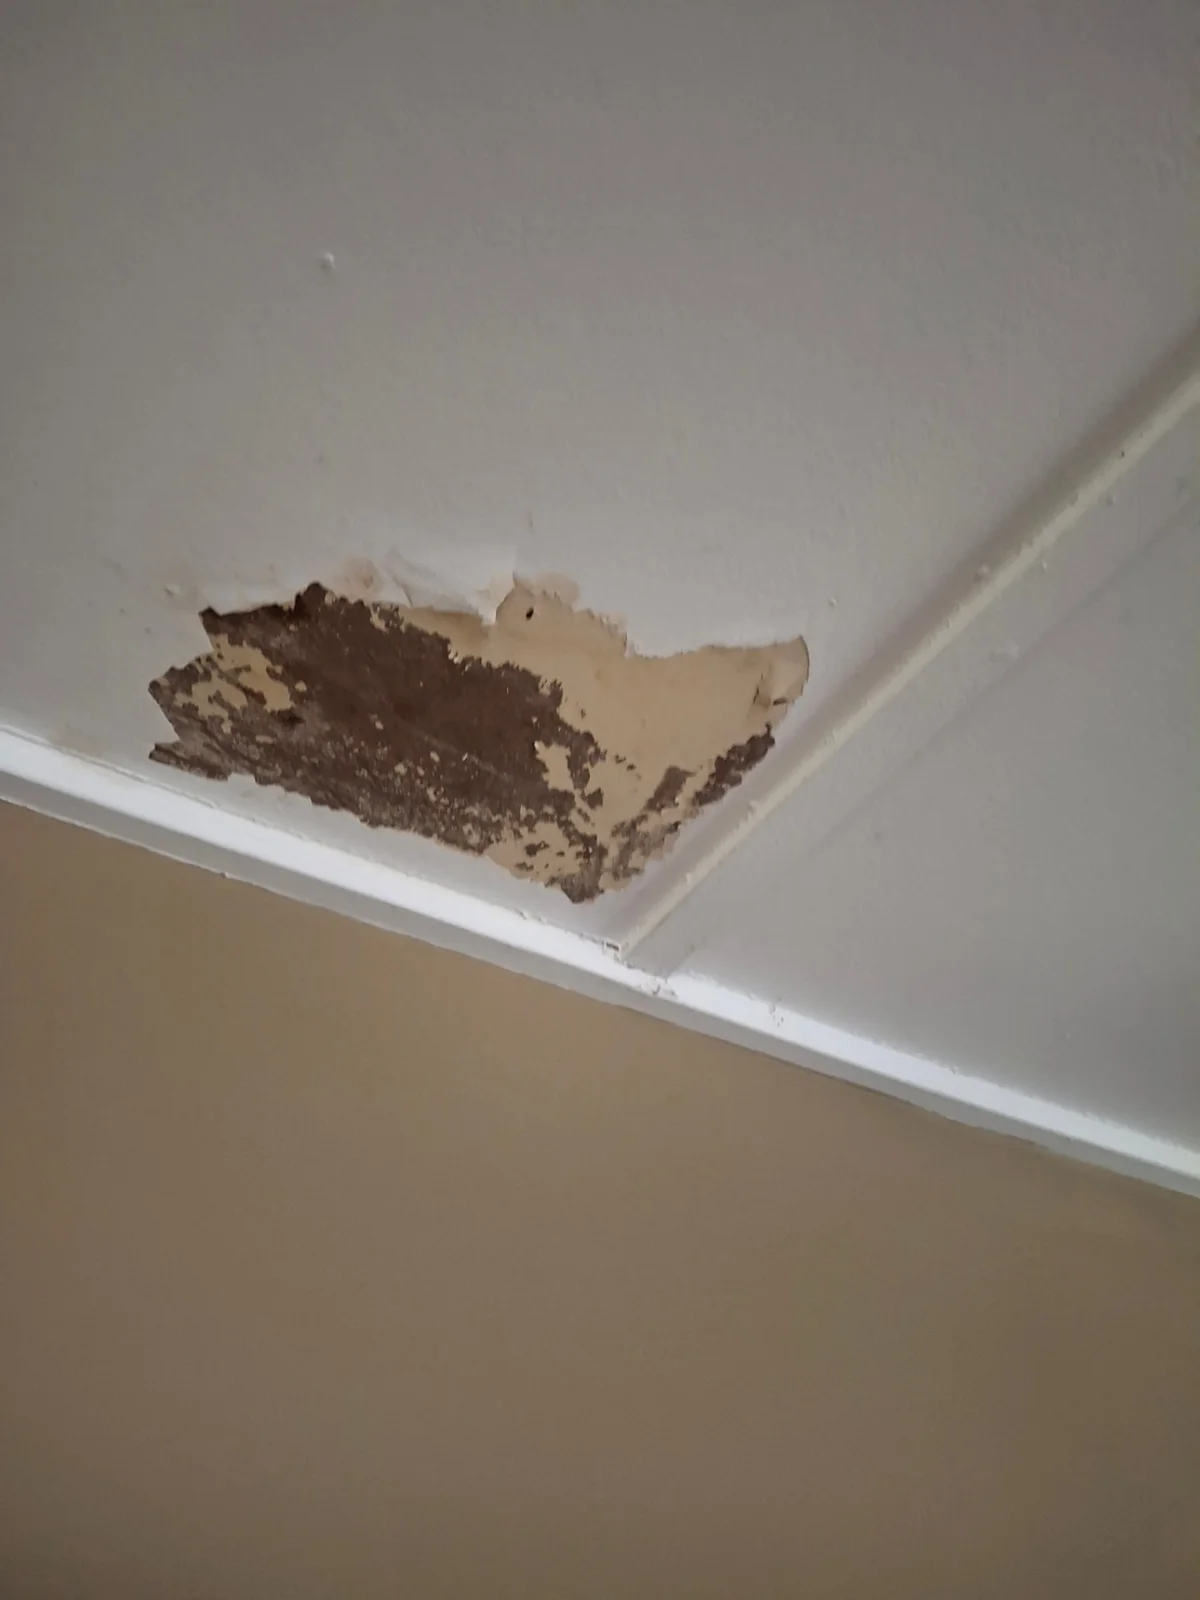
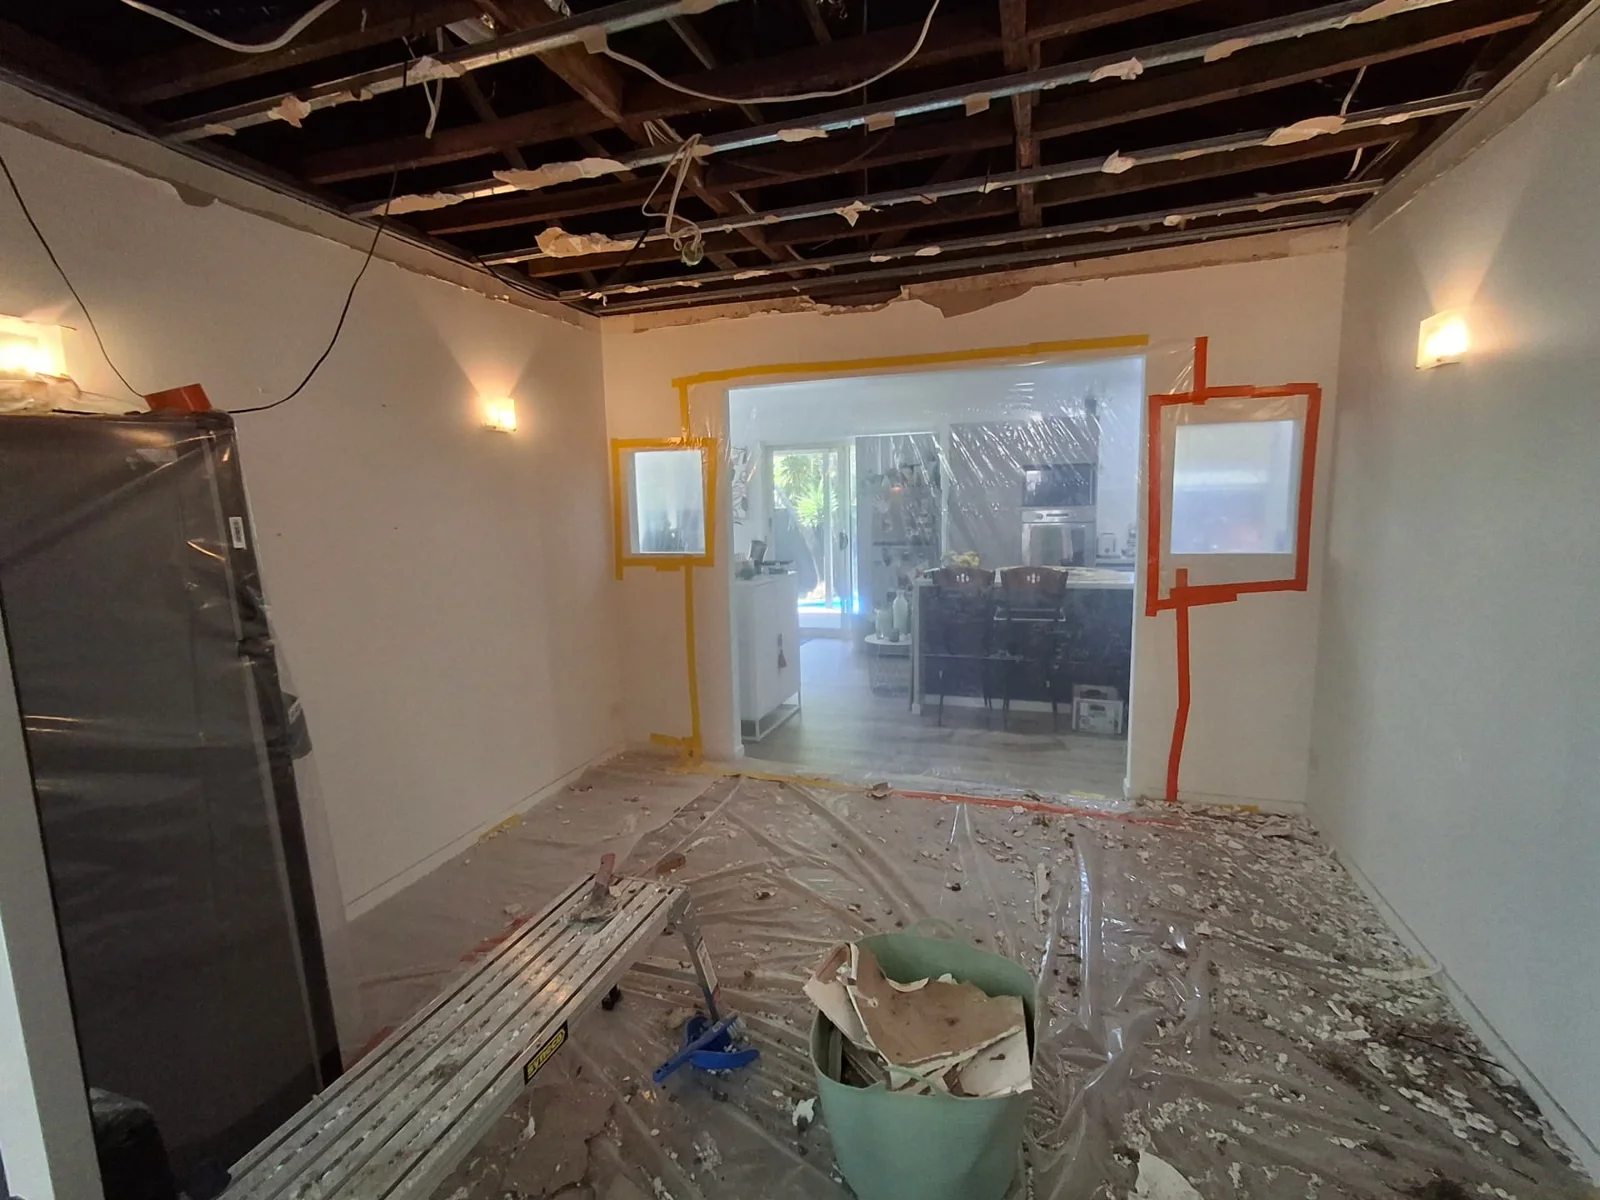
If the opening reveals moisture-affected material, investigate the cause and arrange required drying or specialist treatment before replacement. Keep suspected hazardous material undisturbed pending appropriate assessment. The images below show damaged lining and exposed framing, not evidence of conditions at a Cooroy Mountain property.

K & J project showing damaged ceiling lining with peeling surfaces before repair
Before repair · Damaged ceiling lining
K & J project showing exposed ceiling framing after lining removal
Strip-out stage · Ceiling lining removed

Work through the addition interface

  1. 01

    Draw both sides

    Combine the addition plan with photographs and measurements from the retained room, including its ceiling and cornice.

  2. 02

    Set junction responsibilities

    Confirm framing, services and retained-detail decisions before agreeing the new lining and repair boundaries.

  3. 03

    Carry the finish to its endpoint

    Specify setting, sanding and painting on each side of the connection, including returns and ceiling transitions.

Cooroy Mountain and the surrounding hinterland

Cooroy Mountain is a locality distinct from the nearby township of Cooroy. Queensland mapping shows it in the hinterland area around Cooroy, Tinbeerwah and Eumundi. Use the full locality name and property address when plans refer more broadly to the Cooroy area.

For an addition, identify the existing entrance and the route available to the new work area. Include material-handling constraints only where they actually apply, along with the builder's contact and current plan revision. Nearby existing pages cover Eumundi, Tewantin and Noosa.

Cooroy Mountain addition-plastering questions

Why send photos of the old room as well as the new plans?

The existing side shows cornices, ceiling levels, paint boundaries and repair conditions that may not appear on the addition drawings. Both are needed to describe the connection.

What drawing helps explain different ceiling heights?

A measured section or simple side-on sketch is useful. Mark the heights, beam or bulkhead dimensions and intended junction finish, then add photographs of the retained ceiling.

Can decorative work remain beside a new opening?

That depends on its support, condition and the removal method. Mark the feature for retention before strip-out and discuss assessment and protection with the relevant trades.

Is painting the old room automatically part of an addition?

No. State whether the old room, opening returns and adjoining ceiling are included. New-room painting and connected-room repainting should have clear boundaries.

K&J Plastering, Painting & Carpentry

Request a plastering quote in Cooroy Mountain

Send the connection detail, both sides of the opening and the finish you want across the old and new rooms.

Plastering • Painting • Carpentry

  • Experienced local tradespeople

    Over 10 years of experience delivering quality finishes.

  • Licensed & insured

    QBCC licence 15438315.

  • Photos & plans welcome

    Upload your job photos or drawings with your enquiry.

  • Cooroy Mountain & surrounds

    Residential plastering, painting and carpentry enquiries.

Prefer to talk? Call 0404 070 587

Request a Free Quote

Fill in the details below. You can also attach photos or plans.